


Starting a VPS for the first time is a big undertaking. In our cPanel tutorial series, we explain how you start using a VPS with cPanel & WHM. The cPanel tutorial series not only includes the hosting of your website and email but also how you can safely set up and update your VPS.
General information about cPanel/WHM can be found in our article ‘what is cPanel / WHM’ (or try the cPanel demo). Order a VPS with cPanel here if you do not have one yet.
The setting up of a VPS with cPanel is covered in the following sections:
- Introduction, login and SSH user
- Securing your VPS
- Updating cPanel/WHM, PHP and SQL
- Linking domains and subdomains to your VPS
- Uploading a website and database and using SSL
- Creating and using email addresses
- Additional articles and other questions
- Setting up a solid, well-functioning VPS is an extensive and complex process. Do not skip any steps in this tutorial series unless explicitly indicated that they are optional.
- At the time of writing, a cPanel VPS is supplied with cPanel & WHM 98.0.10 combined with AlmaLinux 8. This tutorial also makes use of this.
- Command line is used in several parts of this article. The commands can be executed via SSH or the VPS console in your control panel. If you do not have any experience using command line, we advise you to first consult our article on command line for general information about command line and the use of SSH.
In this first part of the cPanel tutorial series the following topics are discussed:
- What size of VPS do I need
- Ordering a VPS with cPanel
- Logging in to cPanel for the first time / Creating a cPanel and SSH user
- Changing cPanel contact details
- Configure IPv6
What size of VPS do I need?
Searching within cPanel You may wonder if you need an X1, 4, 8, or even larger VPS. Which VPS is suitable depends on a number of things, such as the number of websites and email addresses you want to host, the layout of the website(s), the number of visitors, etc.
It is therefore very difficult/impossible to say exactly what you need. If in doubt, you can start with a smaller VPS and later upgrade to a larger VPS. It is not possible to downgrade a VPS because of the allocation of disk space on a VPS.
If you host websites that use a CMS system (such as WordPress, Joomla, etc.), consult the system requirements of the relevant CMS system. This gives you an idea of the number of websites that you can host on a VPS.
Ordering a VPS with cPanel
When ordering a new VPS with cPanel, a hostname is requested. The syntax we recommend for this is server.yourdomainname.com.

Your VPS installs cPanel, WHM and CentOS 7 automatically after ordering. While the installation process is running, you cannot make any changes to your VPS, such as changing the name of your VPS.
Please note that you also create a DNS record for your hostname at your domain. An example of this can be found in the screenshot in part 4: Linking domains and subdomains to your VPS under 'DNS'.
Logging in to cPanel for the first time / Creating a cPanel and SSH user
Before you are able to log in to cPanel or connect to SSH, you have to create a user in WHM. This is a security measure from cPanel to keep access to cPanel and WHM separate.
You use the password of the root user to log into WHM. After the installation of cPanel, we will automatically send you an email with the password for the root user. Keep the password safe, because passwords are not transparent to us and are not stored.
The email that contained the root user's password also contains the web address of cPanel and WHM. This address is the IP of your VPS with the:2083 addition for cPanel and :2087 for WHM, for example, 123.123.123.123:2087.
In the steps below, we explain the steps that are involved in logging into WHM for the first time and creating a user for cPanel.
Step 1
First, go to the cPanel login page (e.g. 123.123.123.123:2087). You will see a message like the one below (depending on your browser).
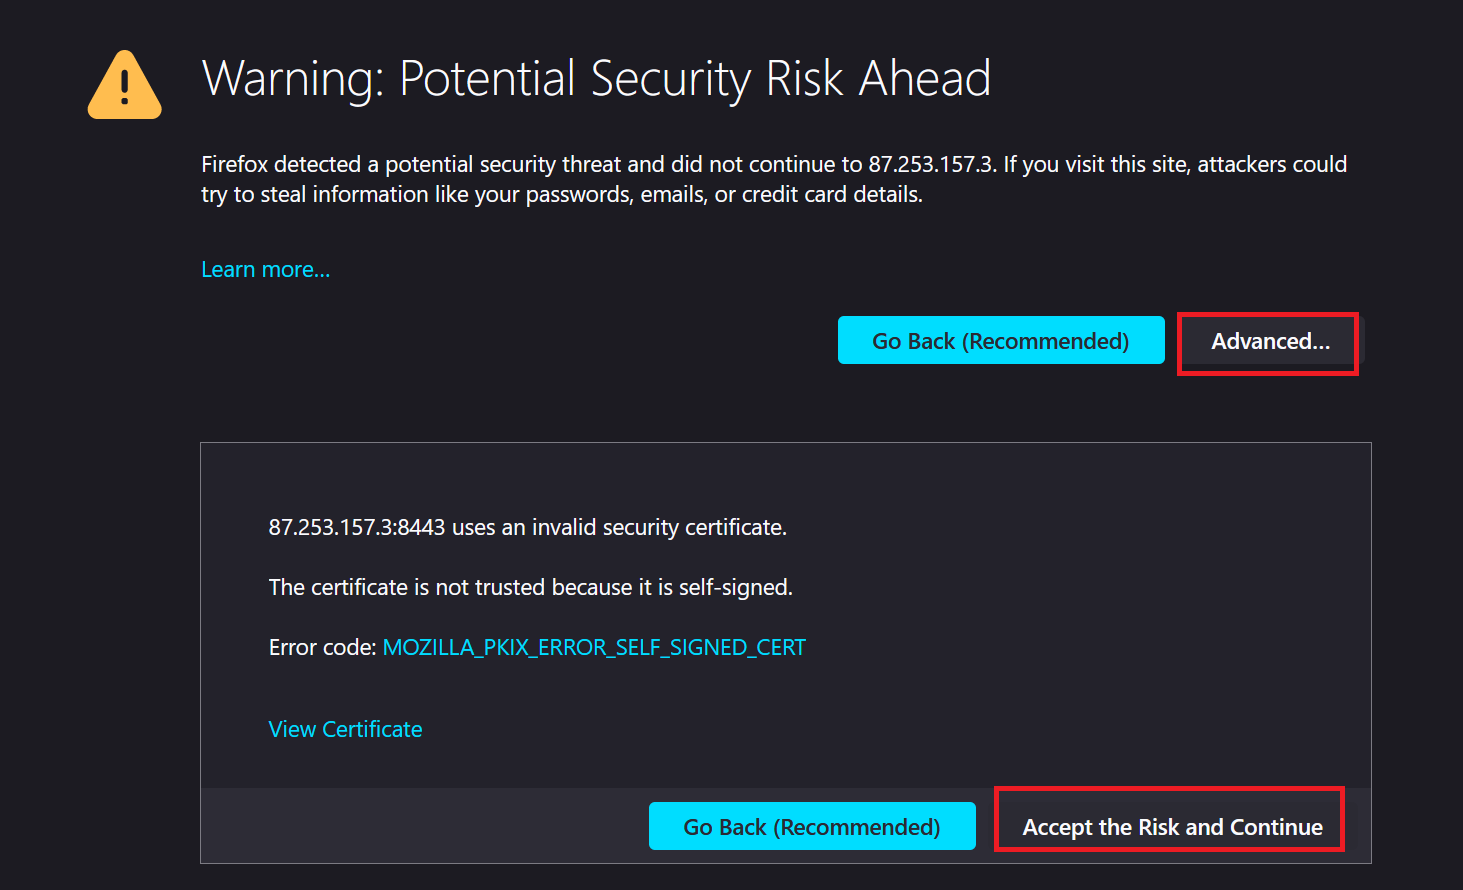
The notification is shown because there is no SSL linked to your hostname yet/you're not using your hostname yet. You will no longer see it after you have configured SSL (further on in this tutorial series).
Click on ‘Advanced’ and then ‘Continue to 123.123.123.123 (unsafe)’ or 'Accept the Risk and Continue' to continue.
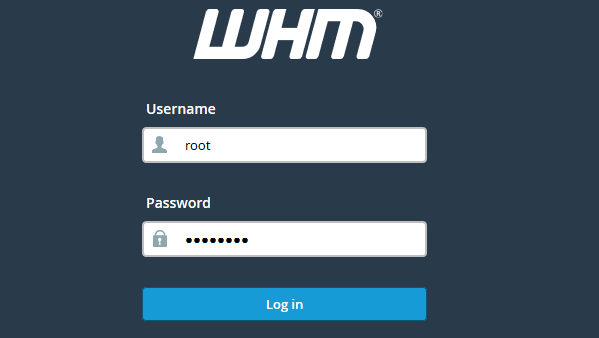
You will then be greeted by the screen shown in the screenshot below. Log into WHM by using your root username and password which were sent by email.
Step 2
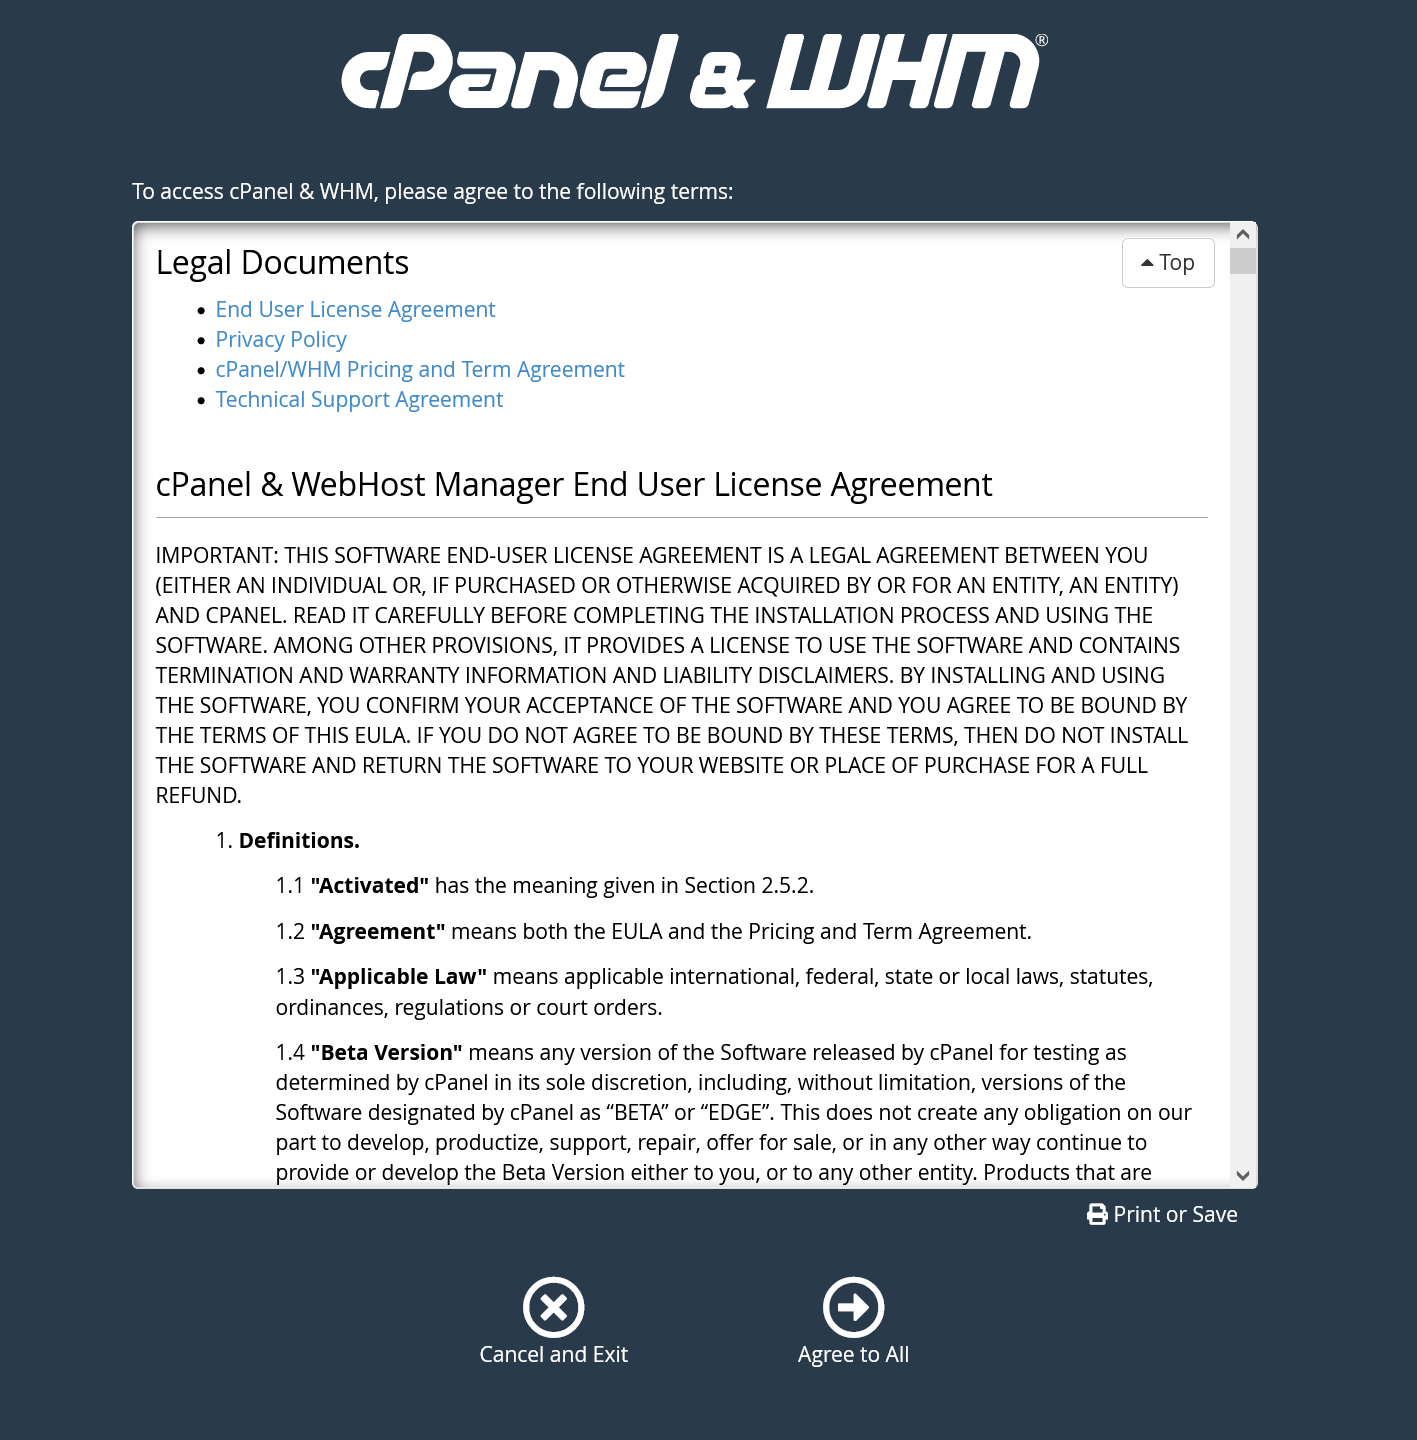
You will see the cPanel & WHM license agreement page. Click 'Agree to all' after you have read the agreement to continue.
Step 3
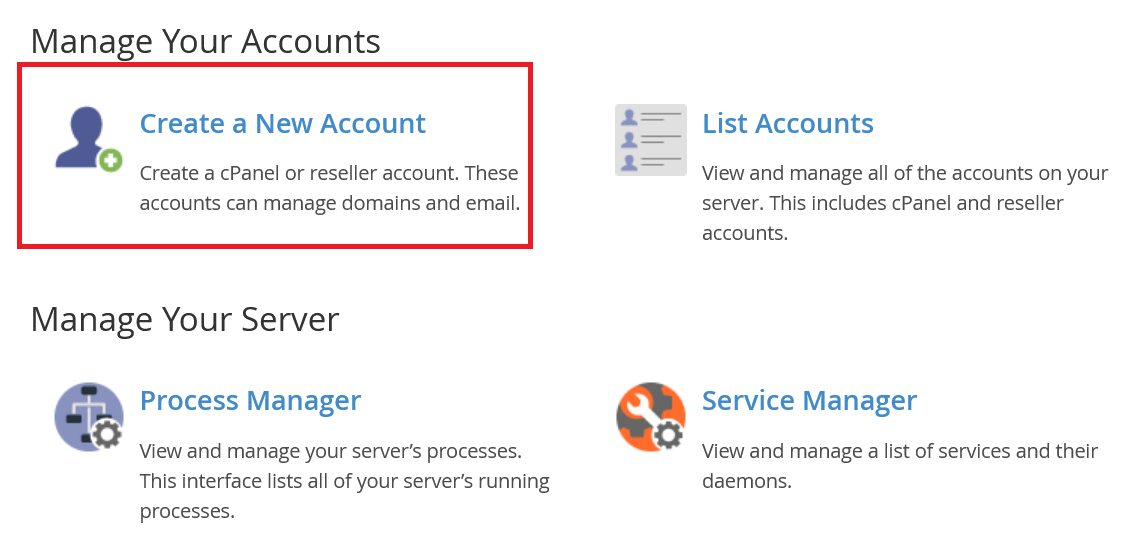
You'll now be brought into the WHM home screen. We'll create a new user in WHM (i.e. a new account) who has access to cPanel. To do this, scroll to 'Account Functions' in the left menu and click 'Create a New Account’ or type the word 'Create' at the top left of the search field and click 'Create a New Account' in the search results.
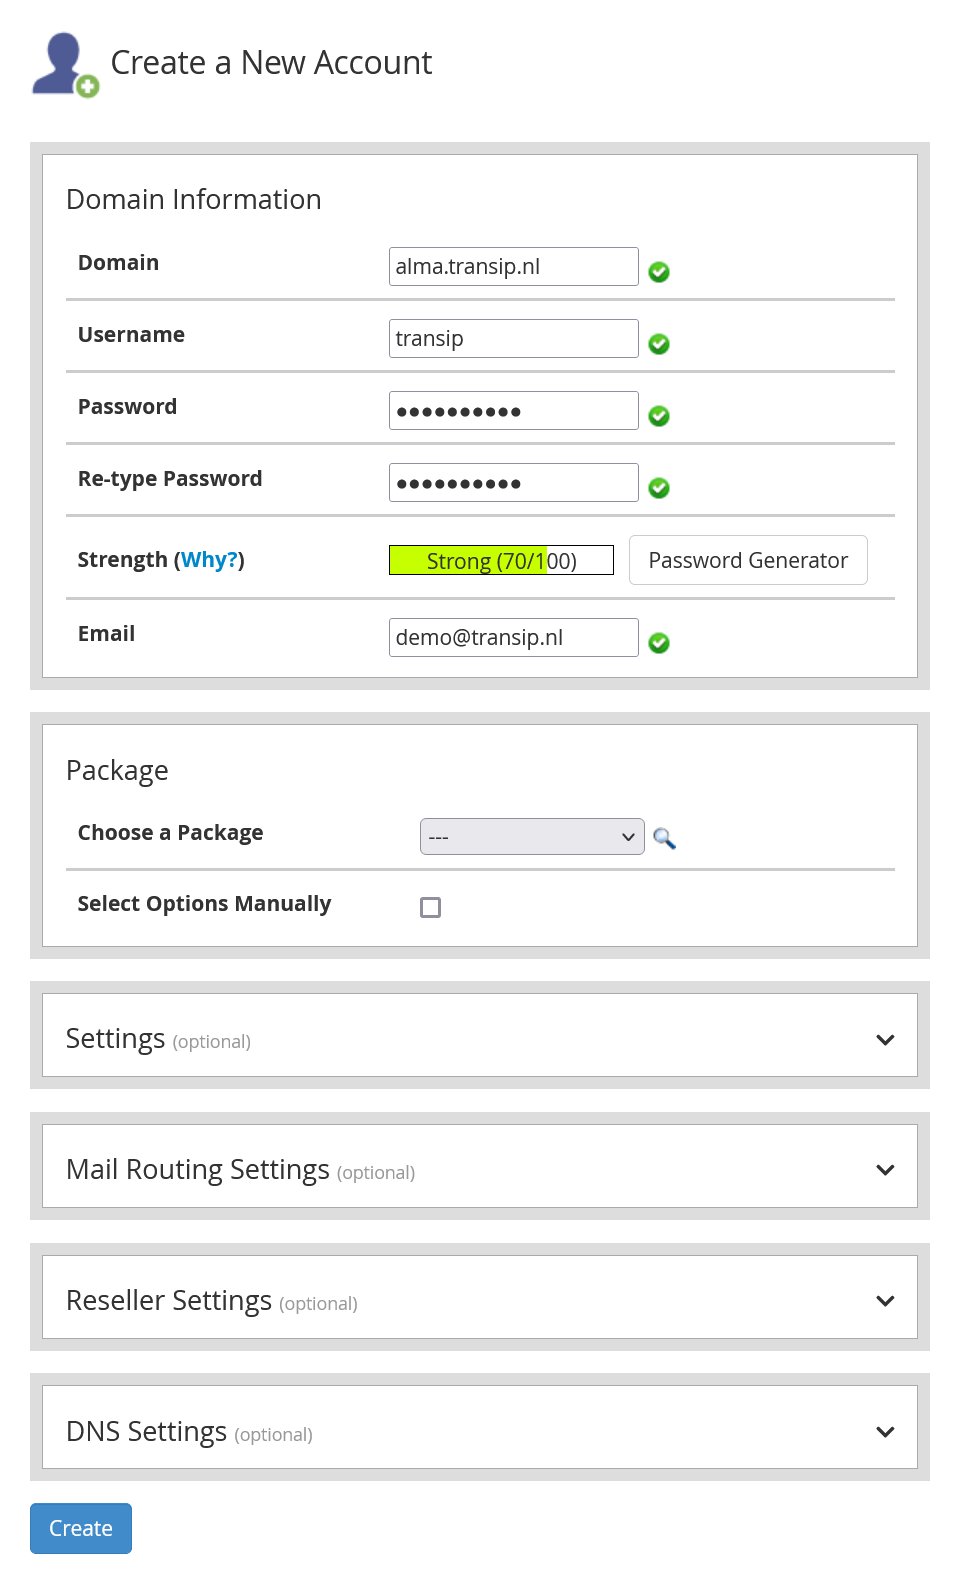
Step 4
You will see the screen below. Fill in the fields as shown in the example below (but using your own data) and click 'Create' below. You're not required to change settings in the collapsed menus.
Step 5
The user you just created does not automatically have the rights to switch to the root user in SSH. You give the new user these rights by adding the user to the Wheel Group Users (we advise you to grant these rights only to yourself and any managers of your VPS, but not to your customers).
In WHM in the search field at the top left, search for 'Wheel' and click 'Manage Wheel Group Users'. Then select your username in the overview under 'Add a user to the wheel group' and click 'Add to Group'.

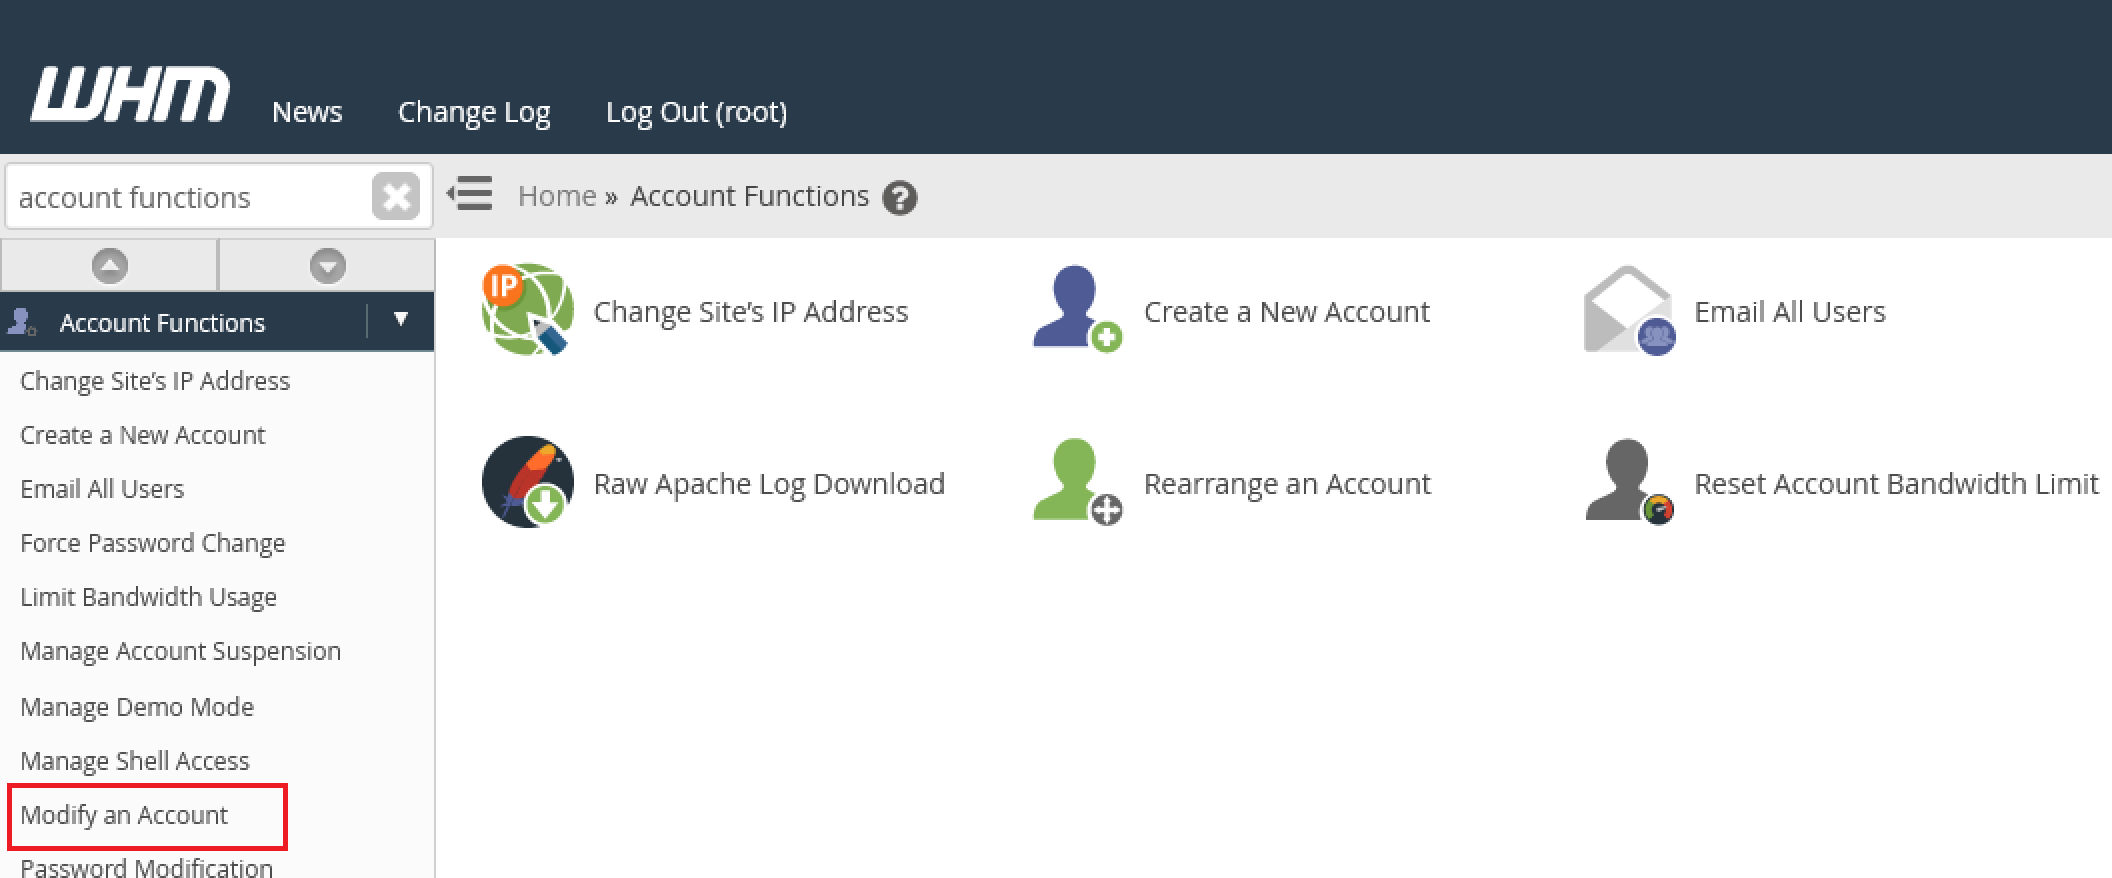
Step 6
Search in WHM for 'Modify an Account'.
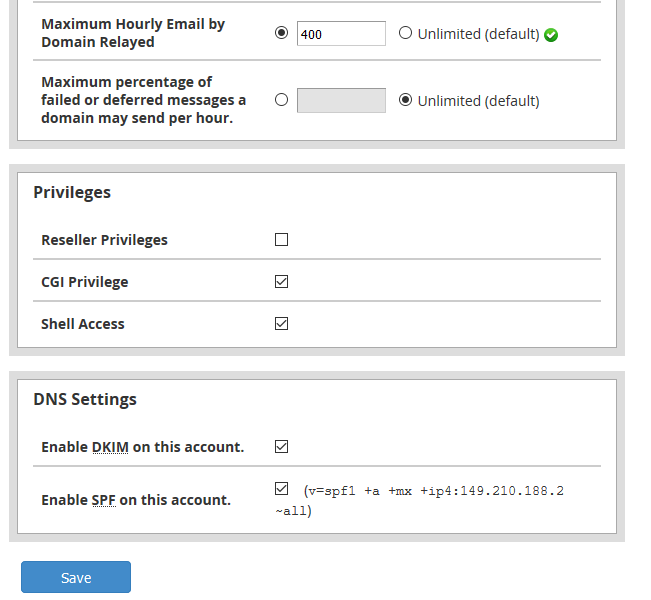
Step 7
Collapse the 'Privileges' element and select the option 'Shell Access'. At the bottom of the page, click on 'Save' to process the changes.
Step 8
Using the new user, you can now log in to cPanel yourself. Navigate to 123.123.123.123:2083 in your browser (replace 123.123.123.123 by the IP of your VPS) and log in with the user you created in Step 7.
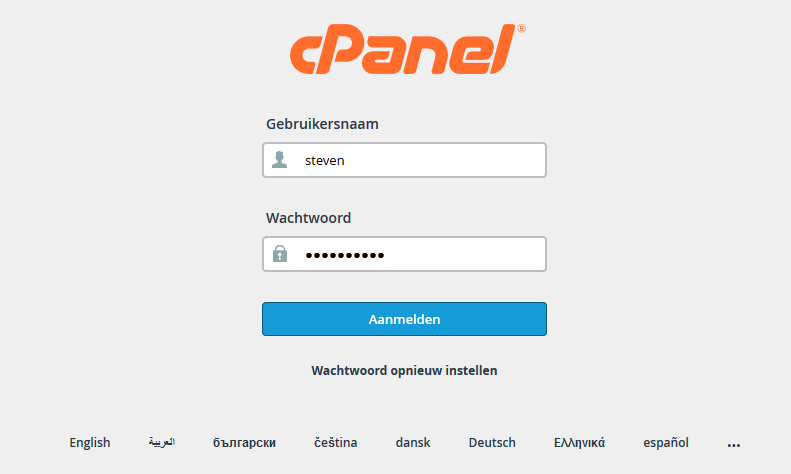
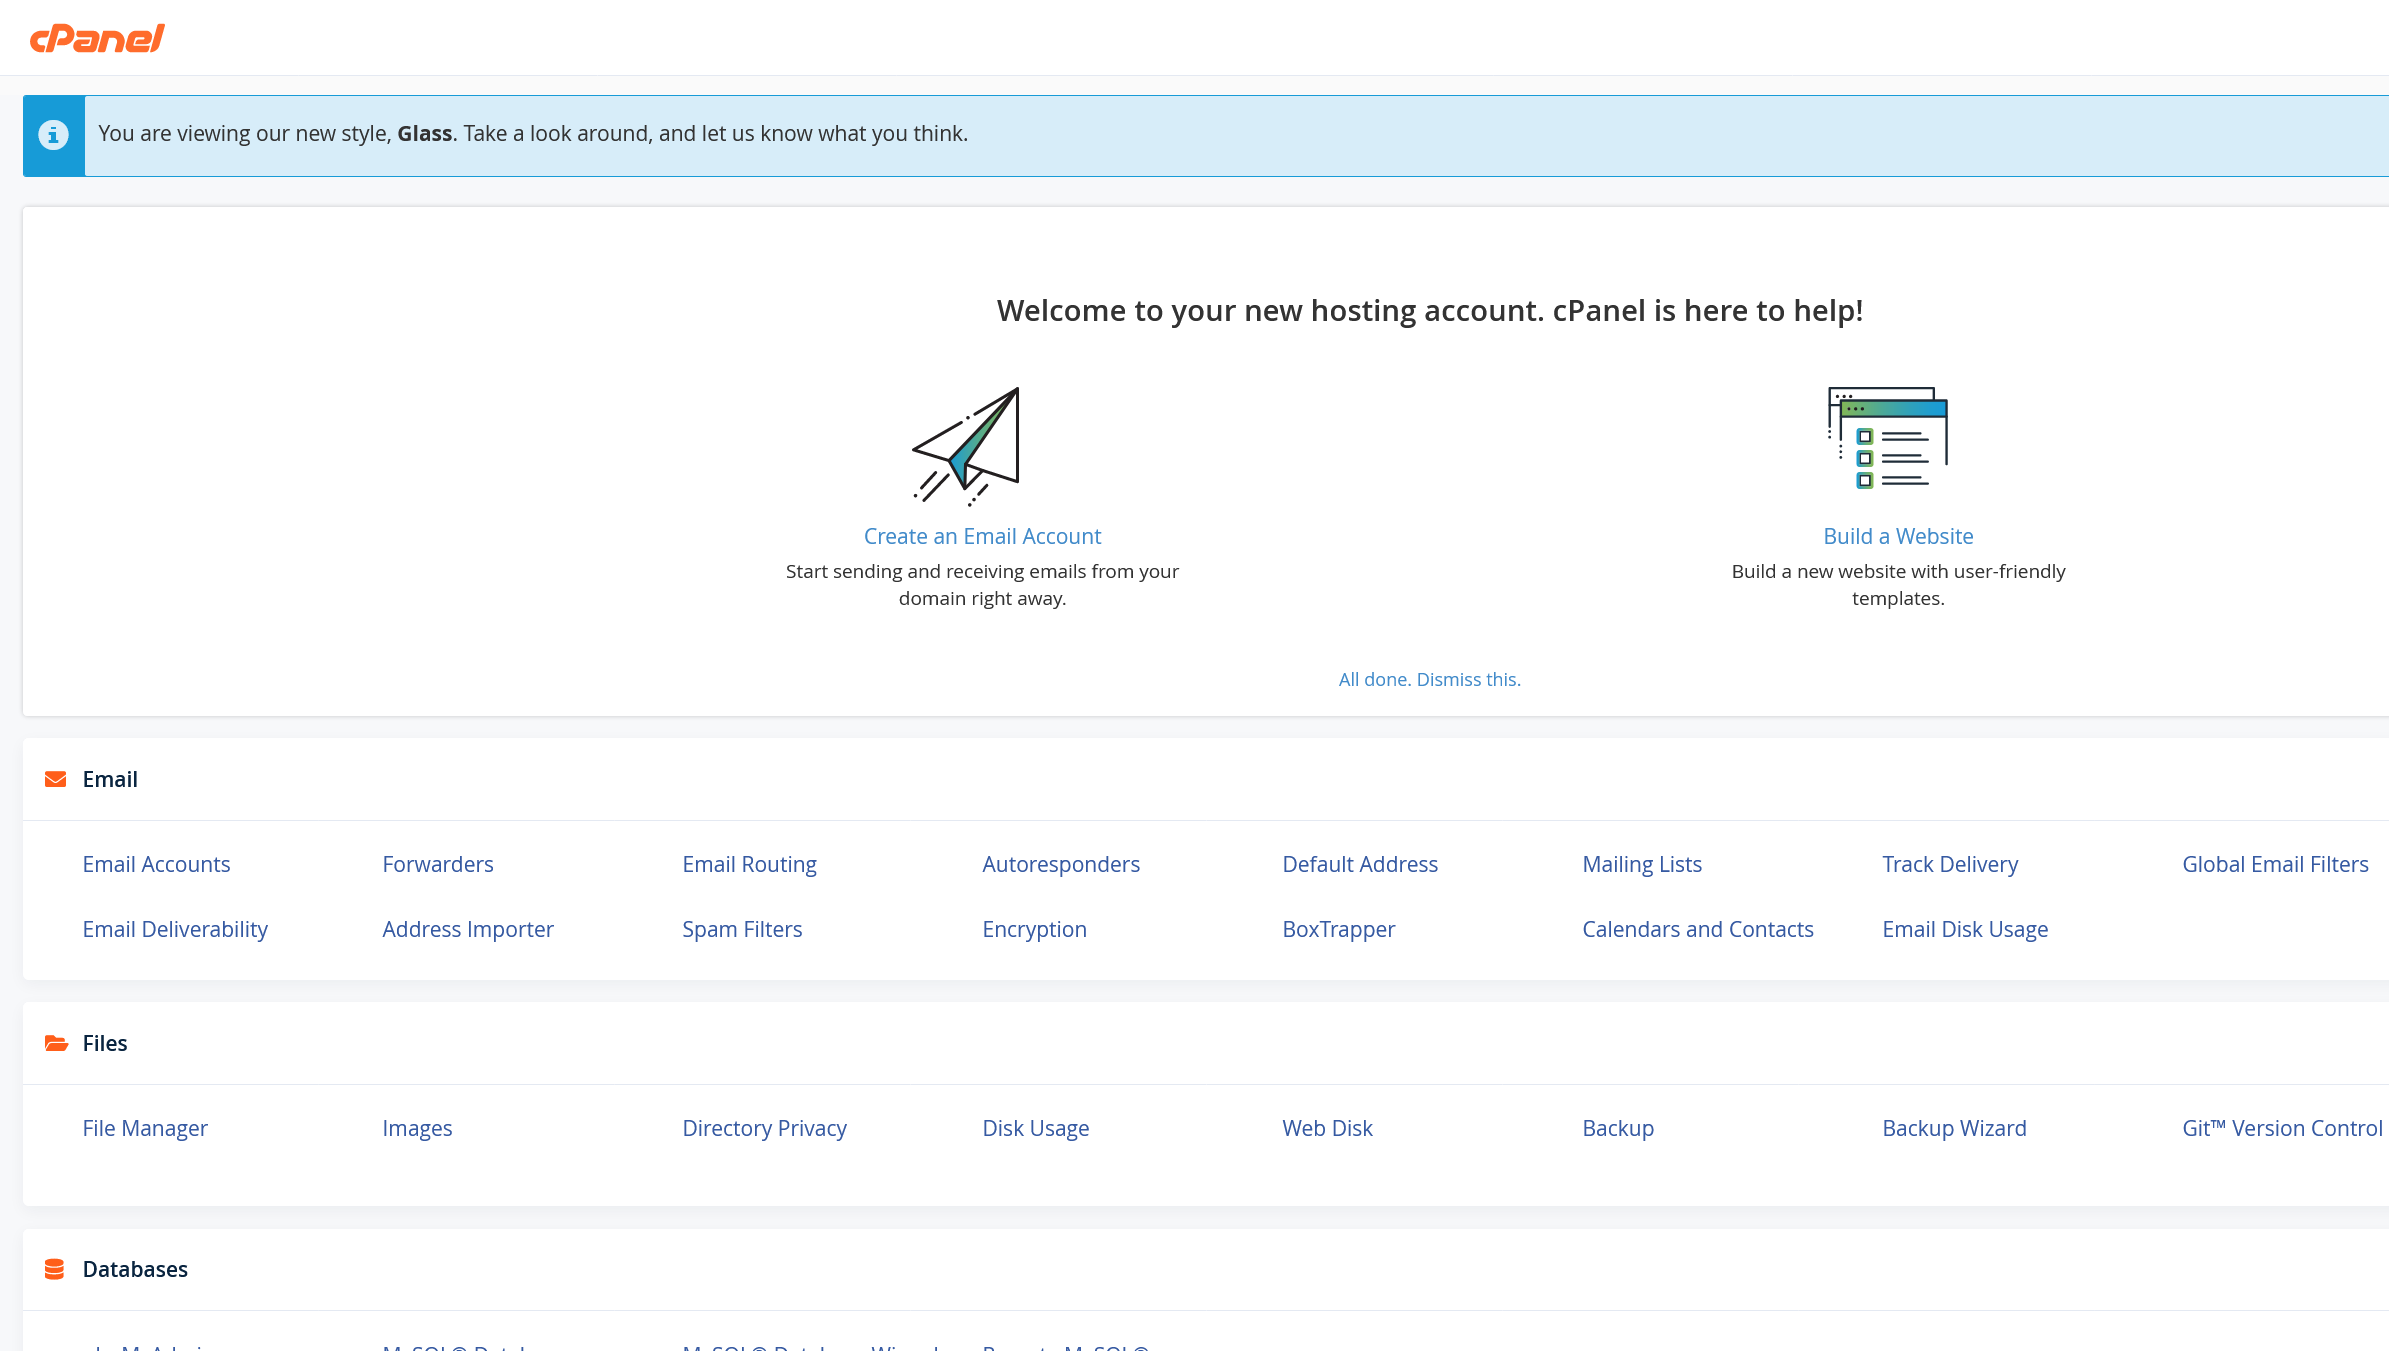
After logging in, you get an overview as shown in the screenshot below. While you are working in cPanel and if you want to return to this overview, click the icon with the nine blocks at the top left.
From cPanel you manage all matters related to hosting your domain. In part 5 of this tutorial series ‘Website, Database and SSL' we will work with cPanel ourselves.
Do you want to create more users? Then repeat step 3 and 4 above. It is usually not desirable to give new users (if they're your customers) shell access or add them to the root user group.
Changing cPanel contact details
WHM offers the option to automatically send alerts under pre-specified conditions. The only option that is configured by default is email alerts, but they are sent to nobody@example.com. You change this email address in WHM by following the steps below.
Step 1
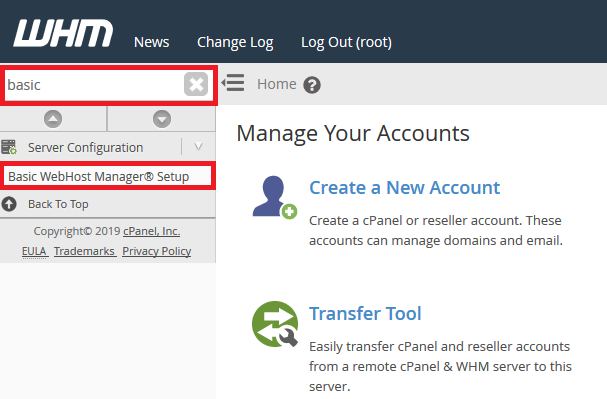
Log back in to WHM and click 'Basic WebHost Manager Setup'.
Step 2
Edit the email address nobody@example.com and click 'Save Changes'.

Configure IPv6
A new installation of cPanel/WHM does not come with IPv6 preconfigured. It's important to do configure a shared IPv6 address, because not doing so may lead to problems when using AutoSSL to secure your websites with SSL certificates.
Step 1
Copy your IPv6 address as found in the TransIP control panel (manage > network information) and log in to WHM.
Step 2
Click on 'Basic WebHost Manager Setup'.
Step 3
Scroll down to 'Basic Config' and provide your VPS' IPv6 address in the field behind 'The IPv6 address (only one address) to use to set up shared IPv6 virtual hosts.'.

Step 4
Scroll down and click on 'Save changes'.

Step 5
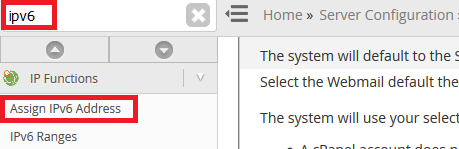
The IPv6 address won't be available automatically for cPanel users. In WHM, search for 'ipv6' and click on 'Assign IPv6 Address'.
Step 6
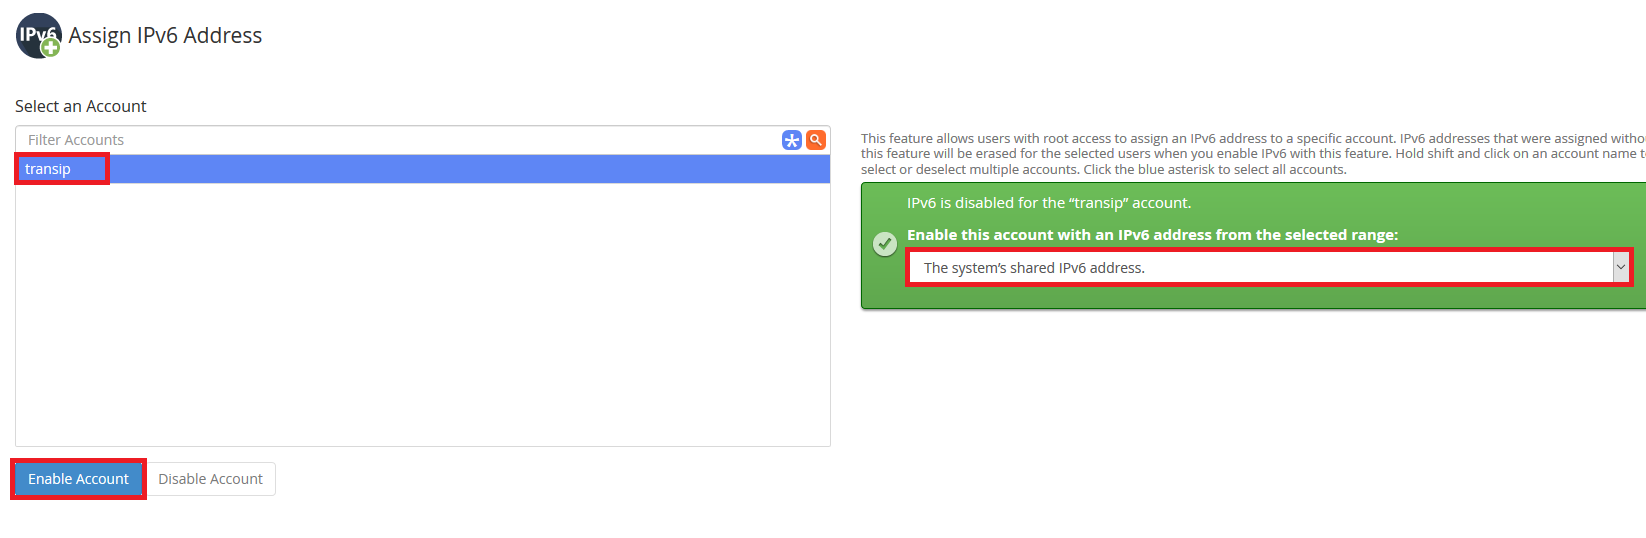
Select the desired user name and click on 'Enable Account'.
Repeat this step when you add new cPanel users.
Don't forget to add your IPv6 address to your domain(s)'s DNS records.
We have arrived at the end of this introductory chapter. Click here to continue to Part 2: Securing your VPS.
Should you have any questions left regarding this article, do not hesitate to contact our support department. You can reach them via the ‘Contact Us’ button at the bottom of this page.