This is the sixth part of our cPanel Tutorial Series. If you are setting up a new VPS, then we recommend starting with part 1.
In order to send and receive email with your domain, cPanel uses Exim and Dovecot respectively as an outgoing and incoming email server. CPanel automatically protects your email with TLS.
In this part we discuss the following topics:
- Setting up reverse DNS
- Adjusting the email limit
- Creating an email address
- Logging in to the webmail
- General settings for use in email software
- Spam protection
Mail SNI (i.e. SSL for multiple domains on one IP) has been a part of cPanel / WHM as of cPanel 60.
For security reasons, your email ports on a new VPS are closed. Reverse DNS must be configured for your VPS before you can open them. You will also have to pay an invoice successfully from your account. Please note: a standard period of 17 days applies for the latter.
After setting up reverse DNS you can ask our support department to open the ports manually. They will make a consideration and possibly open the gates at an accelerated rate.
Setting up reverse DNS
To prevent your mail from being stopped as spam, set reverse DNS for the IP addresses of your VPS. More information about reverse DNS can be found in our reverse DNS article. Follow these steps to set up reverse DNS:
Step 1
Go to the Blade VPS / VPS & Colocation page inside the control panel.
Step 2
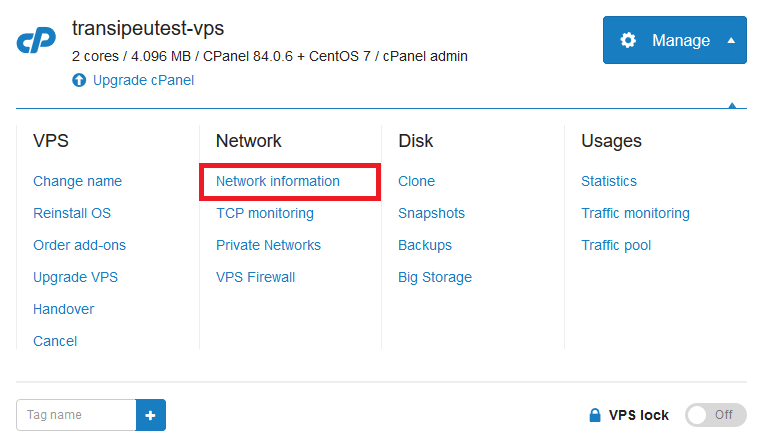
Click the name of your VPS or colocation, and then click ‘Manage’ > 'Network information'.
Step 3
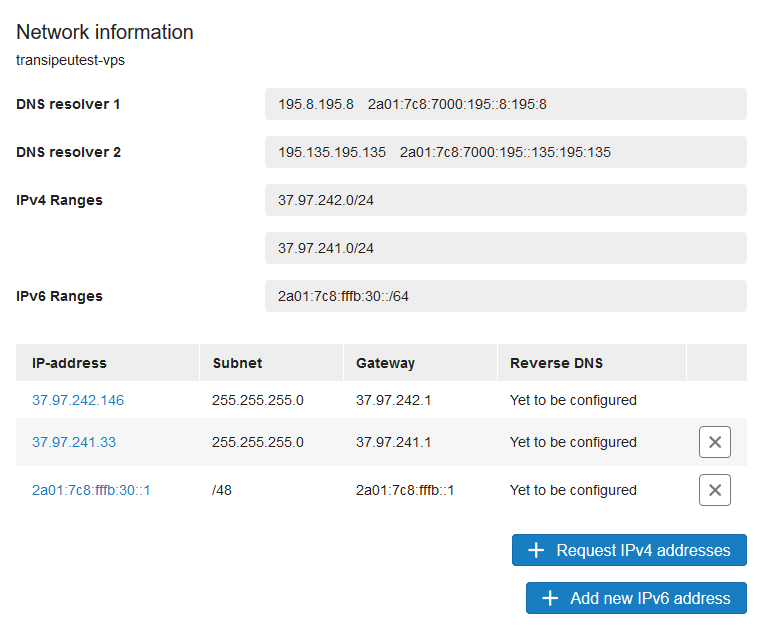
Click on the IP address of which you want to set the reverse DNS.
Step 4
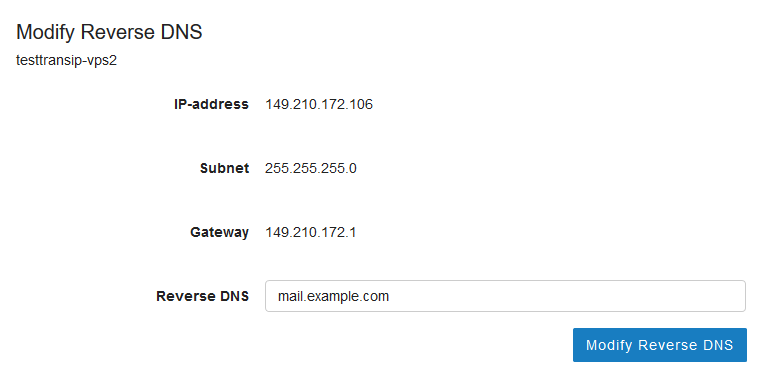
Enter the desired reverse DNS name and click ‘Modify reverse DNS’ to save it.
Step 5
Next, set up DNS records for your chosen reverse DNS in your DNS records. For example, in the screenshot above there are 4 IP addresses for which you would create the following records in your DNS settings.
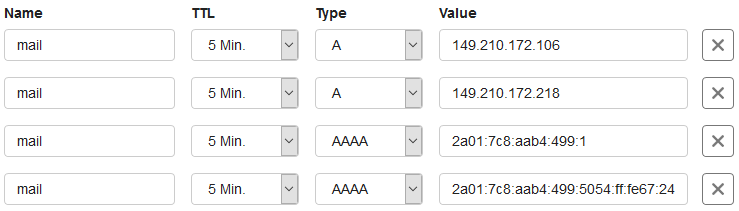
If you also use the IPs for which you set up reverse DNS for the root (@) of your domain, you can use CNAME records as shown below.

When entering the reverse DNS, preferably choose the hostname of your VPS or the domain from which you send mail: for example, server.yourdomainname.com or mail.yourdomainname.com.
Adjusting the email limit
A new installation of cPanel / WHM has no limit on sending emails per hour or per day (unless you use the VPS mail service).
It may be desirable to adjust this limit, for example, to prevent one of your customers from deliberately sending a lot of spam and the IP of your VPS suffering badly. If you do not want to set a limit, make sure that you have at least set up a strong spam protection, see later in this section.
There is no setting to adjust a limit per day, but you can have a notification sent when you exceed a certain number.
The default mail limit per hour for all domains
Use the steps below to set a limit for mail per hour on your server. You can overwrite this per domain individually (see later in this section).
Step 1
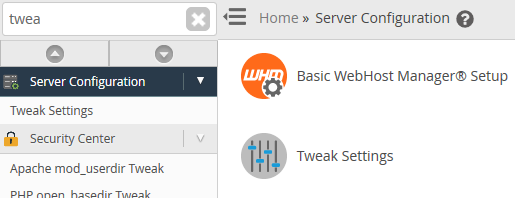
Log in to WHM and navigate to 'Server Configuration'> 'Tweak Settings' (or search for Tweak Settings at the top left).
Step 2
Click 'Mail' and adjust the values of 'Max Hourly emails per domain' and possibly also the value for 'Number of emails a domain may send per day before the system sends a notification'. Then scroll down and click 'Save'.

Please note: This page contains even more useful settings, such as the maximum size of new email accounts. Take a look at the options you find here and adjust them as desired.
Adjust the default mail limit per hour for a specific cPanel account
Step 1
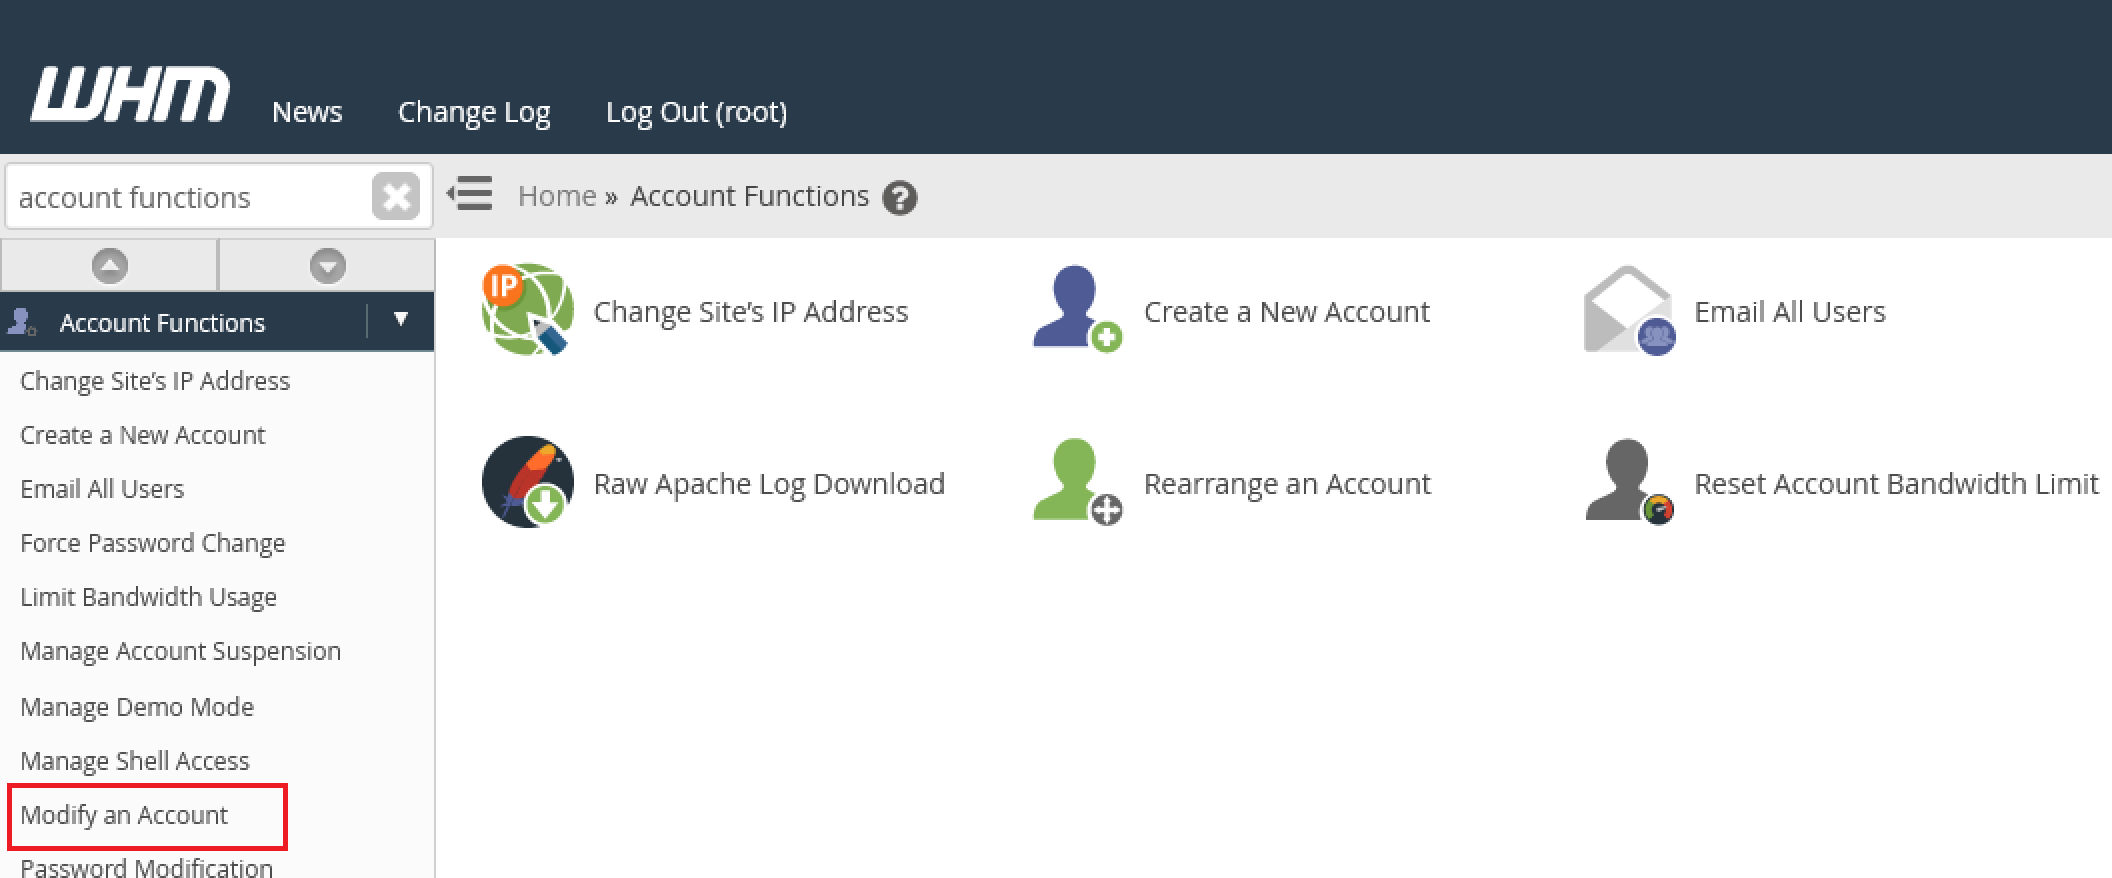
In WHM, search for 'Modify an Account'. If only one cPanel account is active on your server, proceed to Step 3.
Step 2
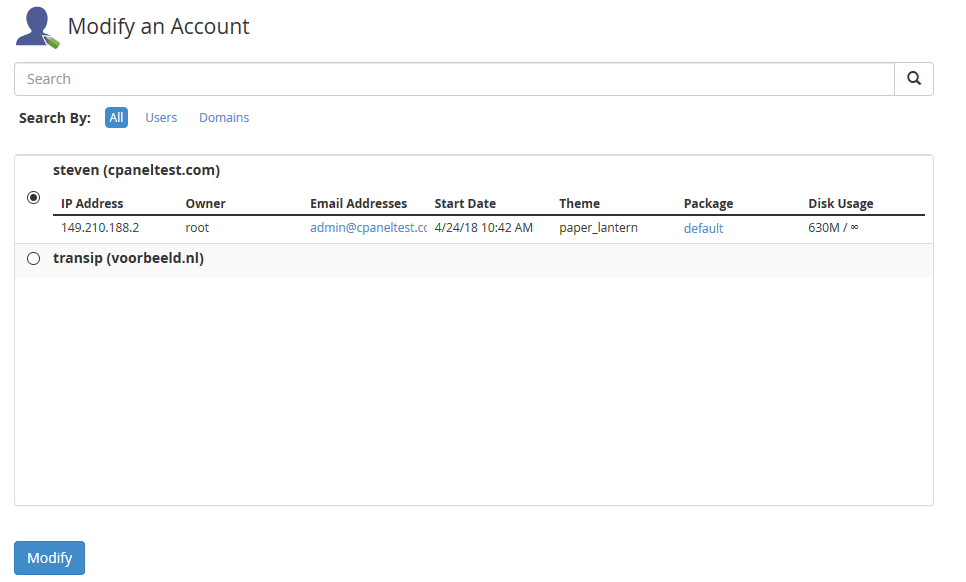
Select the account whose limit you want to adjust and click 'Modify'.
Step 3
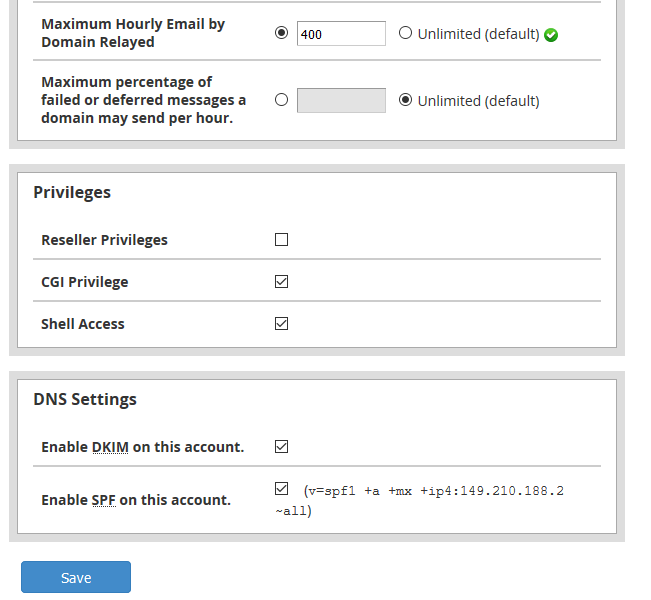
Scroll down to 'Resource Limits' and adjust the value of 'Maximum Hourly Email by Domain Relayed'. Click 'Save' at the bottom of the page to save the changes.
Adjust the default mail limit per hour per domain
The email limit per hour per domain can only be adjusted from command line as root user using the following steps:
Step 1
Open /var/cpanel/users/username with a text editor. Replace 'username' by the name of the actual user who has included the desired domain in his account.
sudo nano /var/cpanel/users/username
Step 2
Add the following line in the file, replacing example.com by the name of your domain and 500 by the limit that you actually want to set.
MAX_EMAIL_PER_HOUR-example.com=500
Step 3
Save the changes (ctrl + x> y> enter) and execute the following command to process the change.
/usr/local/cpanel/scripts/updateuserdomains
Creating an email address
In cPanel, you can easily create an email address for a domain that you have access to in your account:
Step 1
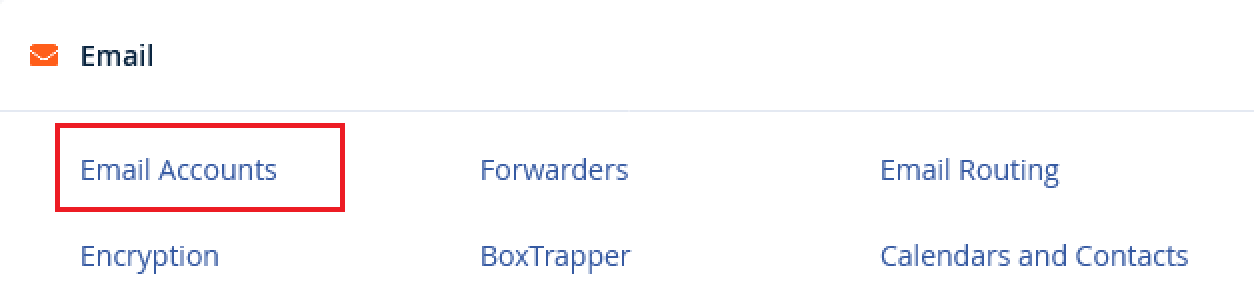
Log in to cPanel and go to 'Email'> 'Email Accounts'.
Step 2
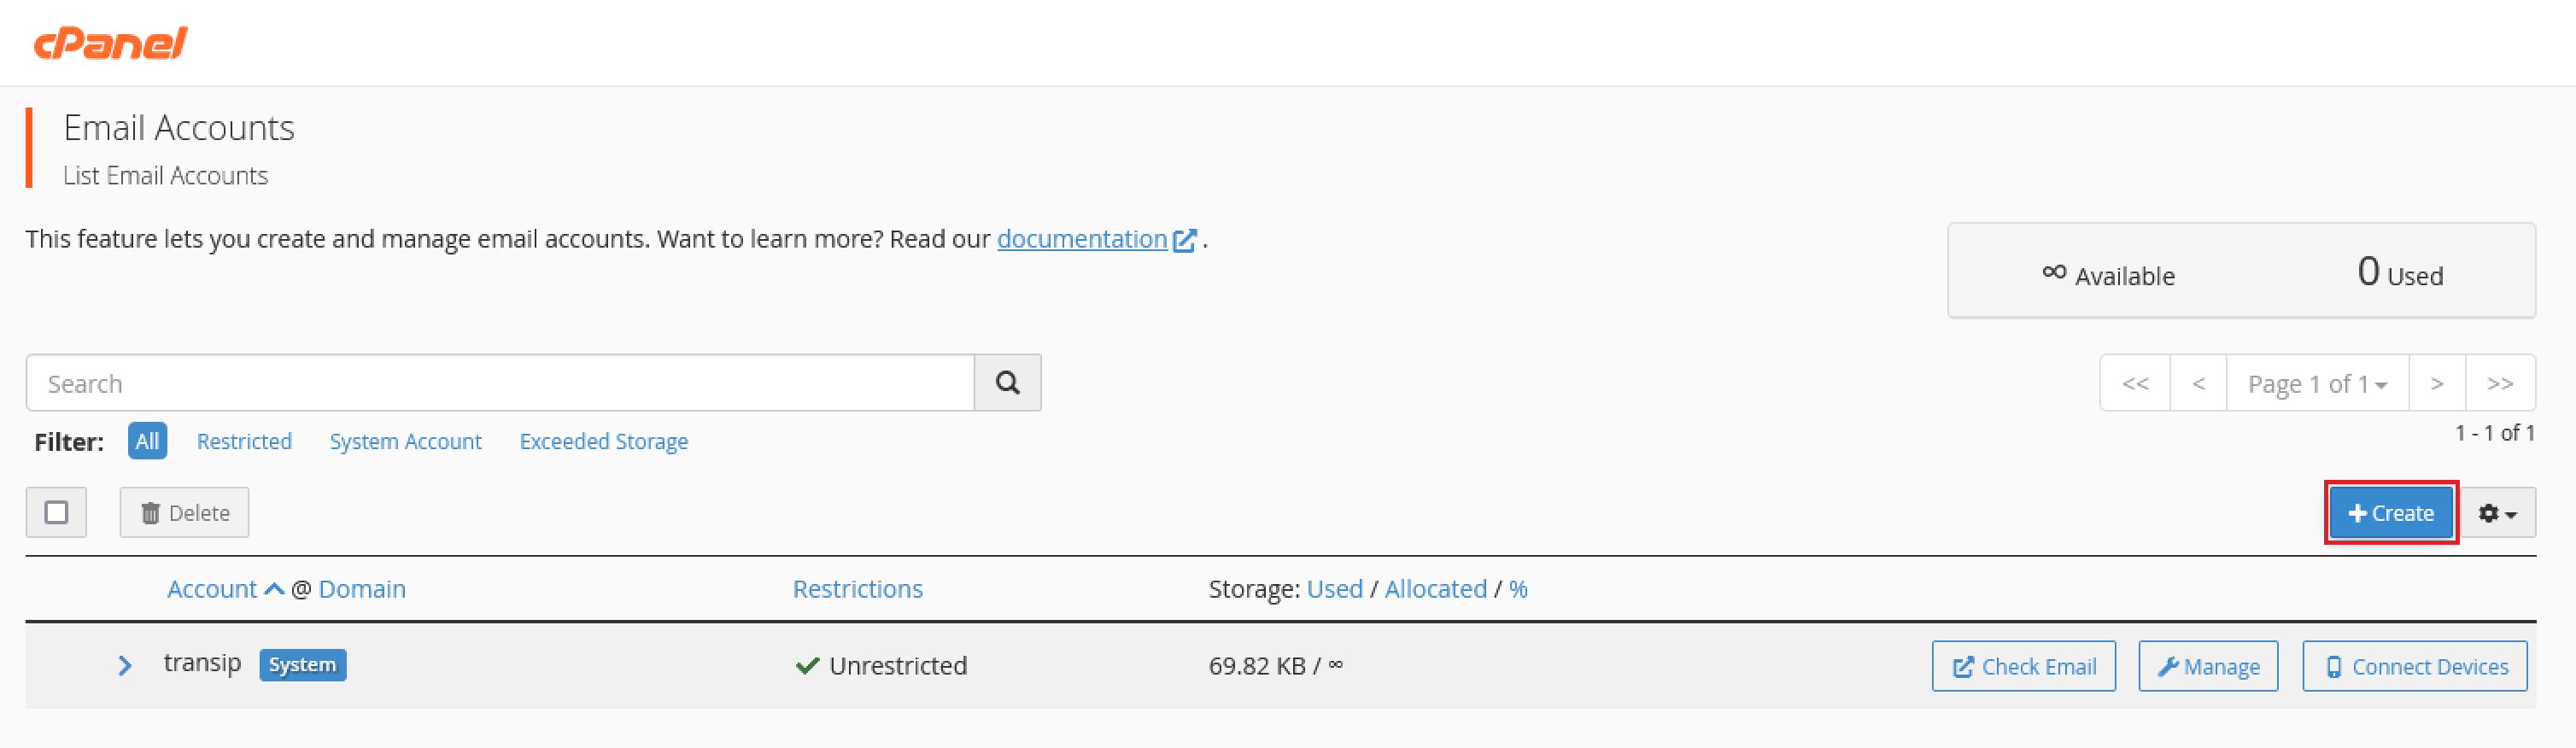
Next, click on 'Create'.
Enter a name for the email address and select the domain for which you are creating the address from the drop-down menu.
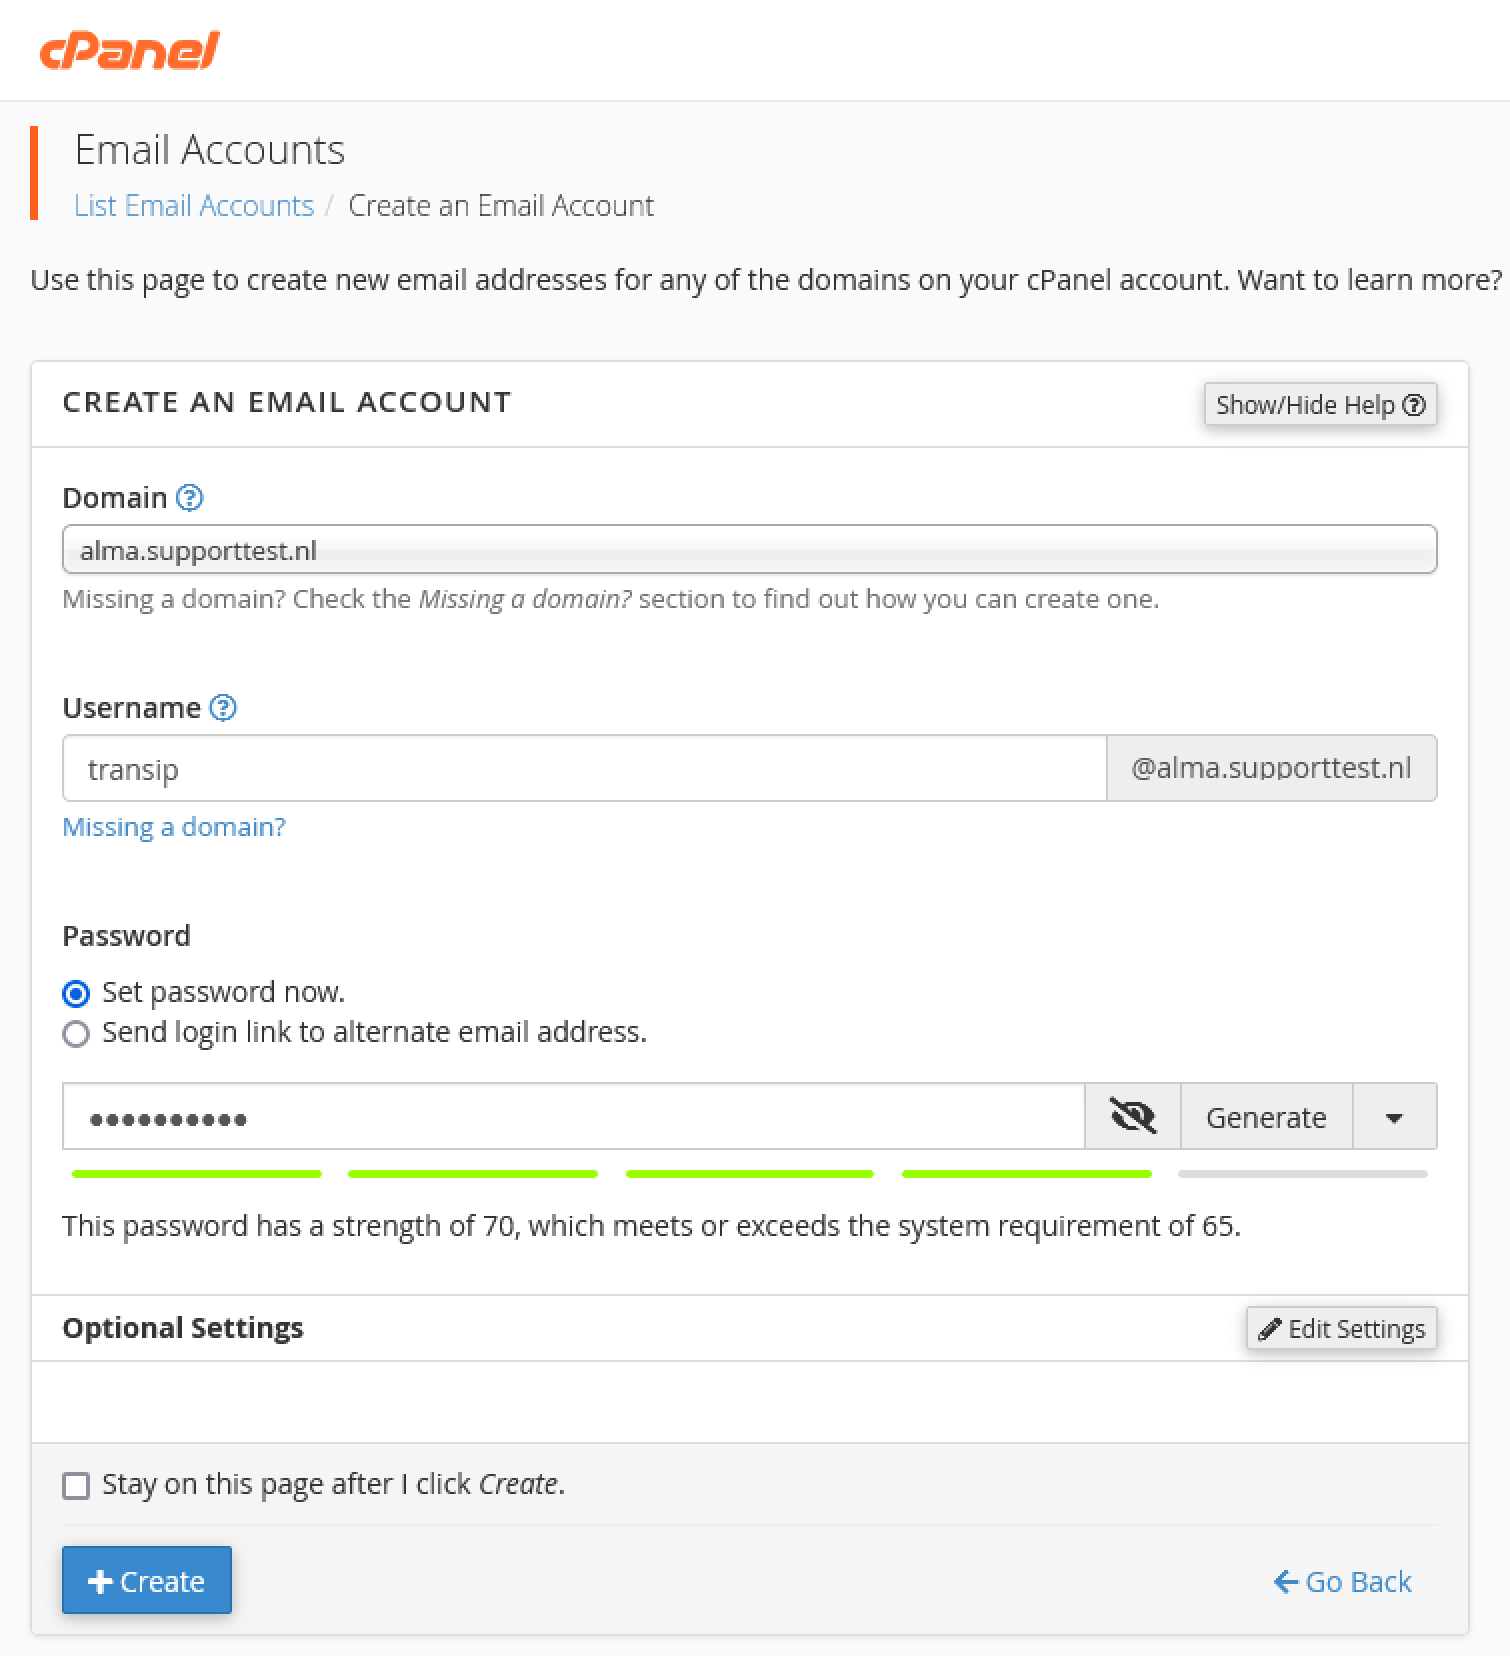
Make sure you use a strong password. If desired, you can also adjust the limit of the size of the address here. Finally, click 'Create Account'.
Please note: cPanel is kind enough to offer you the option to directly send an email with instructions for configuring your email address (Send welcome email with mail client configuration instructions). We recommend using this option and to examine the sent mail.
Logging in to the webmail
CPanel / WHM uses Horde, Roundcube, and Squirrelmail for the webmail. When you log in to the webmail for the first time, you can choose which one you want to use by default.
This is mainly a matter of personal preference and you are free to choose one of these three. We recommend RoundCube if you are not sure which one you want to choose. Our own webmail client used for our email and web hosting packages is a derivative of Roundcube and our DirectAdmin and Plesk installations use RoundCube.
Step 1
Log in to the webmail on the IP or the hostname of your VPS with the :2096 addition, for example, https://server.cpaneltest.com:2096/.
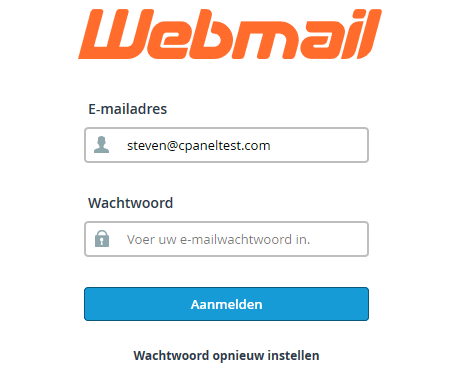
Step 2
You will be greeted by the settings page of the webmail.
- Under Roundcube click on 'Open' to go to your inbox and optionally select 'Open my inbox when I log in' to automatically be brought to your inbox.
- Under 'Set up email on your device' you can select the type of device you'd like to configure your email for and the corresponding email address. After clicking 'Send' you'll receive instructions on the provied email address on how to configure your email client.

General settings for use in email software
You probably want to use your email address in an app, email software, or to send emails from your website. The settings are the same in all cases (see also the previous section, 'Logging in to the webmail'):
- Server: yourdomain.com
- Port: 993
- SSL: enabled
- Username: your email address
- Password: the password that you have set for this email address
- Server: yourdomain.com
- Port: 995
- SSL: enabled
- Username: your email address
- Password: the password that you have set for this email address
Outgoing email (SMTP)
- Server: yourdomain.com
- Port: 465
- SSL: enabled
- Username: your email address
- Password: the password that you have set for this email address
- Replace com with your actual domain name.
- There are many email apps available for your phone. If the mail in your used app does not work, try another one, such as the Outlook mobile app (used in our own test).
- Do you use Windows mail? Then choose 'Other account' when configuring Windows mail.
Spam protection
Spam is very annoying, but fortunately, cPanel automatically offers you a range of tools to stop spam which are enabled by default, namely:
- SpamAssassin
- BoxTrapper
- SMTP restriction
Within these tools, many configuration options are possible. Because of the impact these tools can have on mail sent to you and because most of these options are enabled by default, we advise you to read the explanation below carefully.
SpamAssassin
SpamAssassin checks the content, title, and headers of messages for possible spam and gives each message a score. When a predetermined score is reached, the message is marked as spam and the title of the message will be adjusted. We will explain how you adjust the settings and what you can do with them below:
Step 1
Log in to WHM and look at 'Exim Configuration Manager' at the top left.
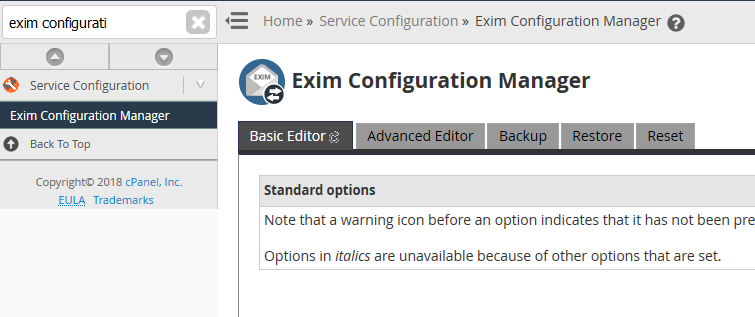
Step 2
You will immediately see all options of the Exim Configuration Manager. The SpamAssassin options can be found under ACL Options, Filters, and ApacheSpamAssassin™Options.
ACL Options
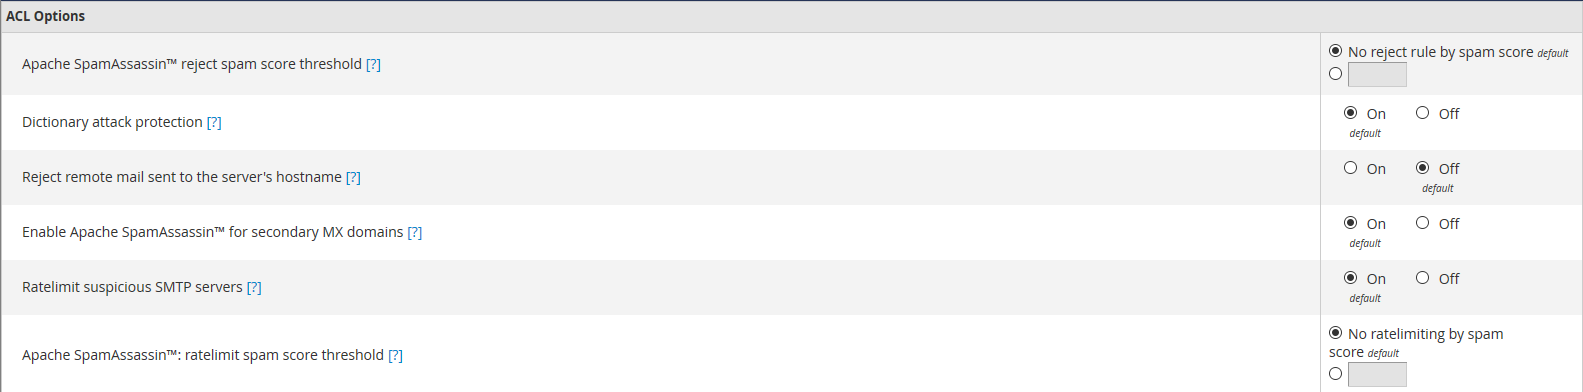
- Apache SpamAssassin ™ reject spam score threshold: Incoming messages that are designated as spam are stopped instead of subjects being rewritten (see Filters), or the mail is moved to your spam box. You will never see messages that meet these criteria in your mail. If you use this option, we advise you to use a fairly generous score so only messages that are definitely spam are stopped, for example with a score of 10-11.
- Enable Apache SpamAssassin ™ for secondary MX domains: If you use a secondary MX record (i.e. multiple mail servers that each have their own mx record), then SpamAssassin scans the mails sent to domains that use them. We recommend leaving this option enabled.
- Apache SpamAssassin ™ ratelimit spam score threshold: If you receive a lot of spam from a specific source, this option ensures that there is a limit to the amount of mail they can send you.
Filters
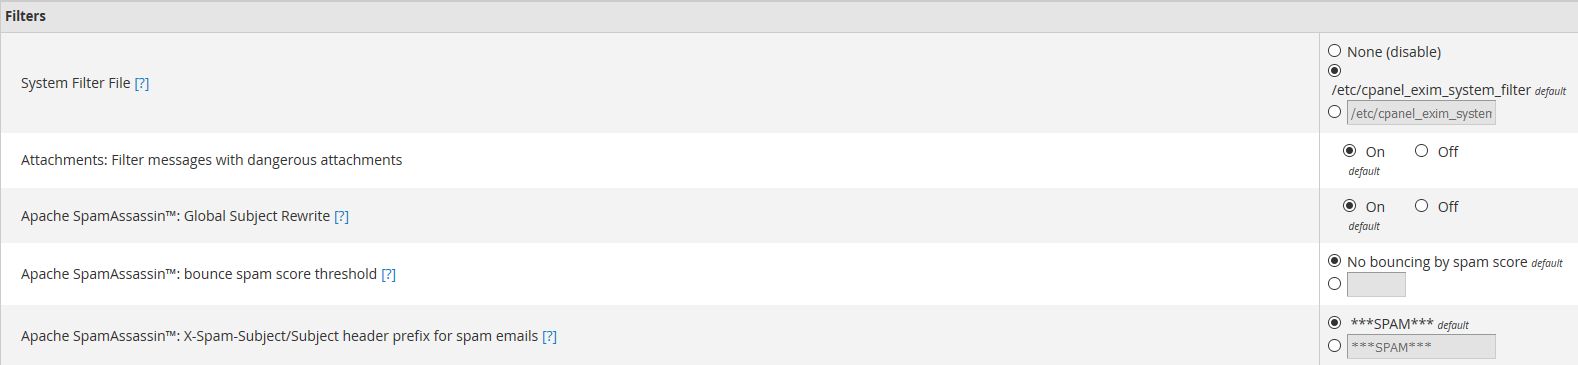
- Apache SpamAssassin ™ Global Subject Rewrite: The subject of an email gets an addition, so you can easily recognize it as spam (see below).
- Apache SpamAssassin ™ bounce spam score threshold: Sends a bounce email to the sender of spam when mail reaches the set score. This can work positively and negatively: a conscious spammer knows that you are using a filter and will try to find something to work around it, but someone with an infected computer / server will find out more quickly that he or she has an infected computer / server thanks to a bounce message.
- Apache SpamAssassin ™ X-Spam-Subject header prefix for spam emails: Set what is added to the subject of a message when a message is recognized as spam. By default, this is '*** spam ***' and would ensure that a message with the subject 'test' is rewritten to '*** spam *** test'. To view the scores, we recommend changing this option to '*** spam *** $ spam_score'.
Apache SpamAssassin ™ Options
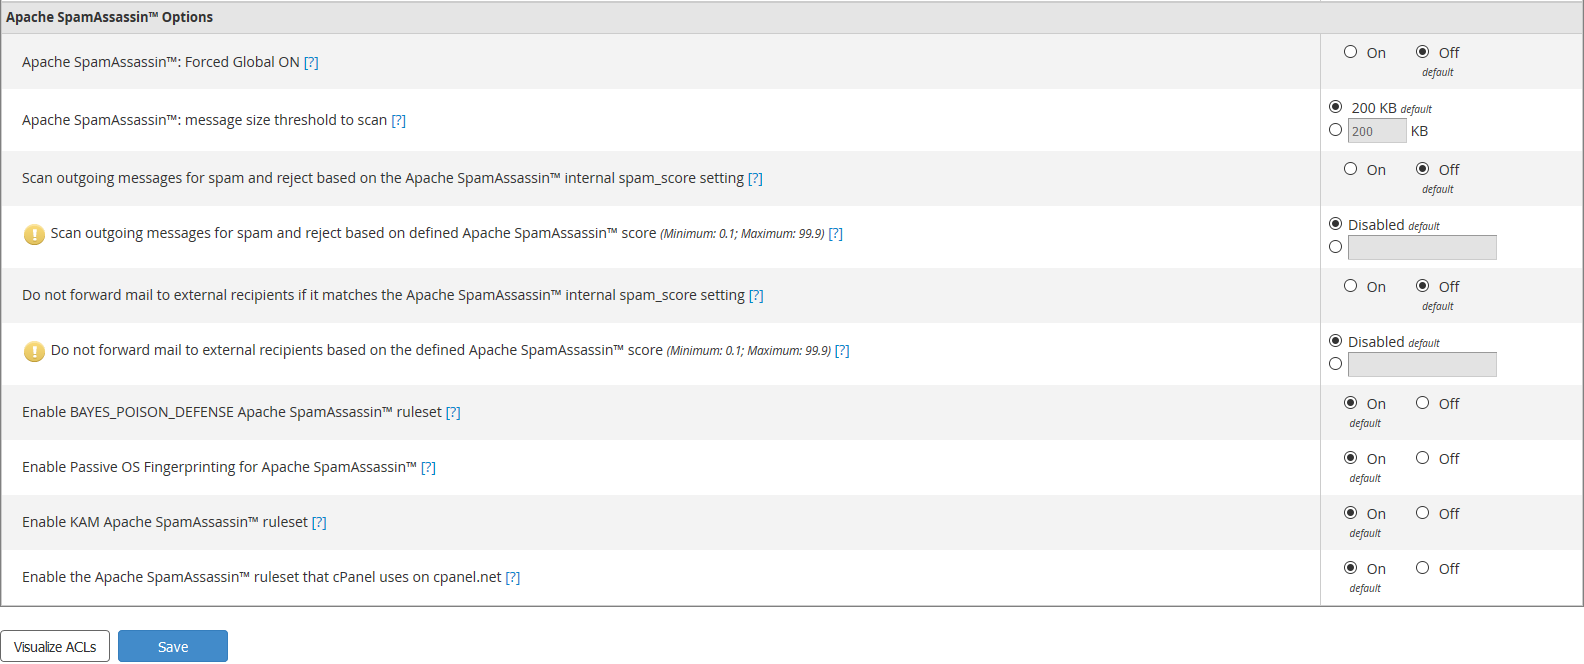
- Apache SpamAssassin ™ Forced Global ON: Enable SpamAssassin for all cPanel accounts without disabling SpamAssassin option. This is turned off by default, but we recommend turning it on.
- Apache SpamAssassin ™ message size threshold to scan: The maximum size of emails scanned by SpamAssassin. Many spam mails are only a few kb in size so scanning larger mails often makes little sense, but there is certainly nothing wrong with doing so.
- Scan outgoing messages for spam and reject based on the Apache SpamAssassin ™ internal spam_score setting: Scans all outgoing messages from your VPS and stops all messages that reach the set spam score (default 5).
This is a very useful option that we highly recommend. For example, suppose you created cPanel accounts for your customers and they host their own sites but never update them, then there is a plausible chance that sooner or later a vulnerability will be found, and a domain will start sending spam. Thanks to this option, you get rid of that spam, so your VPS does not get a bad IP reputation. - Scan outgoing messages for spam and reject based on defined Apache SpamAssassin ™ score: This option does the same as the previous one, but this allows you to determine the spam score upon which SpamAssassin takes action when outgoing mail is recognized as spam.
- Do not forward mail to external recipients if it matches the Apache SpamAssassin ™ internal spam_score setting: Mail that is addressed to your VPS and which is redirected is also scanned by SpamAssassin and stopped if it is marked as spam.
- Do not forward mail to external recipients based on the defined Apache SpamAssassin ™ score: Same as the previous option but allows you to set a score yourself.
- Enable BAYES_POISON_DEFENSE Apache SpamAssassin ™ ruleset: SpamAssassin trains itself with this option in recognizing Bayesian poisoning.
- Enable Passive OS Fingerprinting for Apache SpamAssassin ™: SpamAssassin records the operating systems from which spam is sent.
- Enable KAM Apache SpamAssassin ™ ruleset: Enables the ruleset for SpamAssassin developed by Kevin A. McGrail. The publication with accompanying rules can be found here.
- Enable the Apache SpamAssassin ™ ruleset that cPanel uses on cpanel.net: The developers of cPanel also use SpamAssassin and saw messages slip through the default controls of SpamAssassin. They have developed a ruleset to stop such messages themselves. You can switch the ruleset on or off with this option.
Score
By default, SpamAssassin marks mail as spam when it reaches a score of 5. This base value can only be adjusted via command line using the following commands:
sudo nano /etc/mail/spamassassin/local.cf
Uncomment / delete the # in front of required_score 5.0 so this line looks like this:
required_score 5.0
You may wonder if you should adjust this value. To illustrate how heavily a score of 5 weighs: the message below achieves a score of 6.5.
Subject: buy viagra today
Contents:
hi dear,

BUY VIAGRA AT LOW PRICE!!!
Enlarge your penis today!
Only $$$$$$ cheap

Regards,
Viagra sales team
The lower the score, the stricter the control. In this example, only the subject matter and the content are wrong, but in practice, you see that there are usually more points on which spam is triggered, and they are more likely to get scores of 8+.
BoxTrapper
BoxTrapper is a very strong spam protection that can eliminate spam (almost) completely but has some snags.
BoxTrapper uses a system called 'challenge-response verification' to filter spam. If someone sends you an email, that person will receive a verification message. If that verification (a single click on a link) is not executed, the original message will not be delivered to you. You can use whitelists to whitelist domains, email addresses, etc. Everyone you email is automatically included in the whitelist.
BoxTrapper is set to server level by default but only works if you enable it per email address in cPanel as follows:
Step 1
Log in to WHM and navigate to 'Server Configuration'> 'Tweak Settings' (or search for Tweak Settings at the top left).
Step 2
Click the 'mail' tab and scroll down to the 'Enable BoxTrapper spam trap' option and switch it on / off as desired. Finally, click 'Save' at the bottom of the page.

Optional: Adjust BoxTrapper settings
Step 3
The settings of BoxTrapper can only be changed in cPanel per email address. Log in to cPanel and click 'BoxTrapper' under 'EMAIL'.
Step 4
Click 'Manage' next to the email address for which you want to customize BoxTrapper.

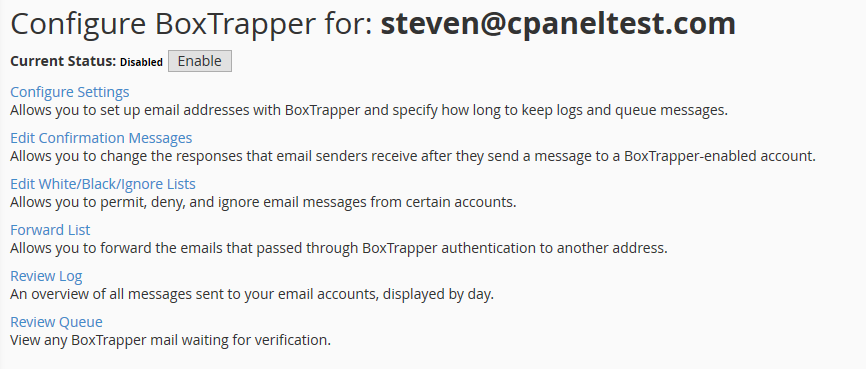
Step 5
You will see the overview below. Using 'Enable' you enable BoxTrapper for this subject. You are free to change the configuration here, such as the whitelist under 'Edit White/Black/Ignore Lists'. The individual options fall outside the scope of this manual.
SMTP restriction
SMTP restriction ensures that only Exim, Mailman mailing list software, and the root user can connect to other SMTP servers. As a result, users and services (i.e. malware e.d.) cannot circumvent your mail server to send spam. We therefore recommend turning this option on.
Step 1
Log in to WHM and navigate to 'Server Configuration'> 'Tweak Settings' (or search for Tweak Settings at the top left).
Step 2
On the page that appears, scroll all the way down and turn the 'Restrict outgoing SMTP to root, exim, and mailman (FKA SMTP Tweak)' option to 'On'. Then scroll all the way down and click 'Save'.

Your email address (es) is now available for friends, family, and customers (and the rest of the world)! proceed to the next section ‘Part 7: Additional articles and other questions' for some final tips.
Should you have any questions left regarding this article, do not hesitate to contact our support department. You can reach them via the ‘ContactUs’ button at the bottom of this page.
If you want to discuss this article with other users, please leave a message under 'Comments'.