This is the third part of our cPanel Tutorial Series. If you are setting up a new VPS with cPanel, we recommend starting with part 1.
Our pre-installed version of cPanel comes with AlmaLinux as the underlying operating system. Updates from software used by cPanel & WHM (e.g. PHP and MySQL, but not Fail2Ban for example) are best done from cPanel for optimal compatibility. If you install versions from command line, you increase the chance that a problem arises because your installed version may not work when combined with cPanel & WHM.
In this part we cover the following topics:
- Updating cPanel & WHM
- Updating AlmaLinux
- Adding additional PHP versions in WHM
- Adjusting the default PHP version and enabling PHP-FPM in WHM
- Adjusting the PHP version per domain
- Adjusting PHP.ini in WHM
- Updating and modifying the SQL database version in WHM
Updating cPanel & WHM
cPanel automatically checks for software updates on a daily basis and applies them to your VPS. You can easily upgrade the version of cPanel & WHM itself from WHM in two steps.
Step 1
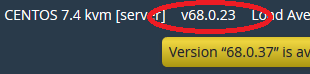
Log in to WHM and click on the version number of cPanel & WHM at the top right.
Step 2
Then click 'Click to Upgrade' to update cPanel & WHM.
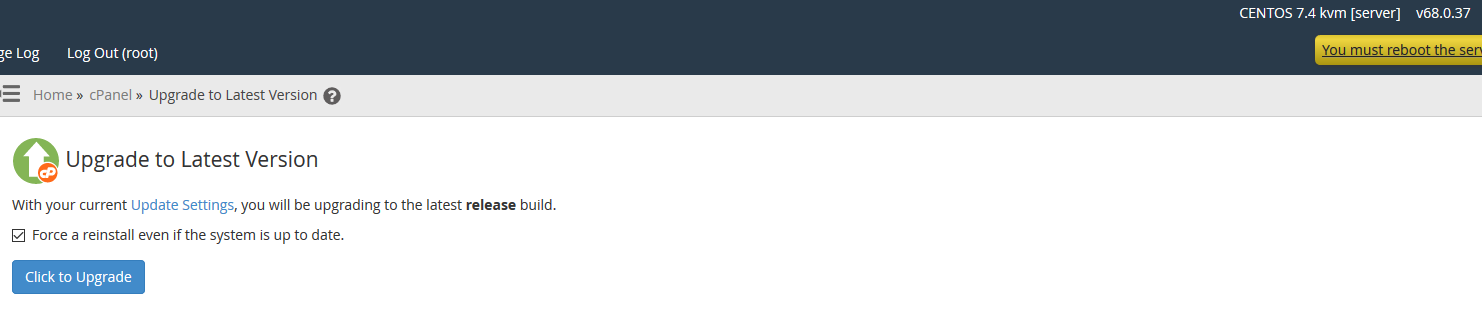
Reboot your VPS to process the changes afterwards.
Updating AlmaLinux
There are two options to update cPanel, WHM and AlmaLinux at the same time: using EasyApache 4, or from the command line of your VPS with the command below. You have already completed these steps if you are following this tutorial series while installing Fail2Ban and / or ClamAV.
Update from command line
Connect to your VPS via SSH or the VPS console in your control panel and use the command:
sudo yum update
You can also update specific software, for example fail2ban, by specifying the software name:
sudo dnf -y update fail2ban
For software provided by cPanel / WHM, we recommend using the steps below.
Updating from WHM
Step 1
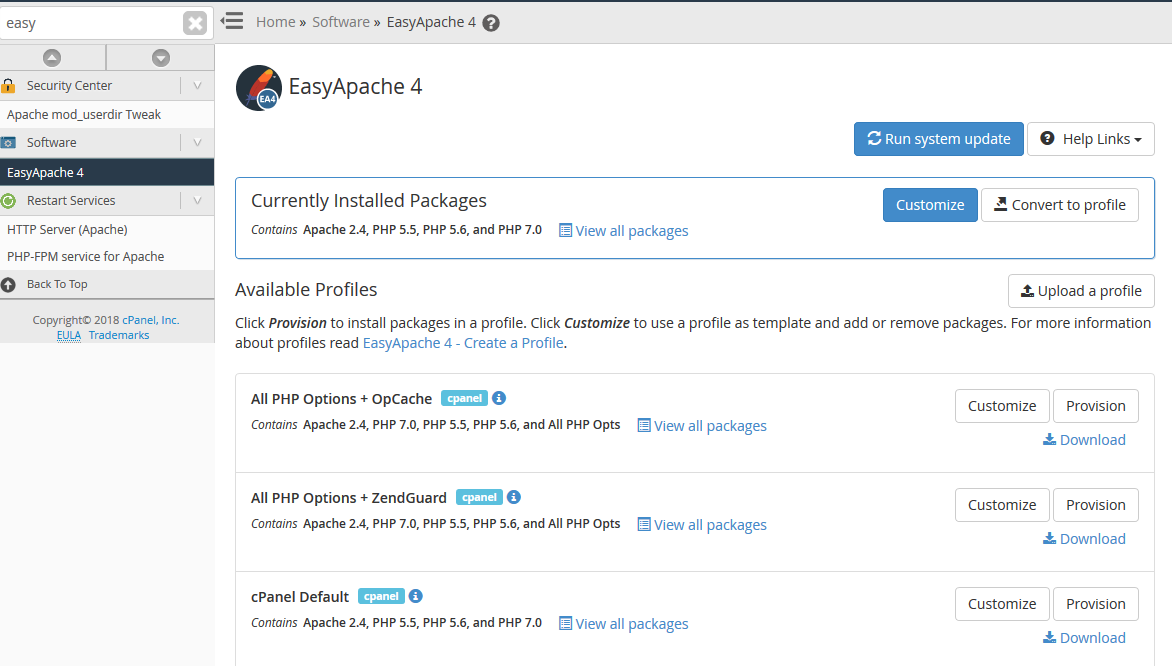
Log in to WHM (port 2087) and search for 'easy' in the search field at the top left. Click 'EasyApache 4' in the search results under 'Software'. You will see an overview as shown in the example below.
Step 2
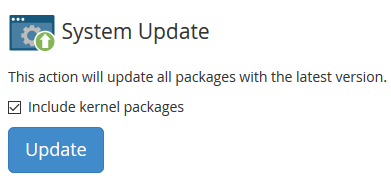
Click 'Run system update'> 'Update'.
Step 3
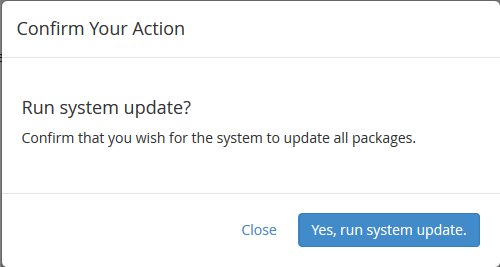
WHM then asks for permission to perform the updates. Click 'Yes, run system update'.
Not every change to your VPS is immediately implemented but will only be processed after a restart. We therefore recommend that you restart your VPS after a software update.
Adding additional PHP versions in WHM
cPanel uses EasyApache 4 for the management of Apache and PHP and at the time of this article's latest update (november 2021) is supplied with Apache 2.4, PHP 7.4 and PHP 8.0. If you want to use another version of PHP in cPanel, you have to make it available in WHM first.
Step 1
Log in to WHM (port 2087) and search for 'easy' in the search field at the top left. Click 'EasyApache 4' in the search results under 'Software'. You will see an overview as shown in the example below.
Step 2
Click on 'Customize' next to 'Currently Installed Packages'.

Step 3
The EasyApache 4 menu appears and 'Apache MPM' is opened by default.
Click 'PHP Versions' in the EasyApache 4 menu. You will see an overview of the PHP versions that are available in your cPanel & WHM installation. Turn PHP versions on or off as desired and click 'Review' in the EasyApache 4 menu.
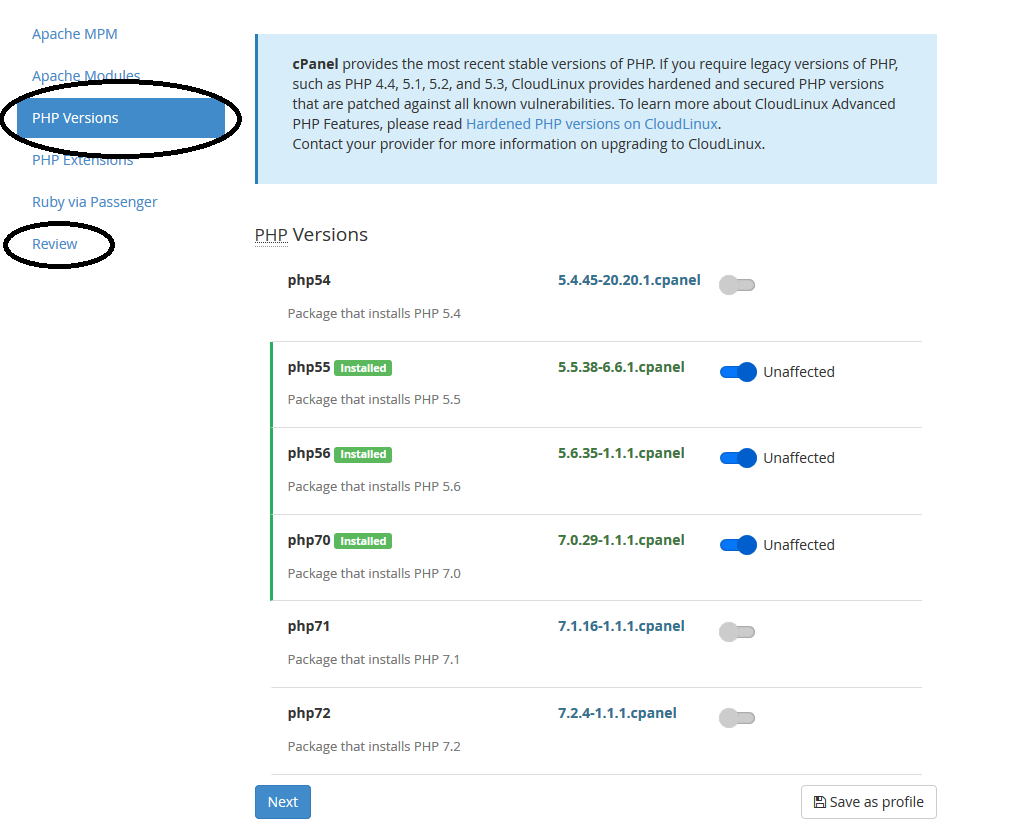
If desired, before going to ‘Review’, you can also make adjustments for Apache MPM, Apache Modules, PHP Extensions, or Rubyvia Passnger. However, these options fall outside the scope of this manual.
Step 4
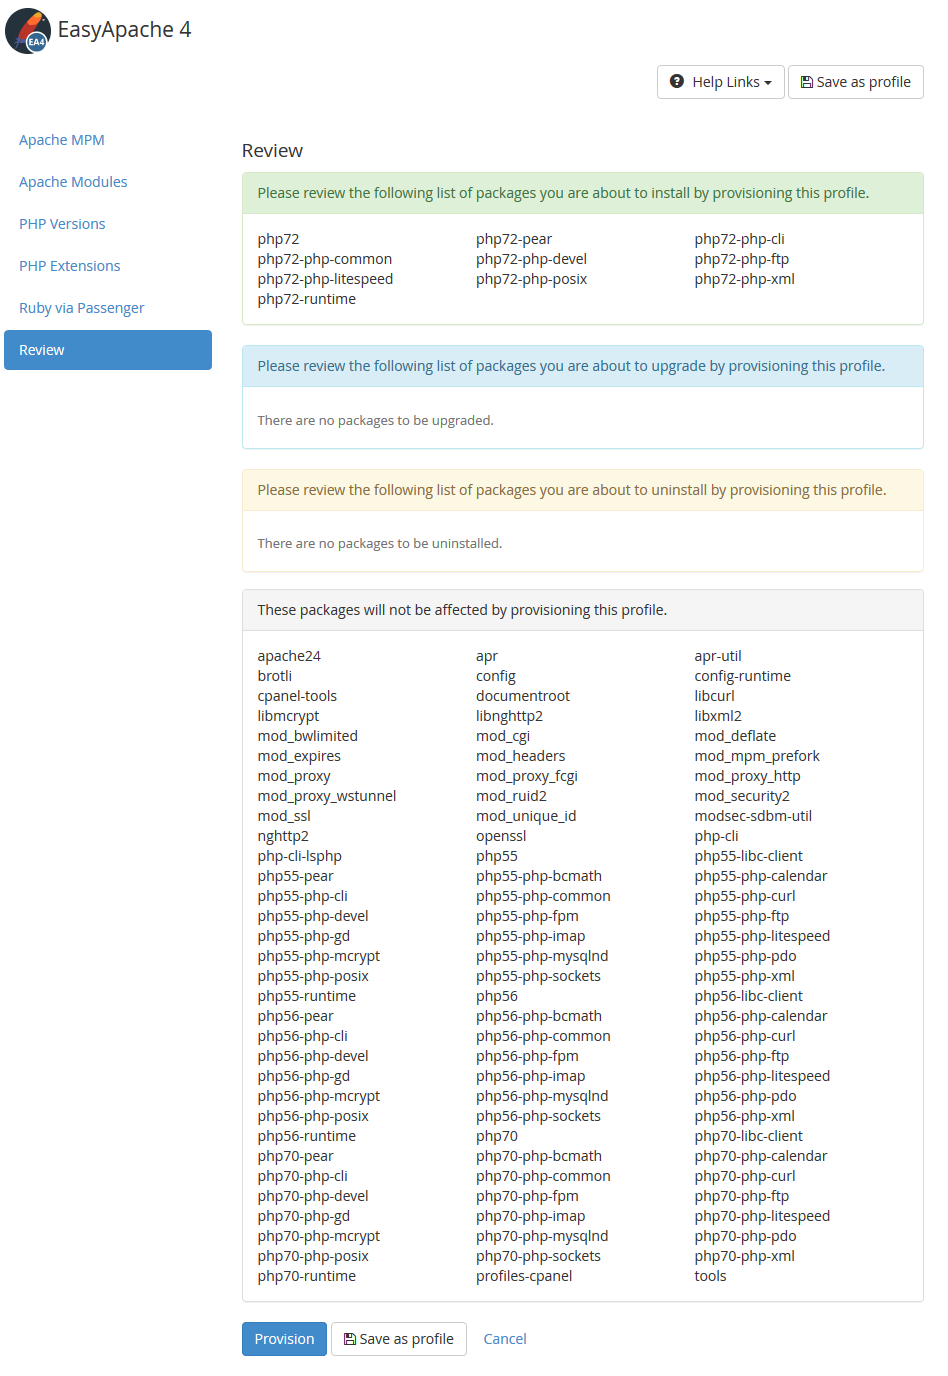
EasyApache then shows you an overview of the changes that will be made. Check the overview and click 'Provision' at the bottom.
Adjusting the default PHP version and enabling PHP-FPM in WHM
In cPanel and WHM, PHP 7.4 is used by default (as of november 2021). The performance (and security) of newer PHP versions is better than that of older versions.
In the steps below we change the default PHP version in WHM for all accounts. If you add a domain in cPanel, it will automatically use the PHP version and PHP-FPM after these steps. You can always manually adjust the PHP version later per domain.
Step 1
Log in to WHM (port 2087) and look for 'MultiPHP' in the search field at the top left. Click 'MultiPHP Manager'.
If you have installed another PHP version like PHP 7.2 in the previous paragraph, you may be shown a notification about PHP-FPM as in the screenshot below. In that case, click 'Install', if not, continue to Step 3.

Step 2
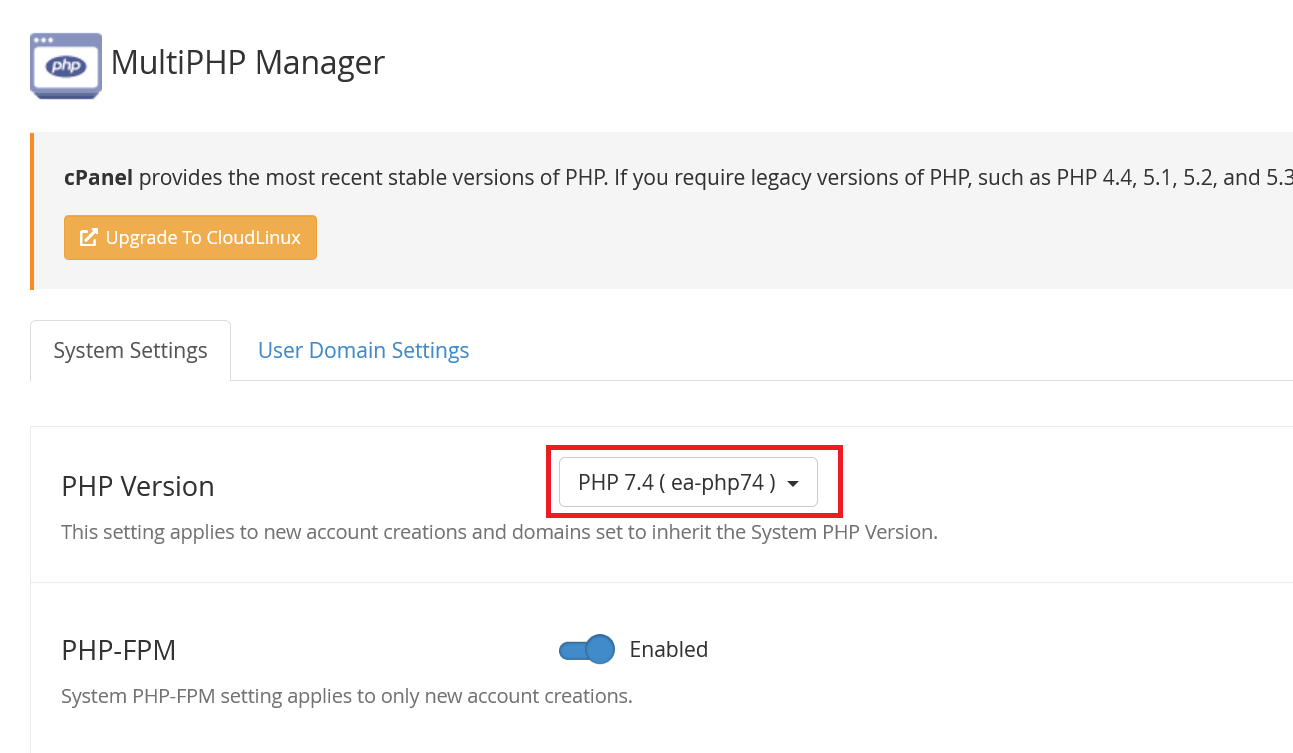
Adjust the default PHP version by selecting another version behind 'PHP Version'. The change is processed immediately.
Adjusting the PHP version per domain
In the previous section, we have adjusted the PHP version which your domains use by default. You probably noticed (at the bottom of the screenshot) in step 3 in the previous section that you can change the PHP version in WHM per domain. This principle works basically the same in cPanel and also uses the MultiPHP Manager:
Step 1
Log in to cPanel, scroll down to 'Software' on the main page and click 'MultiPHP Manager'.

Step 2
Check the domain (or domains) for which you want to change the PHP version, after 'PHP Version' select the PHP version you want to use and click 'Apply'.
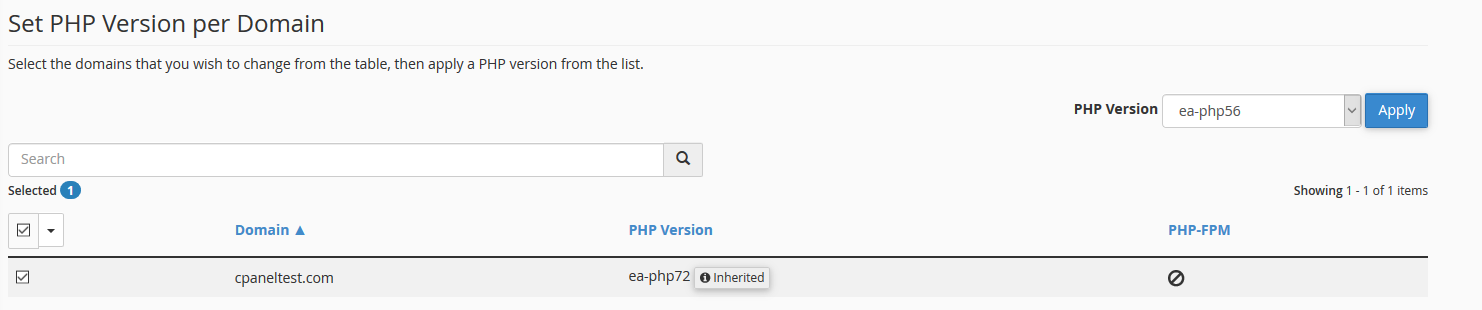
cPanel shows you a confirmation and the PHP version has been directly adjusted under 'PHP version'.

Adjusting PHP.ini in WHM
You can adjust php.ini settings such as the memory_limit and max_execution_time in WHM and cPanel. Both work identically with the only difference being that in WHM the adjustment adjusts the default values for all domains still to be added, and in cPanel you only adjust it for the domain in question specifically.
WHM
Step 1
Log in to WHM (for adjusting the php.ini server default), search in the search field at the top left for 'multiphp' and click 'MultiPHP INI Editor'. Then proceed to Step 2 under cPanel.
cPanel
Step 1
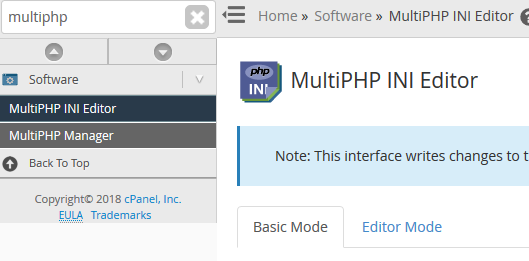
Log in to cPanel (for adjusting php.ini for a specific domain), scroll down to 'Software' and click 'MultiPHP INI Editor'.

Step 2
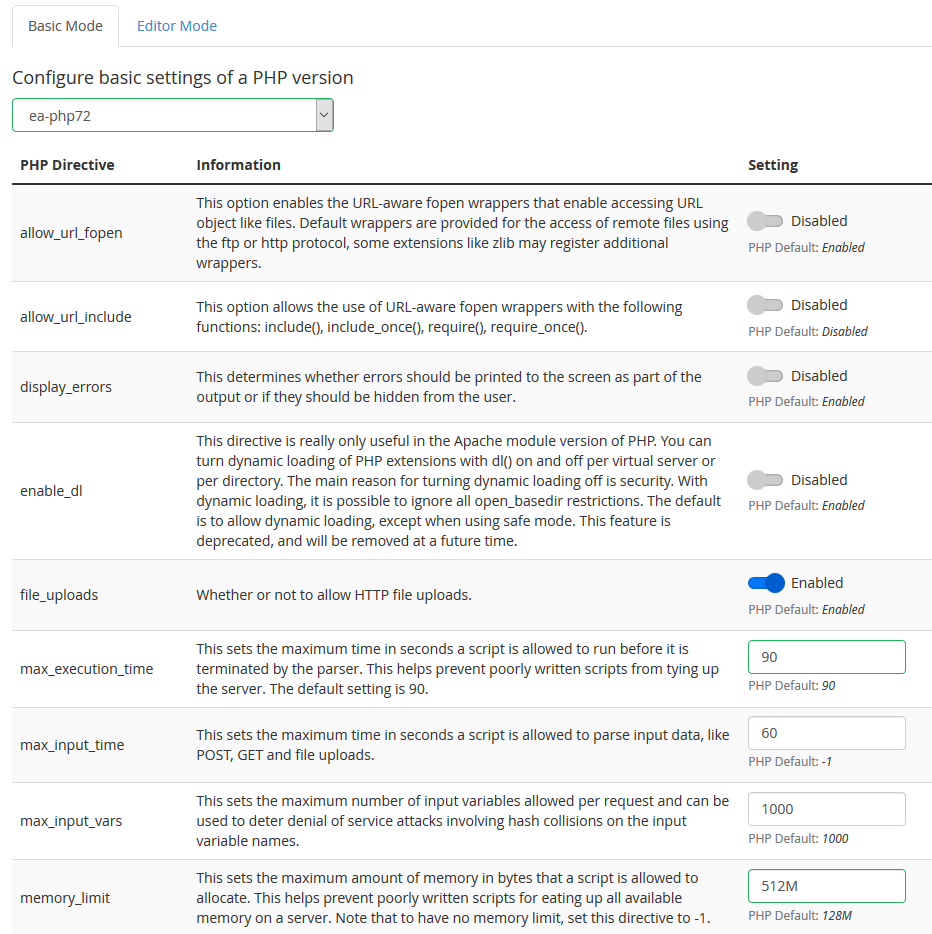
You will see an overview as below. Adjust the values as desired and then scroll down and click 'Apply' to process the changes.
Updating and modifying the SQL database version in WHM
By default, cPanel uses MySQL as MySQL server (instead of MariaDB). Please note: when selecting a major version upgrade (e.g version 5 to 8) there's a good chance that the upgrade contains changes which your website or application is not prepared for. As such always make sure your website or application is also up to date.
Step 1
Log in to WHM and type 'MySQL' in the search field at the top left and click 'MySQL/MariaDB Upgrade' in the search results under 'Software'.
Step 2
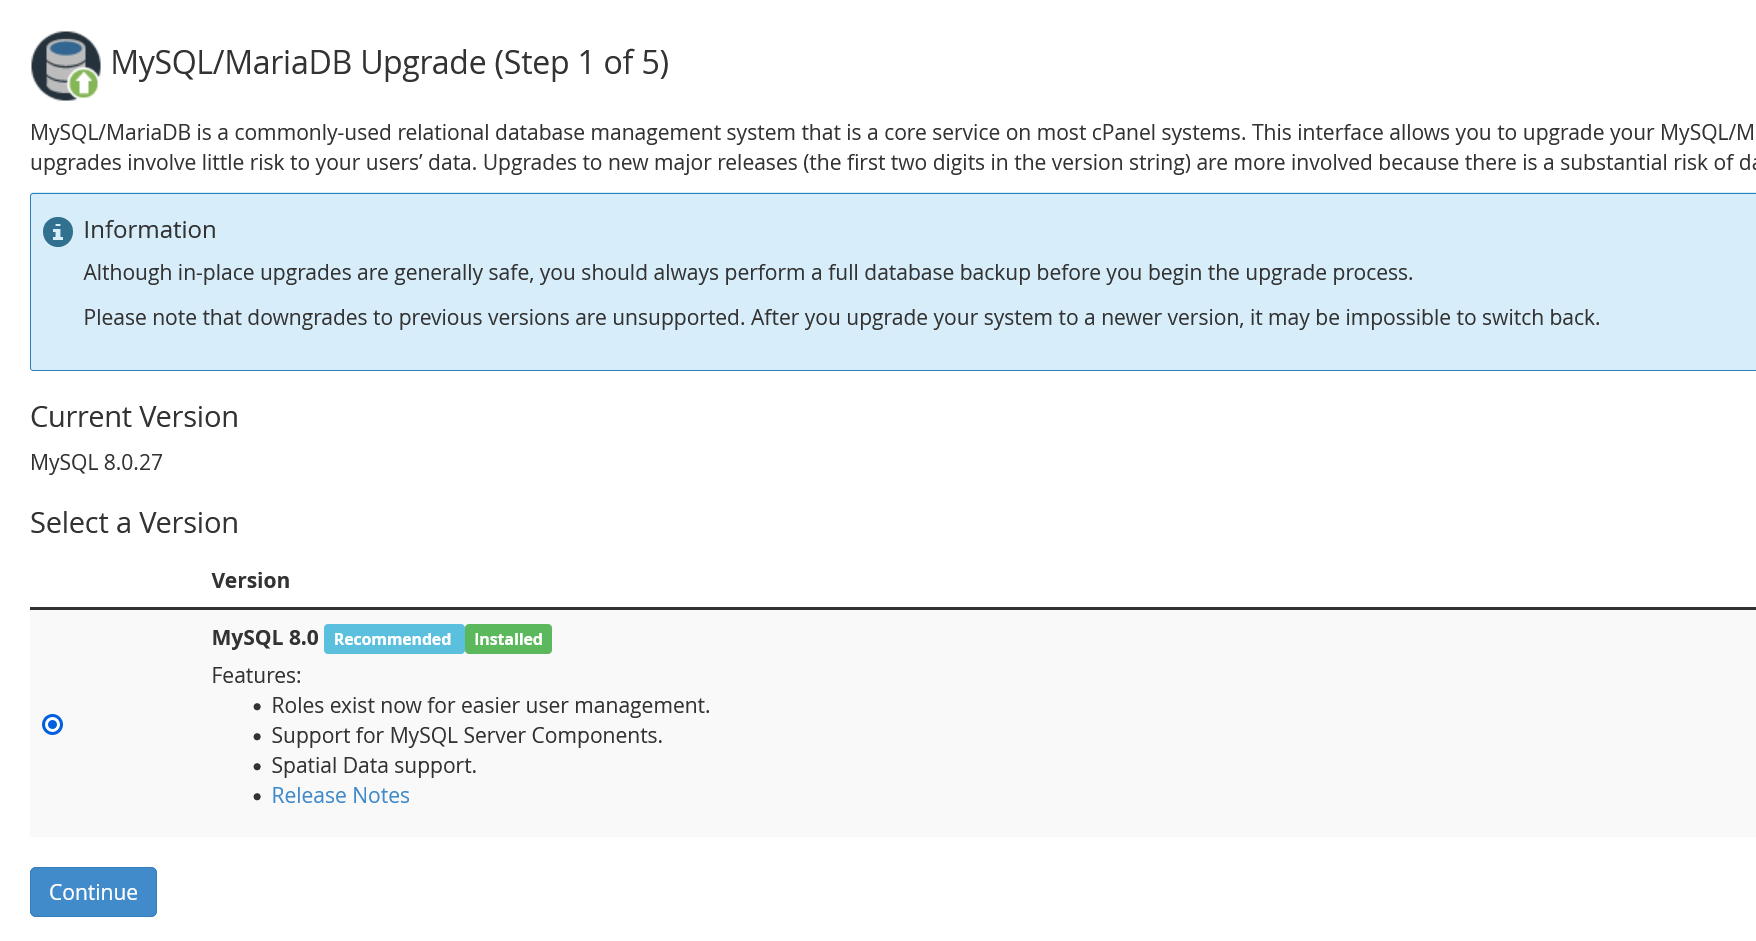
You will see the overview below. Select the SQL version you want to use. In the specific example (whm 100.0.1) below only 8.0 is available and cPanel no longer automatically provides an option to switch to MariaDB.
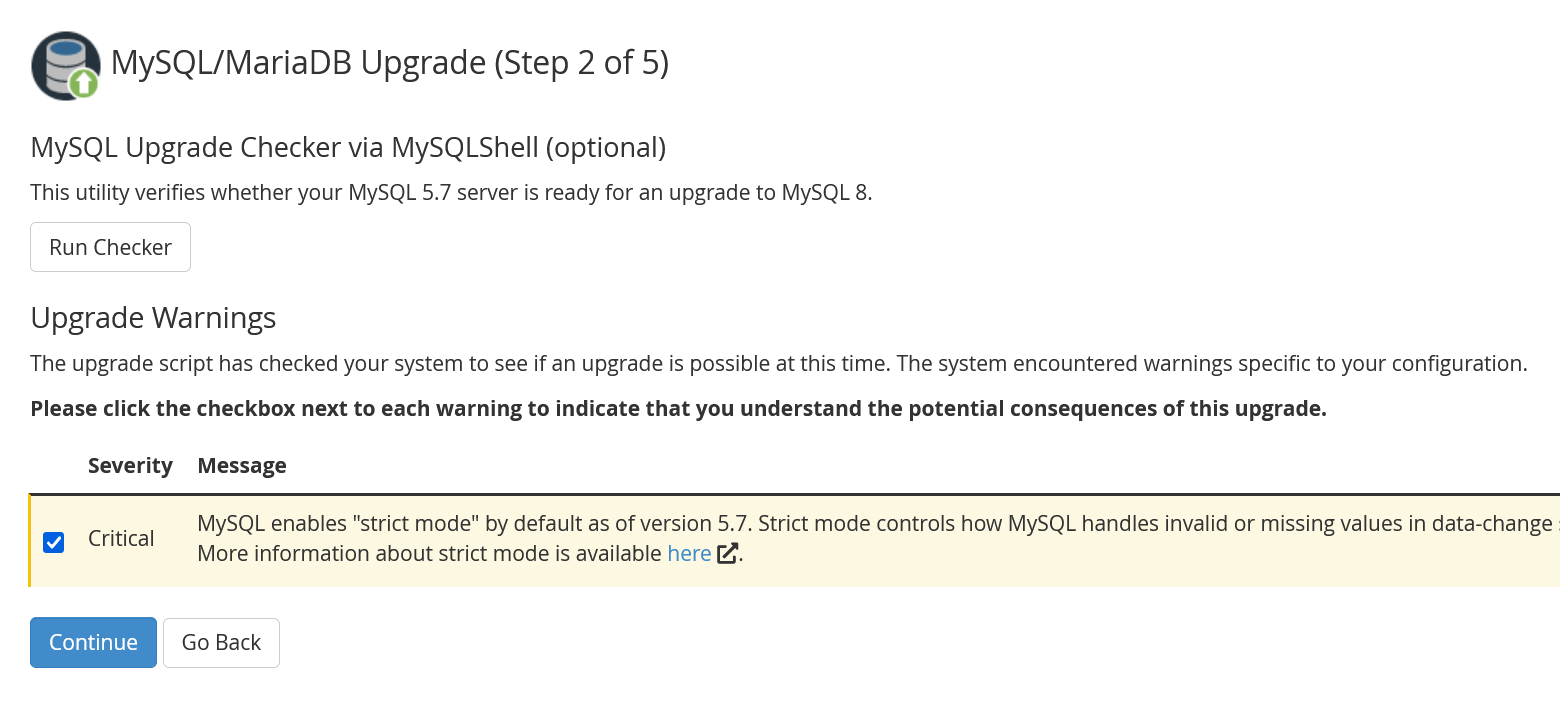
Step 3
Select the warning messages and click 'Continue'.
Step 4
Select 'Unattend Upgrade' and click 'Continue' to automaticly perform the upgrade. This process will take some time.in beslag.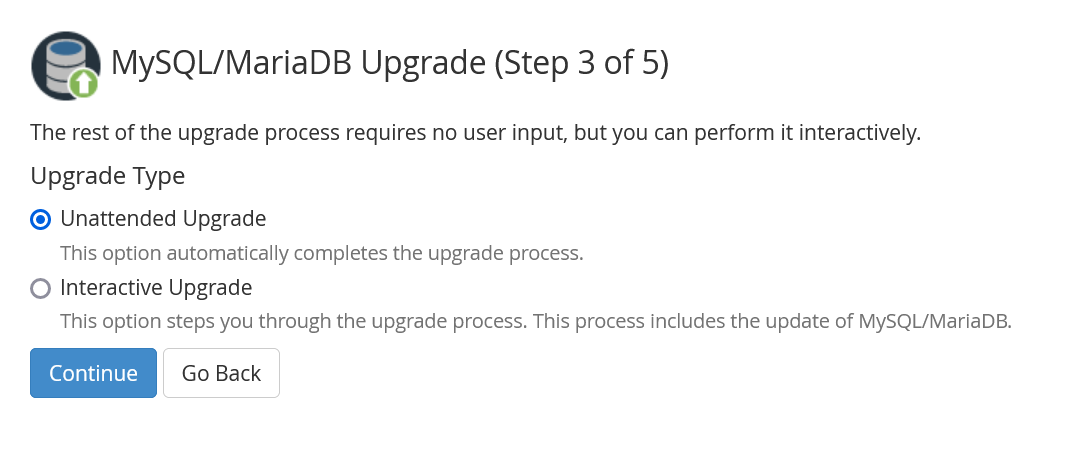
Your VPS is not only safe but also completely up-to-date and ready to connect domains. Click here to continue to Part 4: Linking domains and subdomains.
Should you have any questions left regarding this article, do not hesitate to contact our support department. You can reach them via the ‘ContactUs’ button at the bottom of this page.
If you want to discuss this article with other users, please leave a message under 'Comments'.