


With our web hosting packages, you can use SFTP to upload the files to your website. In this article you'll learn how to upload the files of your website using the File Manager in your control panel.
If you want to use SFTP software instead, we recommend using our tutorials for Filezilla or Cyberduck.
Open SFTP File Manager
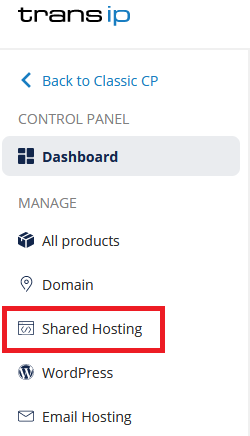
Log in to the control panel and click 'Shared Hosting' in the menu. Next, select your domain below 'Products'.
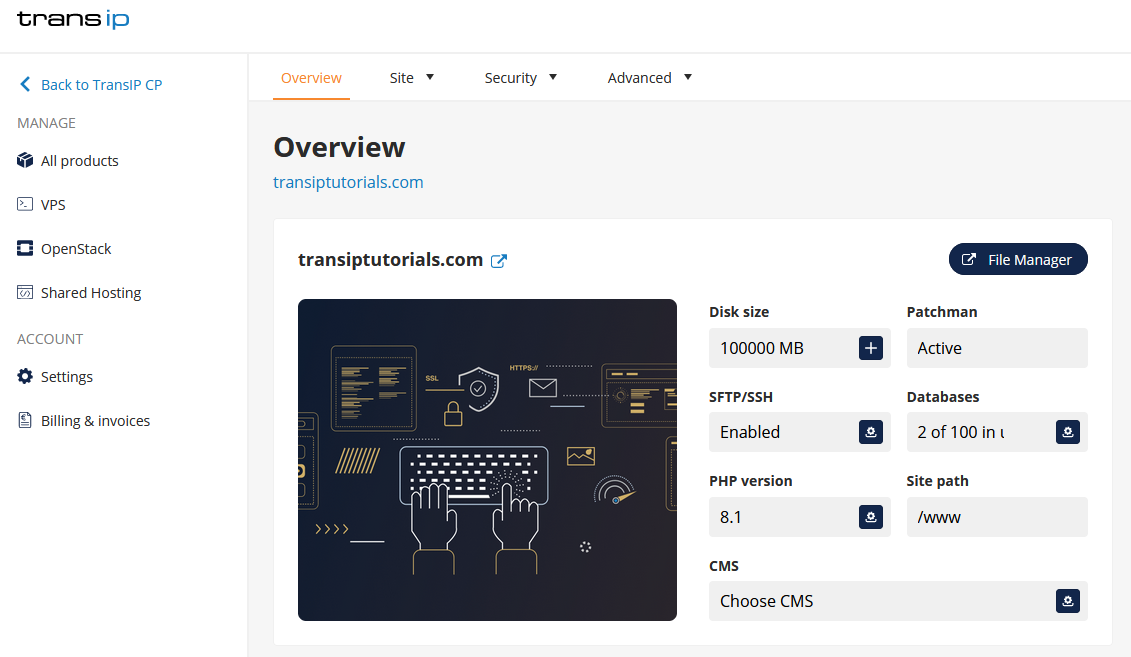
In the overview, click 'File Manager' on the right side of the screen.
You will now see an overview of the folders of the website(s) that are present on your web hosting package. This overview is the home folder.
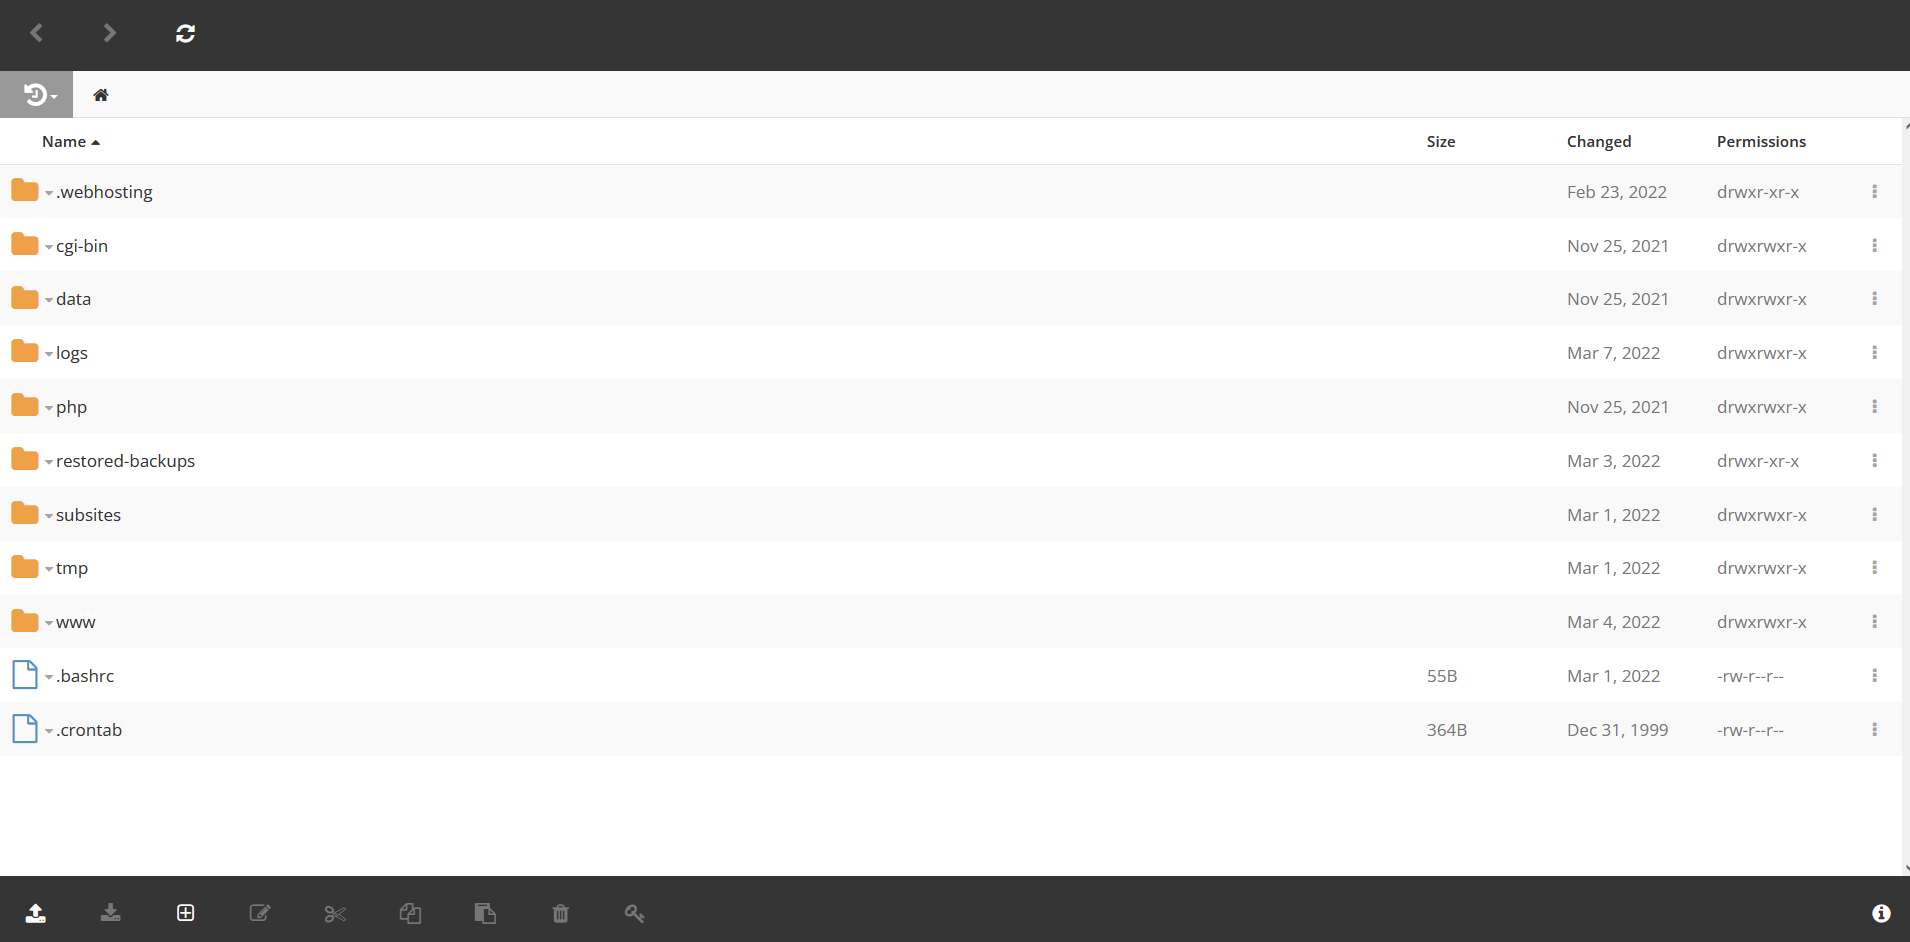
To add files to the website that is on your main domain (in our example transiptutorials.com), open the 'www' folder.
To add files to websites that are on subdomains, open the 'subsites' folder. If you have created subdomains on your web hosting package, you will be able to provide the subdomains with content using this folder.
To upload files and folders for your website, simply drag and drop them to the folder you want to upload them to. We will now explain which features 'File Manager' has to offer.
The different features of SFTP file management
The following buttons are always displayed at the bottom of the screen:

Clicking a file or map with the right mouse button will also show these buttons. Below we will explain the function of each button.

Click the 'Upload' button to upload a new file or folder to the current folder.

By pressing the 'Download' button, you can download the selected file or folder.

Click here to create a new file or folder.

This button lets you Edit the selected file. A new window will open in which you can make changes. After making a change, click 'Save' to save the changes, or 'Close' to discard the changes.

Use the 'Cut' button to be able to place it in a different location within the File Manager.

The 'Copy' button will copy the file. You can then place a copy of the file to a different location within the File Manager.

The 'Paste' button pastes a copied or cut file in the current folder.

The trash can icon will 'Delete' the selected file or folder.

The key icon allows you to change the file permissions. The options are 'Read', 'Write' and 'Execute'. The permissions can also be changed by clicking the right column below 'Permissions'.
By clicking with the right mouse button on a file or folder, you can see which actions can be performed on it. This will look as follows:
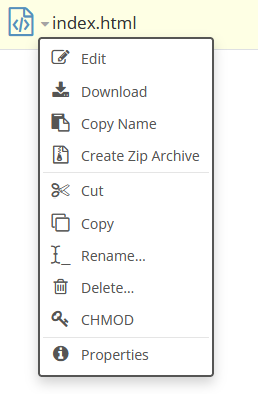
You may find several other options which do not have a button. For instance, you can rename a file by clicking 'Rename...' or create a zip file using 'Create Zip Archive'.
In this article we explained how to use the 'File Manager' in your control panel.