


With our web hosting packages, you can use SFTP to upload the files to your website. In this article you'll learn how to upload the files of your website using the SFTP software Filezilla.
Filezilla is ideal for Windows users. For mac users, we recommend Cyberduck. If you'd rather upload the files of your website via your control panel, you can use the File Manager instead.
Keep in mind that the File manager is best used for uploading individual folders and files. If you want to upload a large amount of folders and files, we recommend using SFTP software in stead.
Download Filezilla
Filezilla is free to download and easy to install. If you've already installed Filezilla on your computer, head over to ‘Look up your SFTP data’.
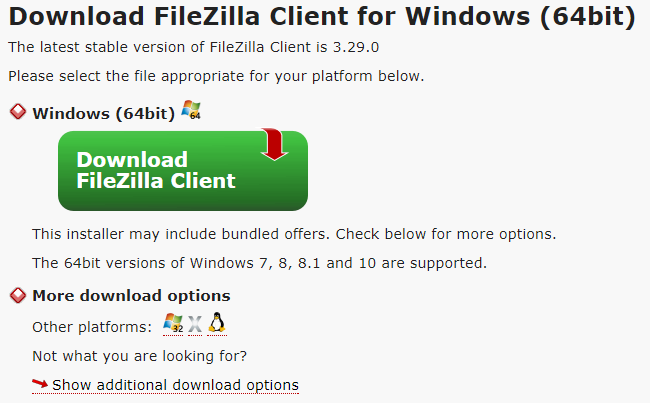
If you haven't installed Filezilla yet, you can download the software by going to the Filezilla website and clicking 'Download FileZilla Client'.
As we're using Windows (64 bit), this is the chosen option in our example. If you want to use another Client, you can choose the desired version under 'More download options'.
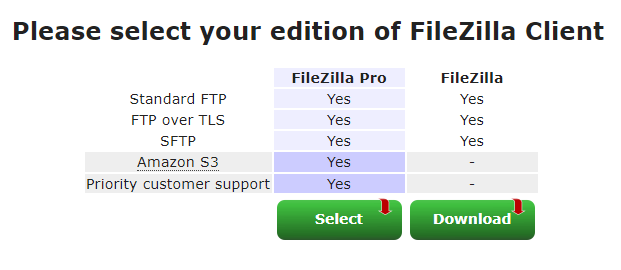
After selecting your desired version, you will be asked to use Filezilla Pro or Filezilla.
If you just want to use the software for SFTP purposes, we recommend choosing the free 'Filezilla' option.
If you plan on using the other features listed as well, you may consider choosing the paid 'Filezilla Pro' option.
Once you have downloaded Filezilla, open the file to start the installation. Please note that during the installation wizard you may be asked to install additional add-ons. While writing this tutorial, we were specifically asked to install an extension for Bing and Avast antivirus.
These are unnecessary extras that you absolutely do not need to install. That is why we highly recommend unchecking the pre-checked boxes next to the extensions during the installation.
Once the installation is complete, Filezilla will start automatically.
Look up your SFTP information
In order to connect to SFTP via the Filezilla software, you will first need the login information of your web hosting package. We will now tell you how to locate this information, after which we will show how to login to Filezilla.
Step 1
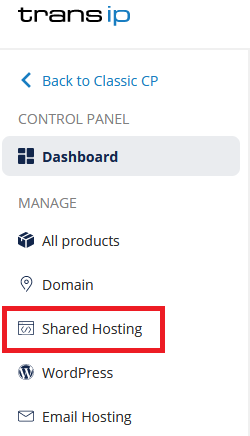
Log in to the control panel and click 'Shared Hosting' in the menu. Next, select your domain below 'Products'.
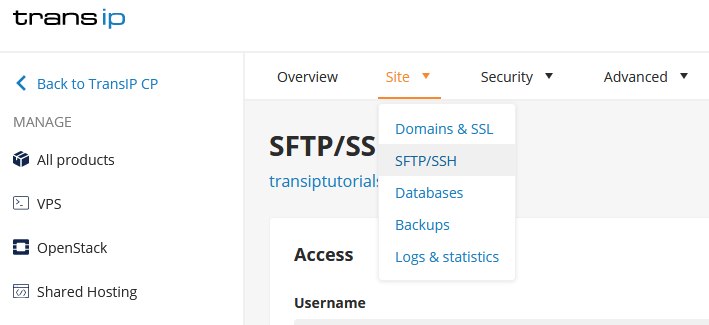
Click on the 'Site' tab and select 'SFTP/SSH'.
Step 2
Here you will find the login data to connect to SFTP.
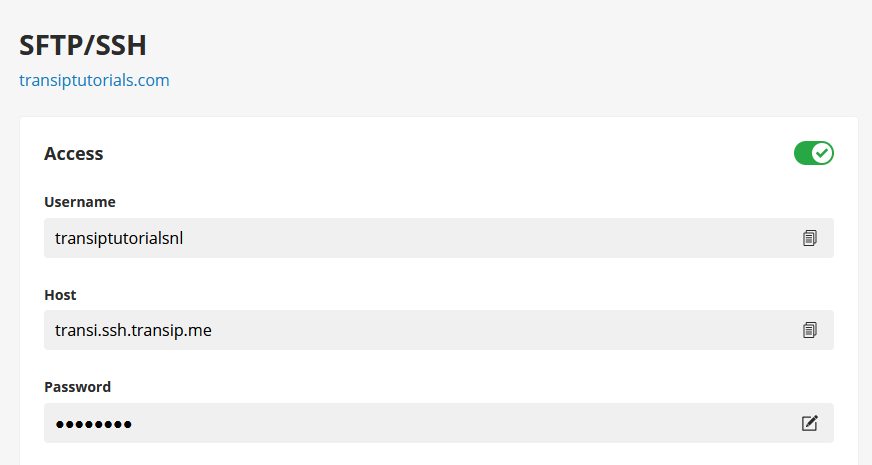
To login to Filezilla, you need the following information from this page:
- Username
- Host
- Password
- SFTP port: 22 or 2222
The password for SFTP is sent to you by email shortly after ordering your web hosting package. If you cannot find the password or simply want to use another password, you can change the password on this page.
Write down this information and open Filezilla to get started!
Step 3
Enter the SFTP information of your web hosting package into the four fields as shown below and click on 'Quickconnect'.
- Host
- Username
- Password
- Port: 22 or 2222

If you are unable to login, make sure to check if you've entered the correct information or try the other port number (22 or 2222).
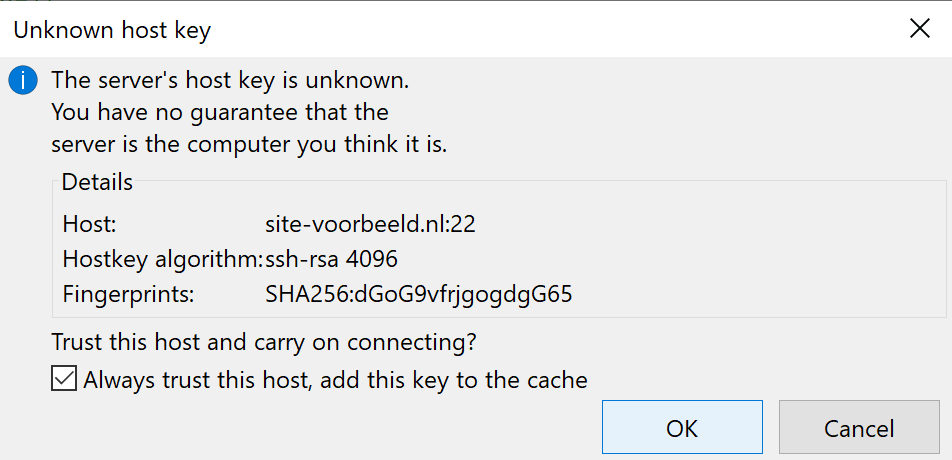
You may also see a prompt after logging in, asking you to trust the new key. Check the box and press 'OK' to continue.
Now that you're successfully logged in, you will find your local folders and files on the left. On the right side you can see the folders of your website.
To upload files to your website, simply drag the files and folders from the left column to to the folders on the right.
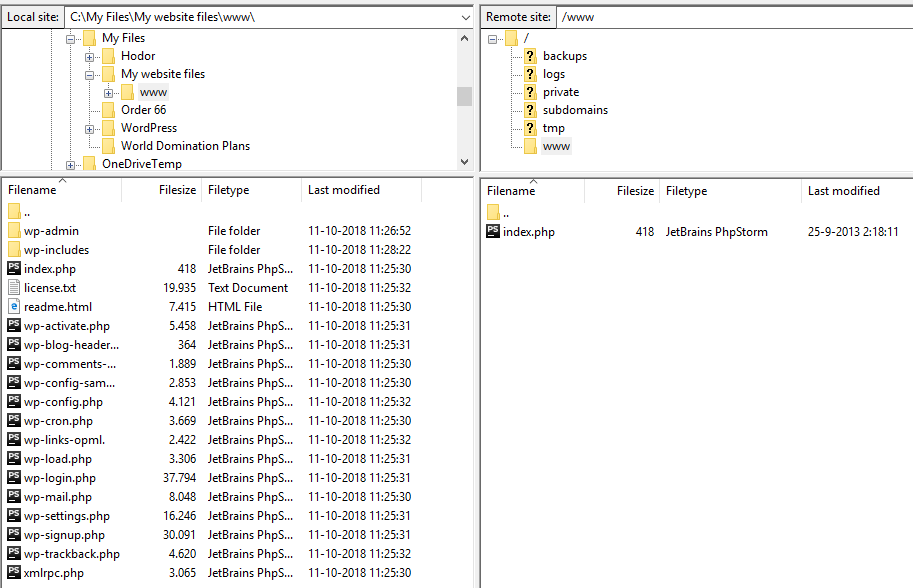
To create a backup of your website, right click the folder of the website on the right hand side and click 'Download'.
In this article we explained how to use FileZilla to upload files and folders to your website.