


On our VPS's you can always use our mail service free of charge, also referred to as 'Carefree Mailing'. With this service you will use our mail services to relay outgoing e-mail. In order to use the mail service, a one-time configuration in WHM of Exim on your VPS is required.
Step 1
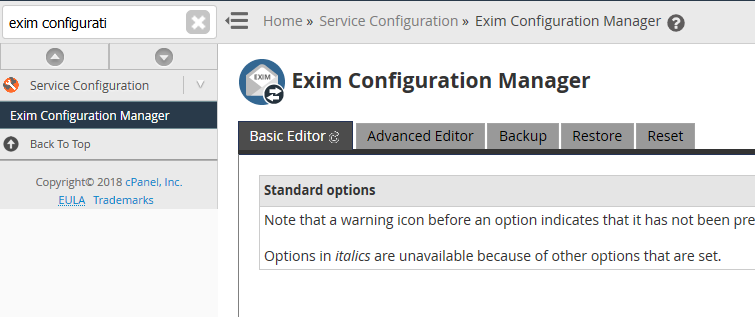
Log in to WHM and go to Home > Service Configuration > Exim Configuration Manager. Once there, click the 'Basic Editor' tab.
Step 2
Search for Smarthost Support under the tab labeld Mail. Provide the smart host name * vps.transip.email Please note there's a space between the * (asterisk) and the host name. Then, click on Save.

Step 3
In the top, click on the tab 'Advanced Editor' and scroll down to Section: ROUTERSTART. If you prefer using the mail limits as configured in cPanel, instead scroll down to Section: POSTMAILCOUNT.
Add the code below under Section: POSTMAILCOUNT or Section: ROUTERSTART (tip: search your browser for postmailcount or routerstart with ctrl + f):
remoteserver_route:
  driver = manualroute
  transport = remoteserver_relay
  domains = !+local_domains
  route_list = * vps.transip.email
Stap 4
Scroll down / search for Section: TRANSPORTSTART and add:
remoteserver_relay:
  driver = smtp
  port = 587
  hosts_require_auth = $host_address
  hosts_require_tls = $host_address
Stap 5
Now scroll down to / search for Section: AUTH and add the code below (replace user@domain.com : password by your own user name and password) :
remoteserver_login:
  driver = plaintext
  public_name = LOGIN
  hide client_send = : user@domain.com : password
Stap 6
At the end of the page, click 'Save' to have the changes take effect. Your now ready to start using the VPS mail service!
Should you have any questions left regarding this article, do not hesitate to contact our support department. You can reach them via the ‘Contact Us’ button at the bottom of this page.