


SSDP stands for Simple Service Discovery Protocol and is often used for discovering Plug & Play (UPnP) devices. In 2014 it was discovered that the SSDP port 1900 can be used in 'amplication attacks'.
Simply put, in an 'amplification attack' an amount of data is sent to your SSDP port from a spoofed IP. Your VPS then sends a significantly larger amount of data back to the actual IP. This way, malicious parties can abuse your SSDP port to perform a (D) DoS attack on the spoofed IP address.
For this reason, it is not allowed to use the SSDP port on a VPS at TransIP. In this article we explain how to close this gate.
Closing the SSDP port
SSDP uses port 1900 and, depending on the firewall you use, closes as follows:
The VPS-Firewall in the control panel
Step 1
Log in to your control panel and navigate to the relevant VPS.
Step 2
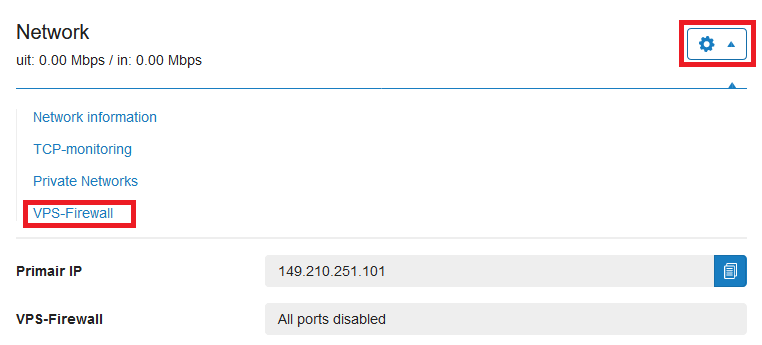
Click the cogwheel behind 'Network' (directly under the VPS console) and click 'VPS-Firewall'.
Step 3
Enable the firewall by setting the switch to 'On' behind 'Enable VPS-Firewall for this VPS'. The most commonly used ports are then automatically opened.

Your VPS is now secure! More information about opening ports with the VPS-Firewall can be found in our VPS-firewall documentation.
Firewalld (CentOS, DirectAdmin, Plesk, cPanel)
Firewalld is the default firewall for CentOS and is also used in our DirectAdmin, Plesk and cPanel images (unless you disabled it and are using another firewall).
Step 1
Close port 1900 using the command:
sudo firewall-cmd --zone=public --remove-port=1900/udp
Please note that for Plesk as of 17.8 the used zone is not called public but instead is called plesk.
Step 2
To process the changes, reload your firewall configuration with the command:
sudo firewall-cmd --reload
UFW (Ubuntu & Debian)
Close port 1900 using the command:
sudo ufw deny 1900/udp
Iptables
Step 1
Close port 1900 with the command:
sudo iptables -A INPUT -p udp --dport 1900 -j DROP
Step 2
To process the changes, restart your firewall as follows:
sudo iptables-save | sudo tee /etc/sysconfig/iptables
sudo service iptables restart
Windows firewall
Step 1
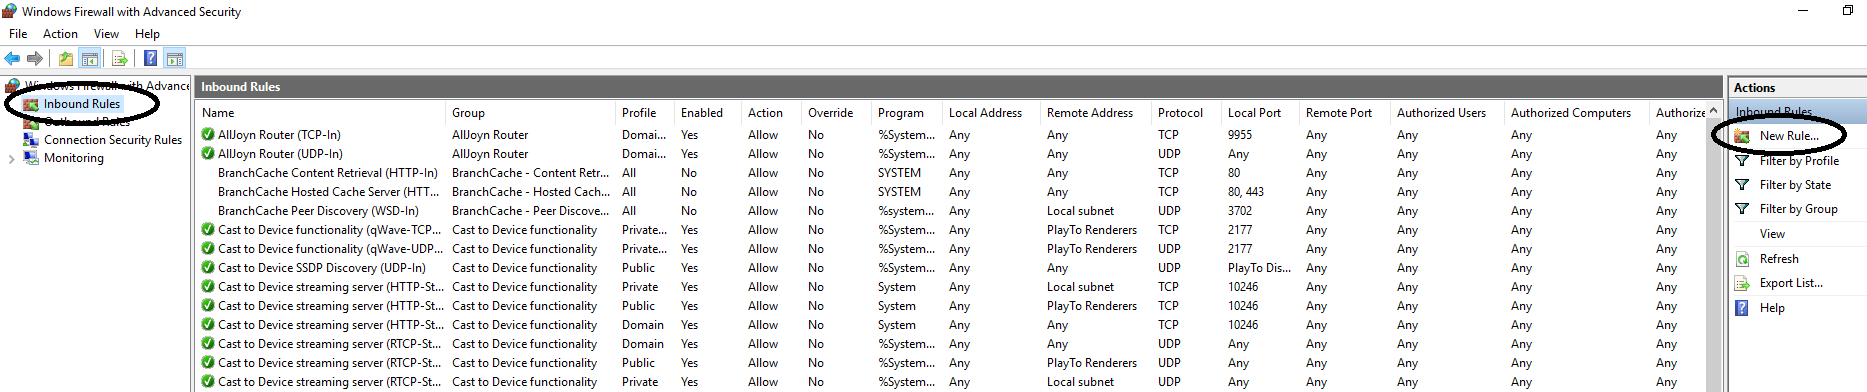
Open the Windows Firewall with Advanced Security and click on 'Inboud Rules' > 'New Rule'.
Step 2
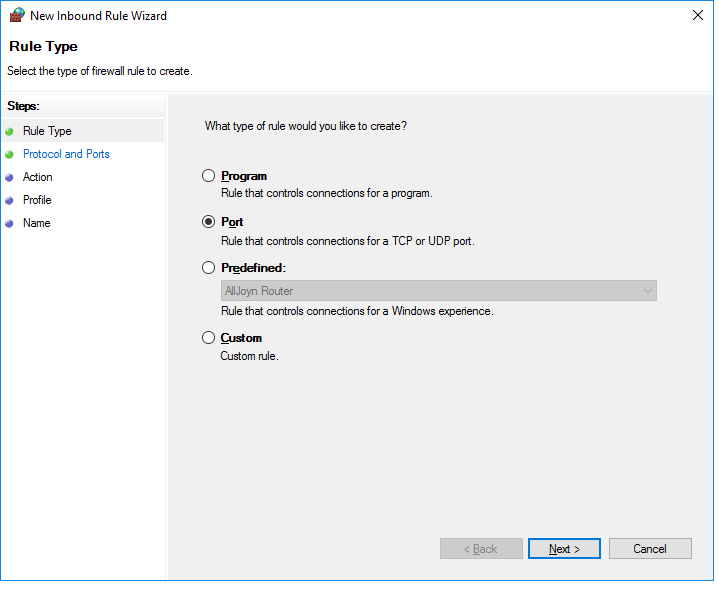
Select ‘port’ and click on ‘Next’.
Step 3
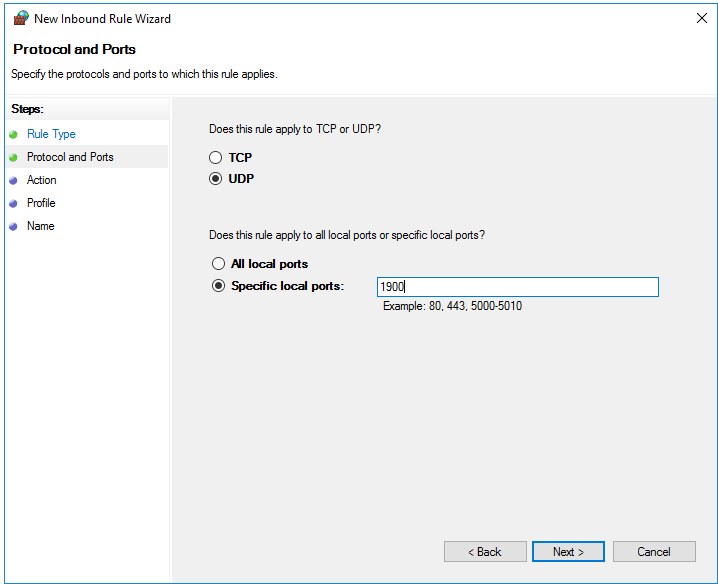
Select the ‘UDP’ option and enter port number 1900.
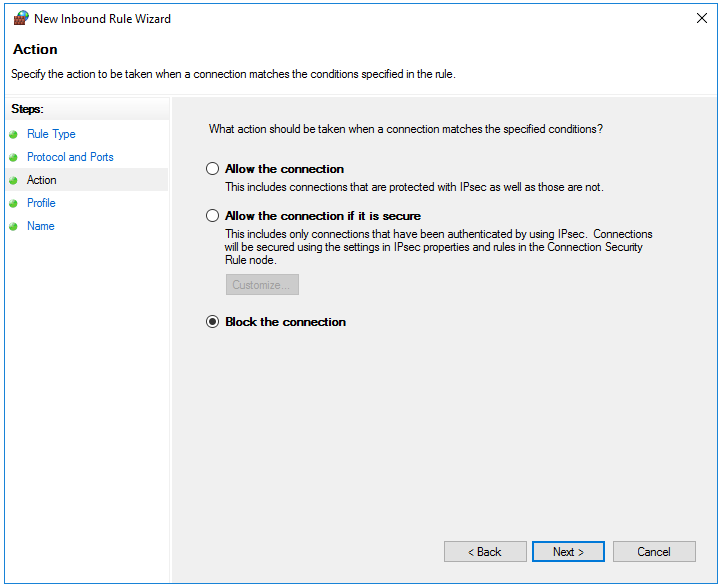
Step 4
Select ‘Block the connection’ and click on ‘Next’.
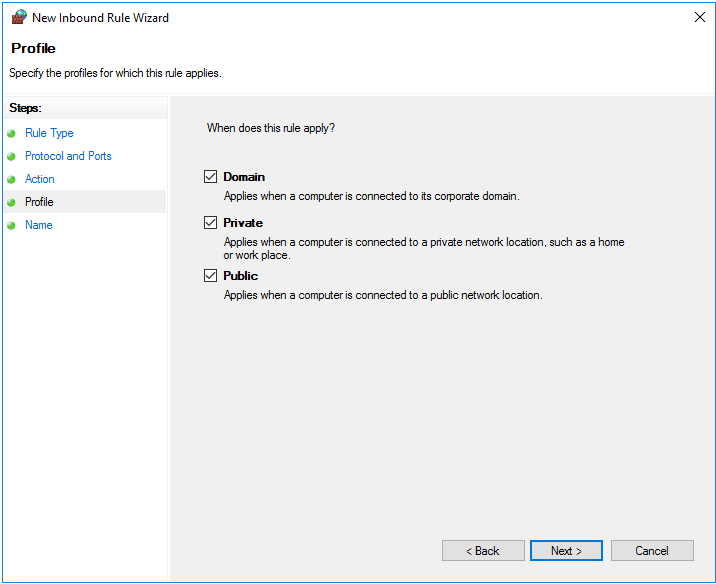
Step 5
In the next page you state that you want to use these settings for domain, private and public purposes. These options are selected by default and you do not have to change anything. You can then proceed directly to the next step.
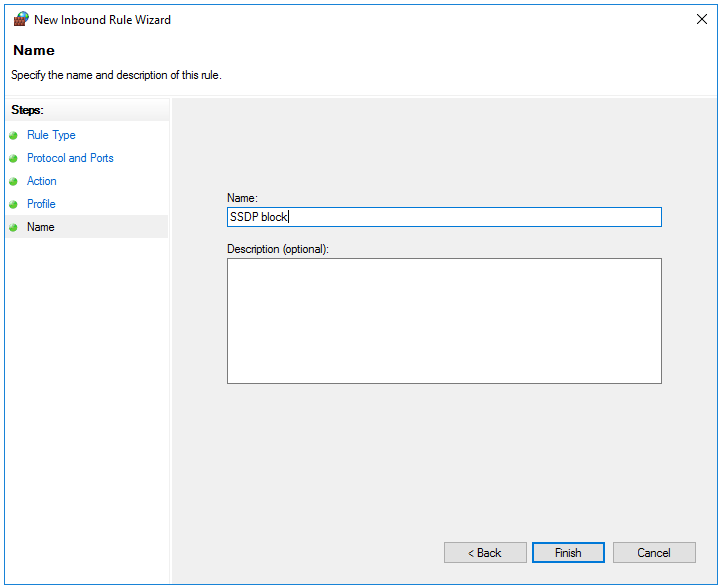
Step 6
Give the new rule a name with which you can easily recognize the rule, such as 'SSDP block' and click on 'Finish'.
Your VPS is now protected against misuse of SSDP port 1900. If you have any questions about this article, please feel free to contact us with the 'Contact Us' button at the bottom of this article.