This is the sixth part of our Plesk Tutorial Series. If you're configuring a new VPS we recommend starting with part 1.
To send and receive mail with your domain, Plesk uses Postfix and Dovecot as the outgoing and incoming mail server respectively. Plesk automatically secures your email with TLS 1.2 (in Plesk 17.5.3).
In this part we discuss the following topics:
- Setting up reverse DNS
- Adjusting the email limit
- Creating an email address
- Logging in to the webmail
- Enable port 587
- General settings for use in email software
- Spam protection with SpamAssassin
SPF and DKIM are enabled by default in Plesk.
For security reasons, your email ports on a new VPS are closed. Reverse DNS must be configured for your VPS before you can open them. You will also have to pay an invoice successfully from your account. Please note: a standard period of 17 days applies for the latter.
After setting up reverse DNS you can ask our support department to open the ports manually. They will make a consideration and possibly open the gates at an accelerated rate.
Setting up reverse DNS
To prevent your mail from being stopped as spam, set reverse DNS for the IP addresses of your VPS. More information about reverse DNS can be found here. Follow these steps to set up reverse DNS:
Step 1
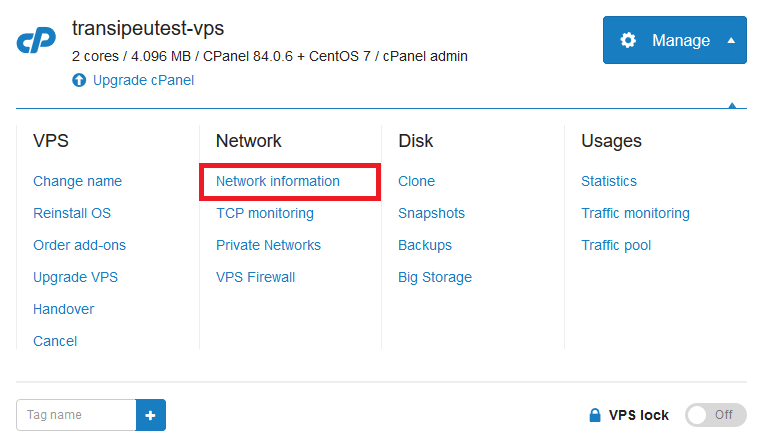
Inside the control panel, go to 'Blade VPS'.
Step 2
Click on 'Manage' > 'Network Information'.
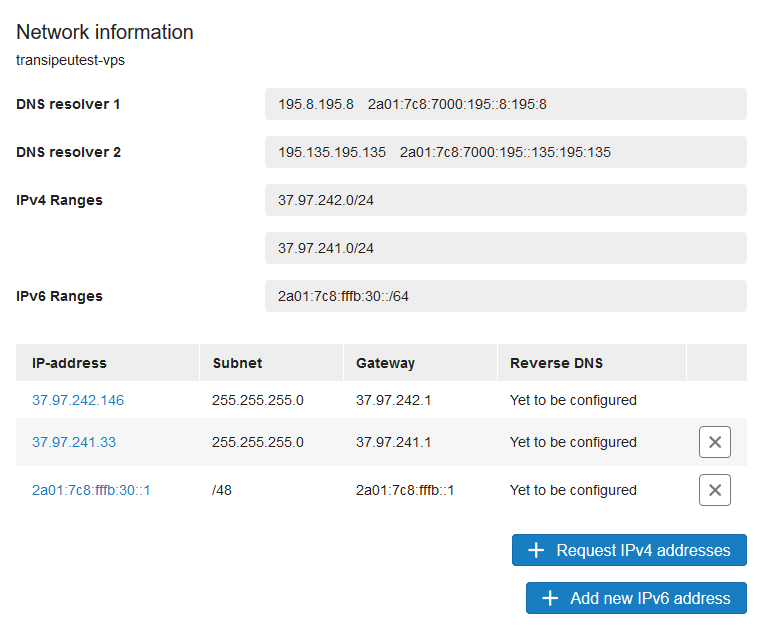
Step 3
Click on the IP address of which you want to set the 'Reverse DNS'.
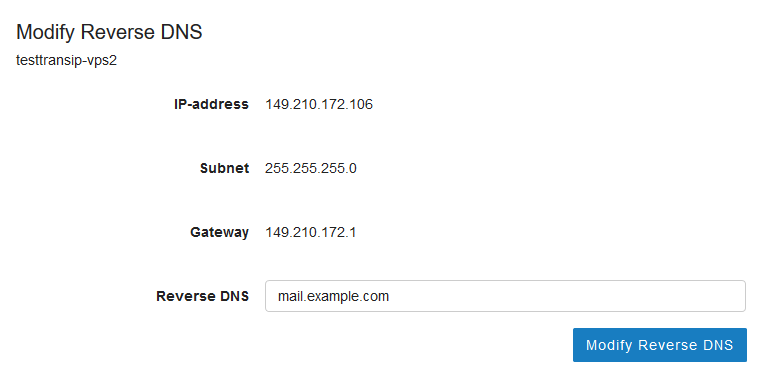
Step 4
Enter the desired DNS name and click on ‘Modify Reverse DNS’ to save the changes.
Step 5
Next set up DNS records for your chosen reverse DNS in your DNS settings. For example, in the screenshot above there are 4 IP addresses for which you would create the following records in your DNS settings.
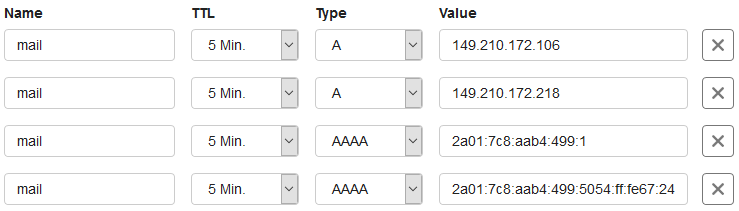
If you also use the IPs for which you set up reverse DNS for the root (@) of your domain, you can use CNAME records as shown below.

When entering the reverse DNS, preferably choose the hostname of your VPS or the domain from which you send mail: for example, server.yourdomainname.com or mail.yourdomainname.com.
Adjusting the email limit
A new installation of Plesk has no limit on sending emails per hour or per day (unless you use the VPS mail service).
It may be desirable to adjust this limit, for example to prevent one of your customers from deliberately sending a lot of spam and the IP of your VPS suffering badly. You adjust these settings as follows:
Step 1
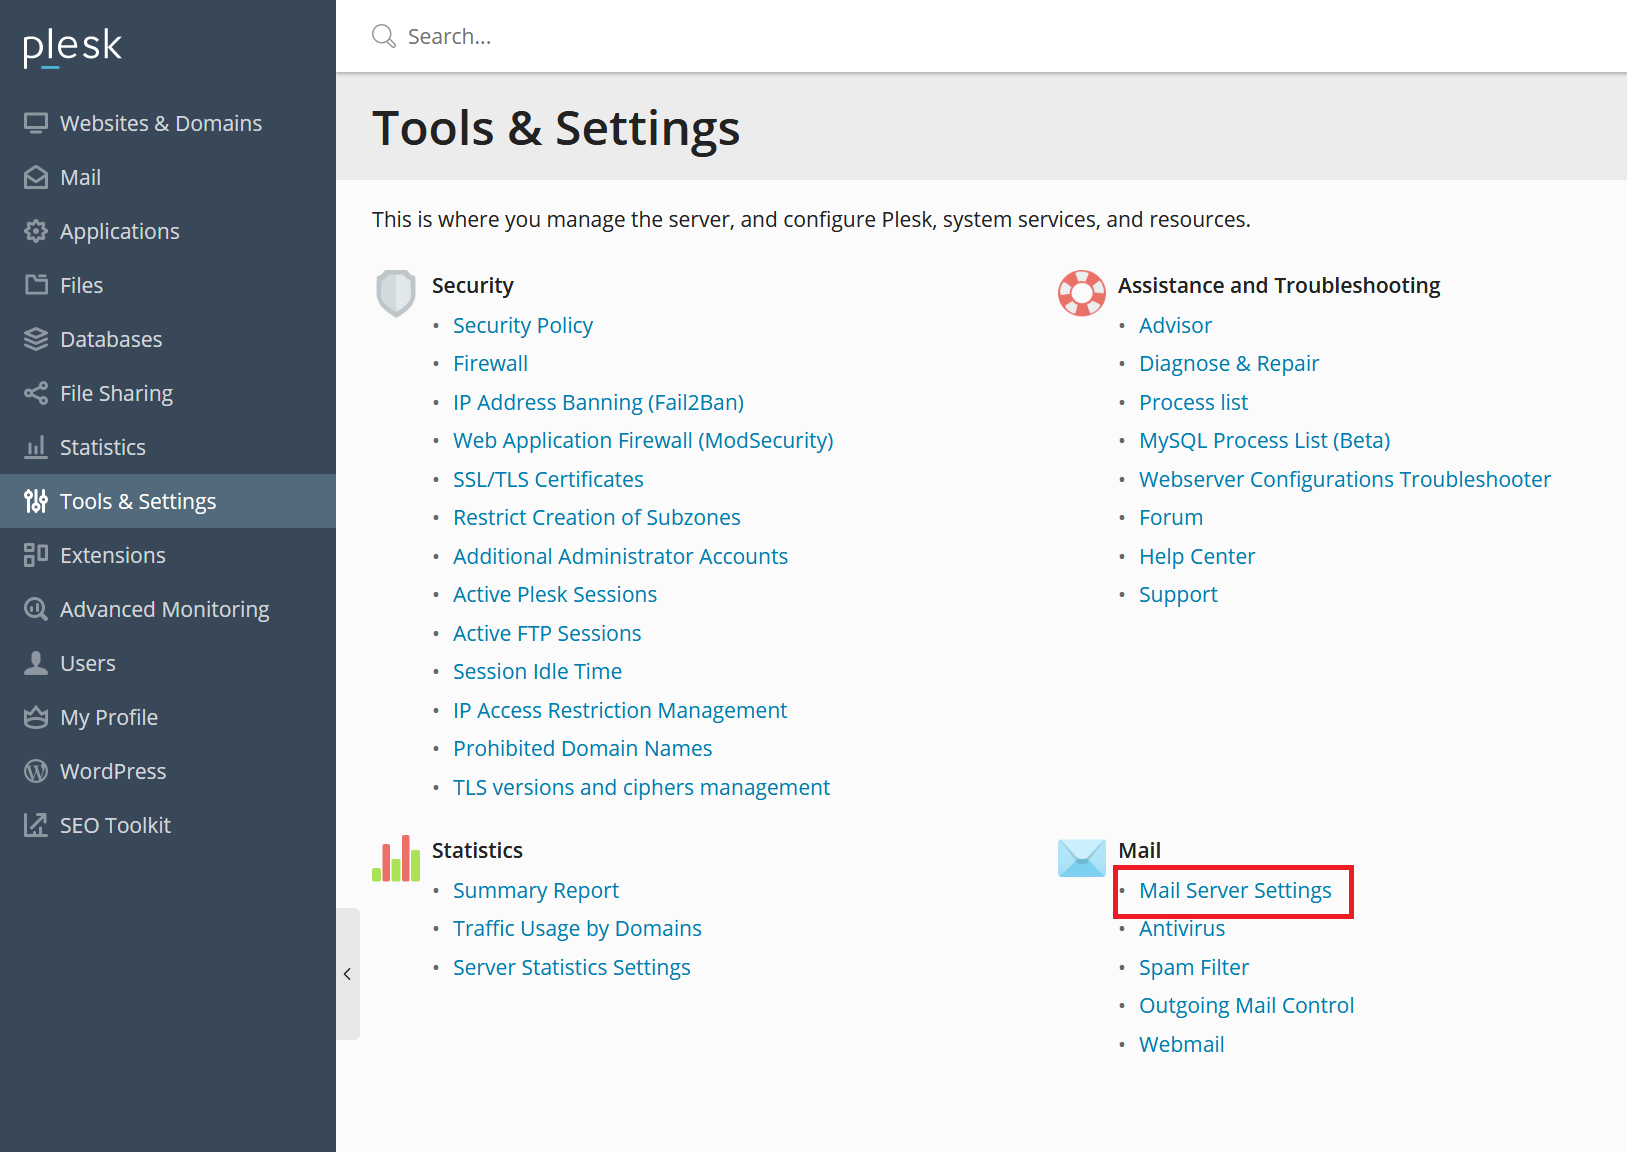
Log in to Plesk and navigate to 'Tools & Settings' > 'Mail Server Settings'.
Step 2
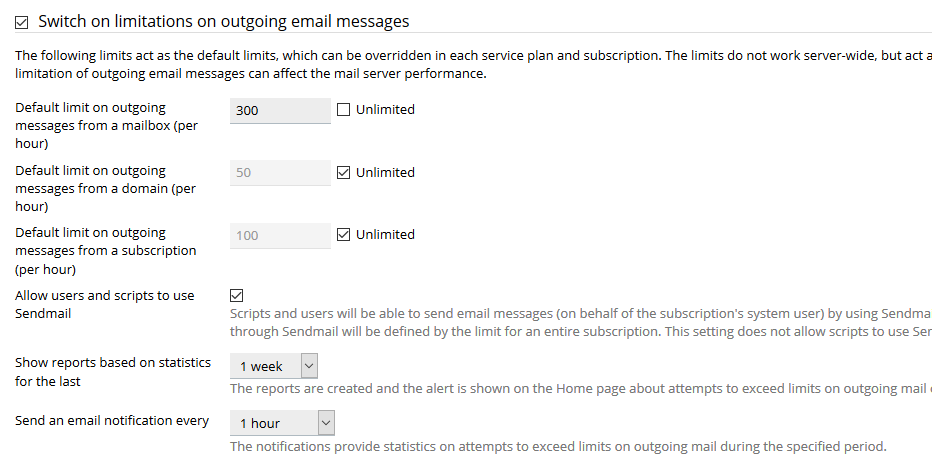
Scroll down to 'Switch on limitations on outgoing email messages'. Check the box and adjust the settings as needed. An example is shown below: there is no limit on the domain or the subscription, but on the mail per hour of an address.
Optional: changing the limit per domain / email address / subscription
The above steps set a limit for your entire VPS. After setting this limit you can change that per email address / domain / subscription in Plesk by going to 'Websites & Domains'> 'Outgoing Mail Control'.

Creating an email address
You easily create an email address for whichever domain you have access to in your user account in Plesk:
Step 1
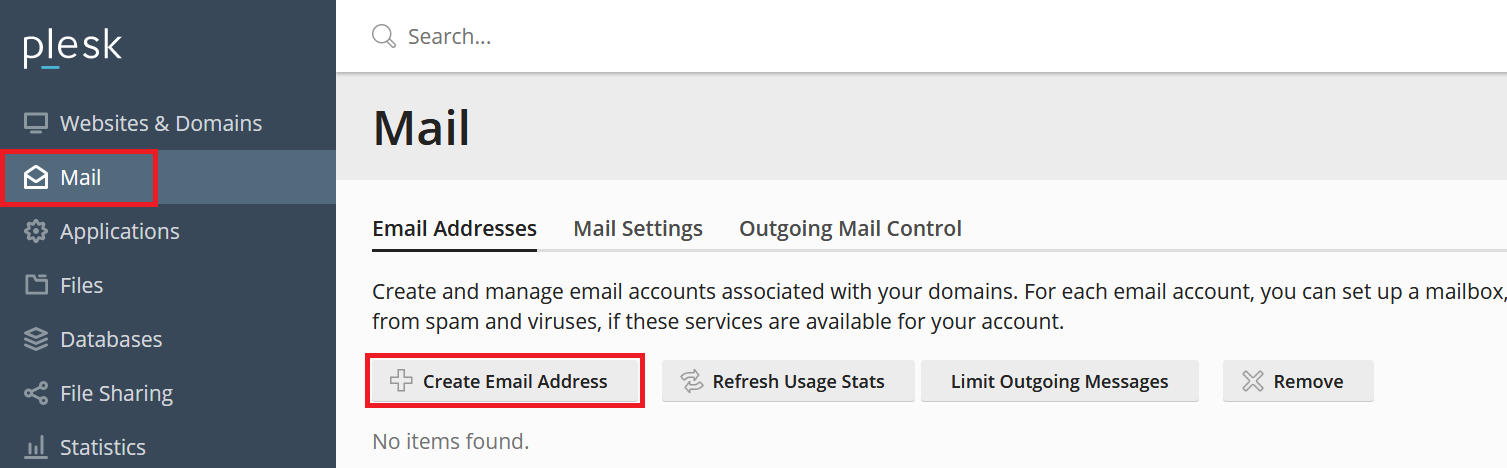
Log in to Plesk and go to 'Mail' > 'Create Email Address'.
Step 2
Enter a name for the email address and select the domain for which you are creating the address from the drop-down menu.
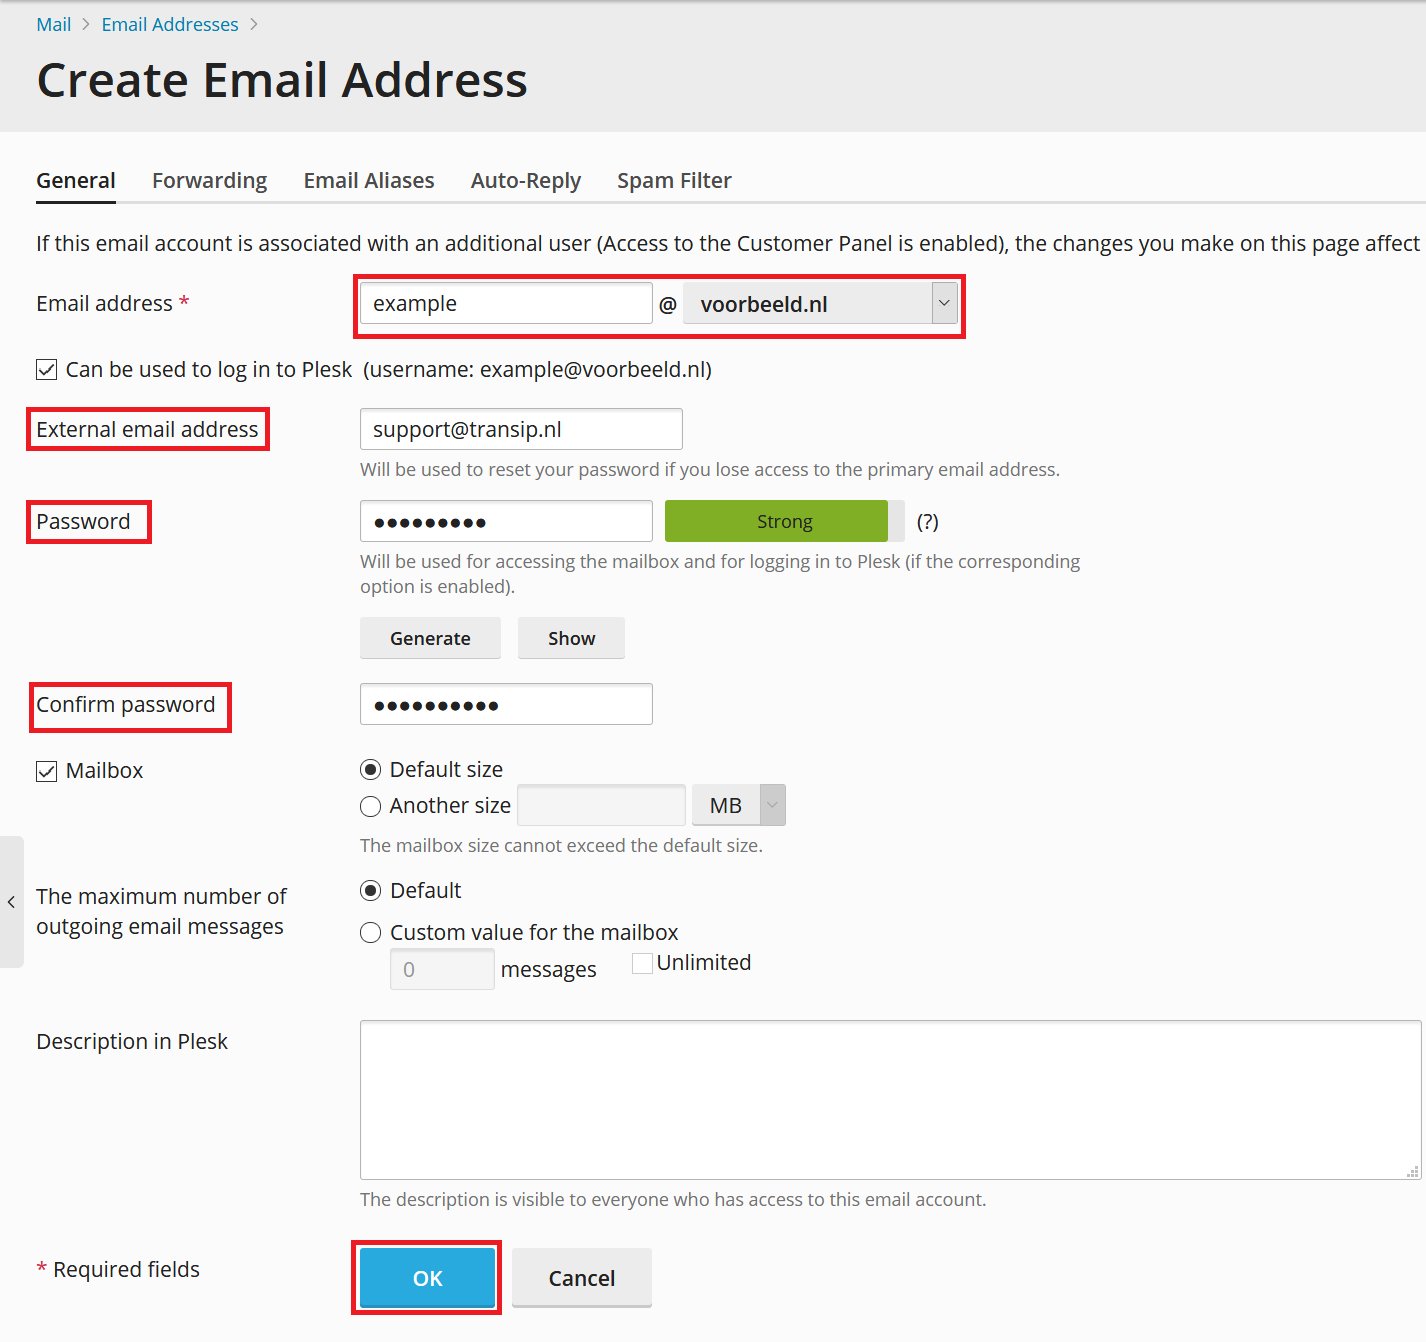
Make sure you use a strong password. You can also adjust the limit on the size of the mail address and outgoing mail.
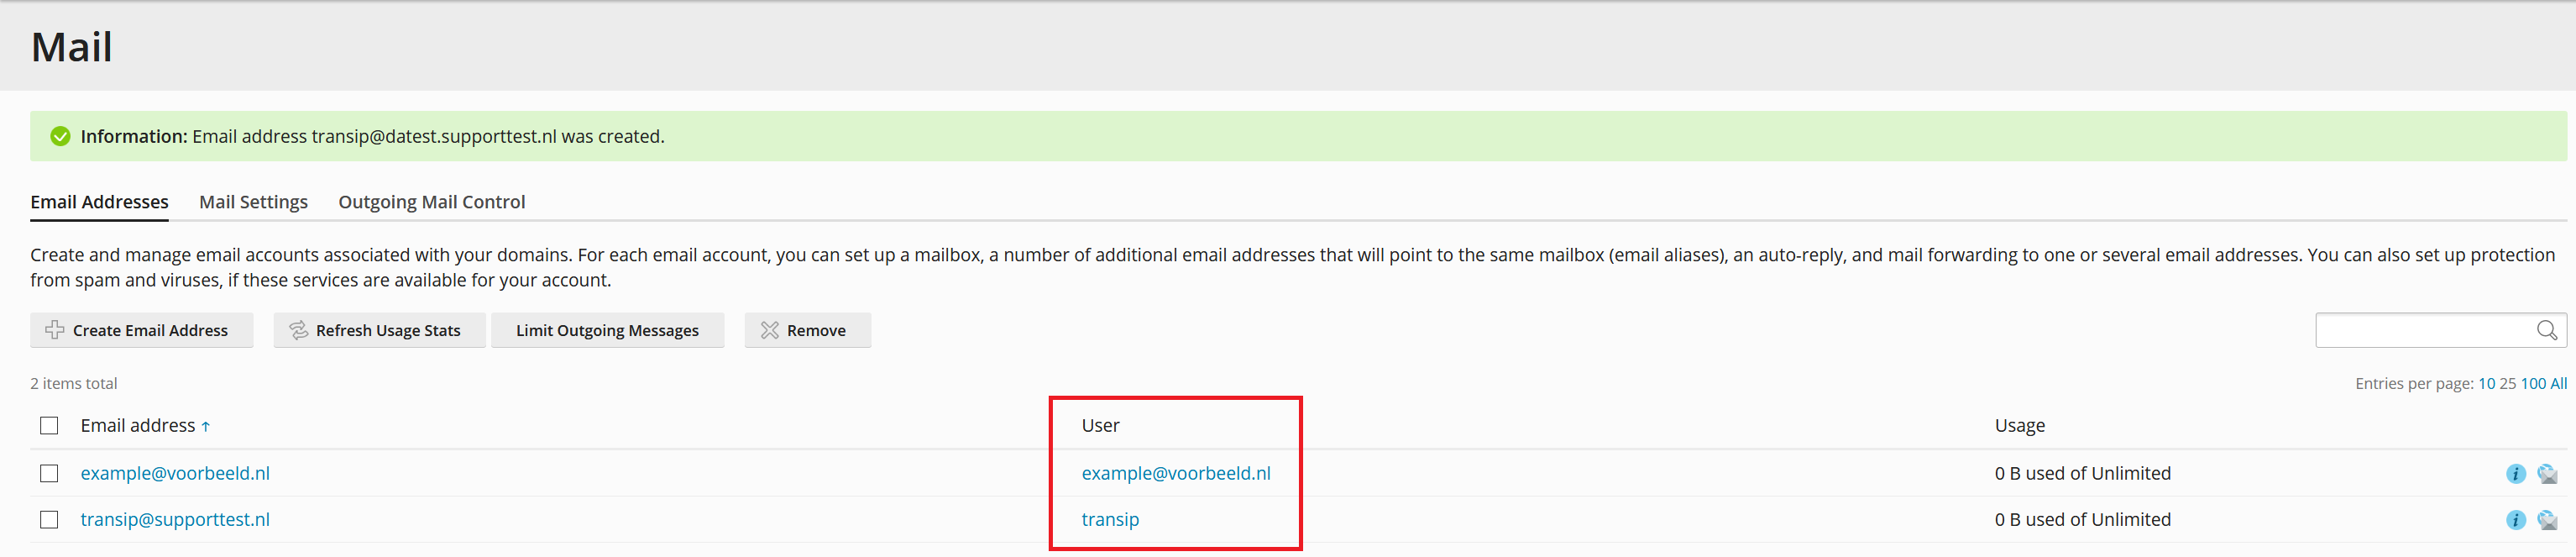
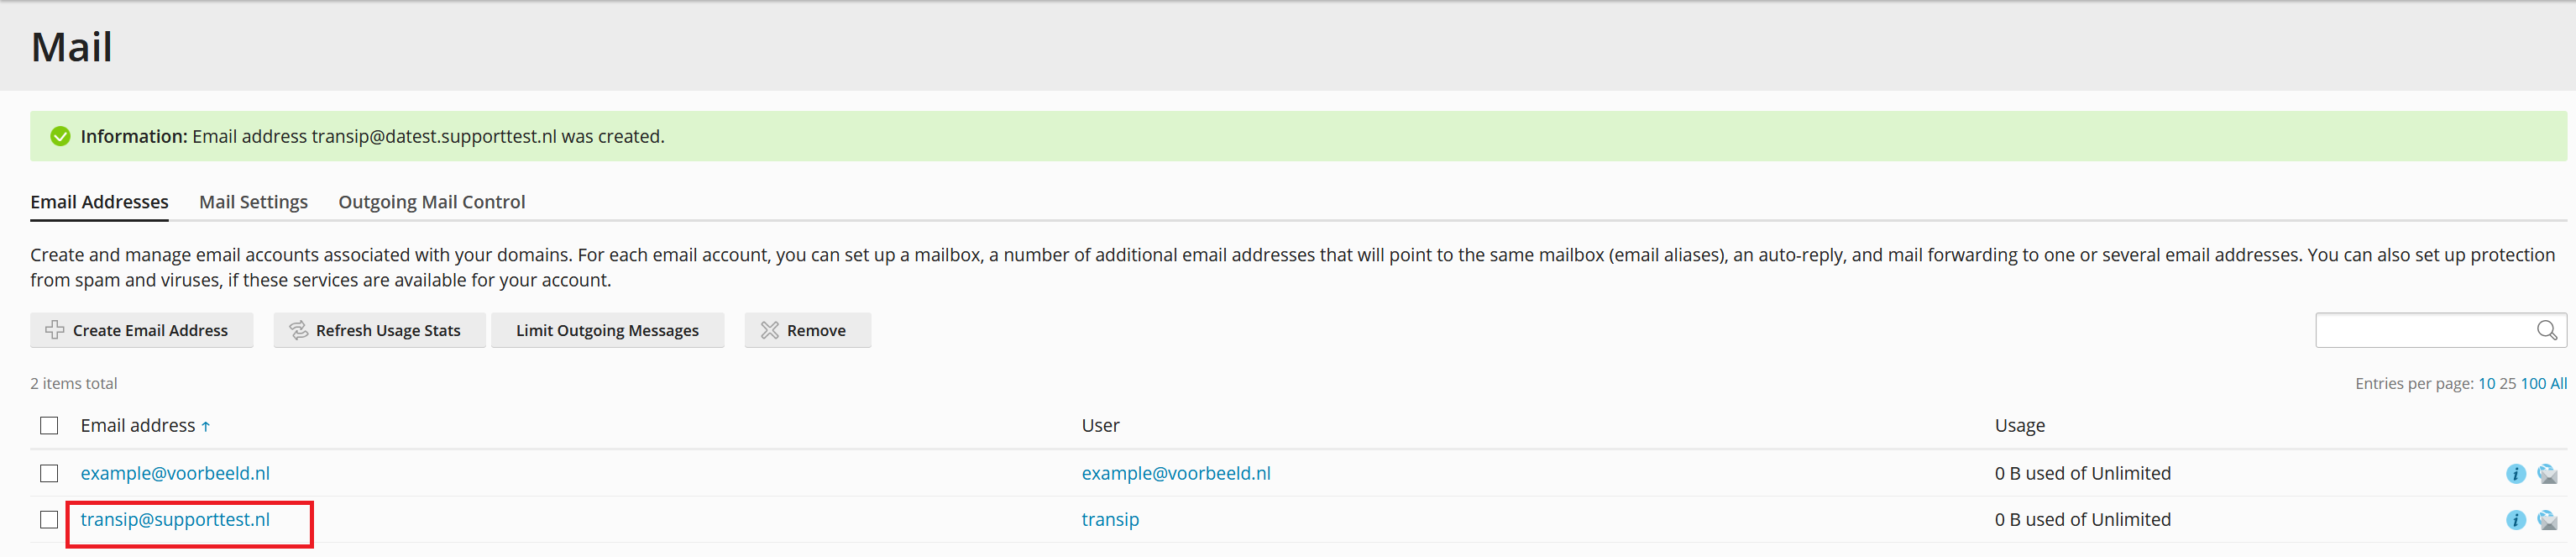
Please note: If this email address is linked to a user, the password you set here will also change the password of that user. In the overview under 'Mail' (see screenshot below) you see whether your email address is linked to a user in the 'User' column.
Logging in to the webmail
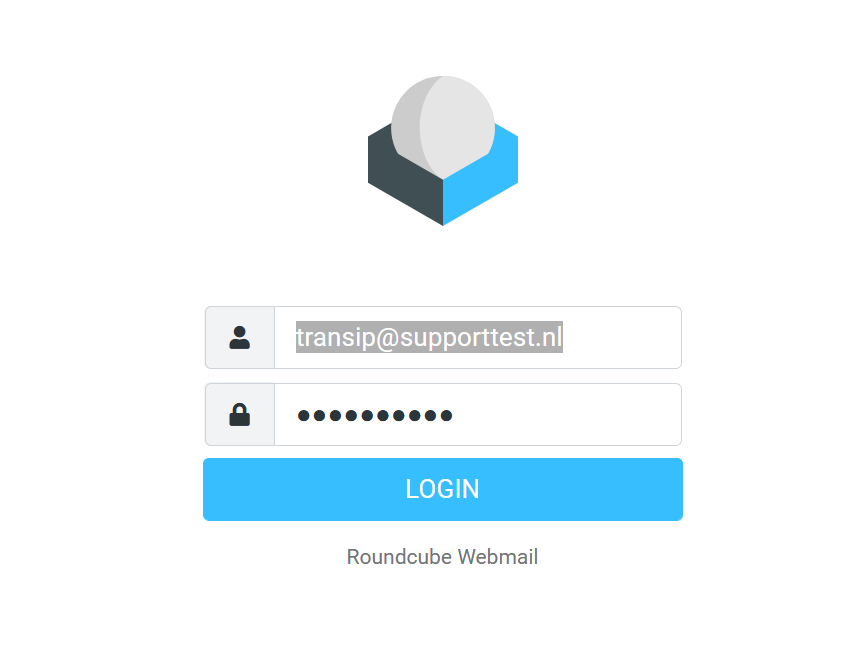
Plesk uses Roundcube as a webmail server. After creating your email address, you can directly use the webmail by logging in to 'webmail.yourdomain.com' (replace yourdomain.com with your actual domain name). To log in, you use the email address and the password you created in the previous section.
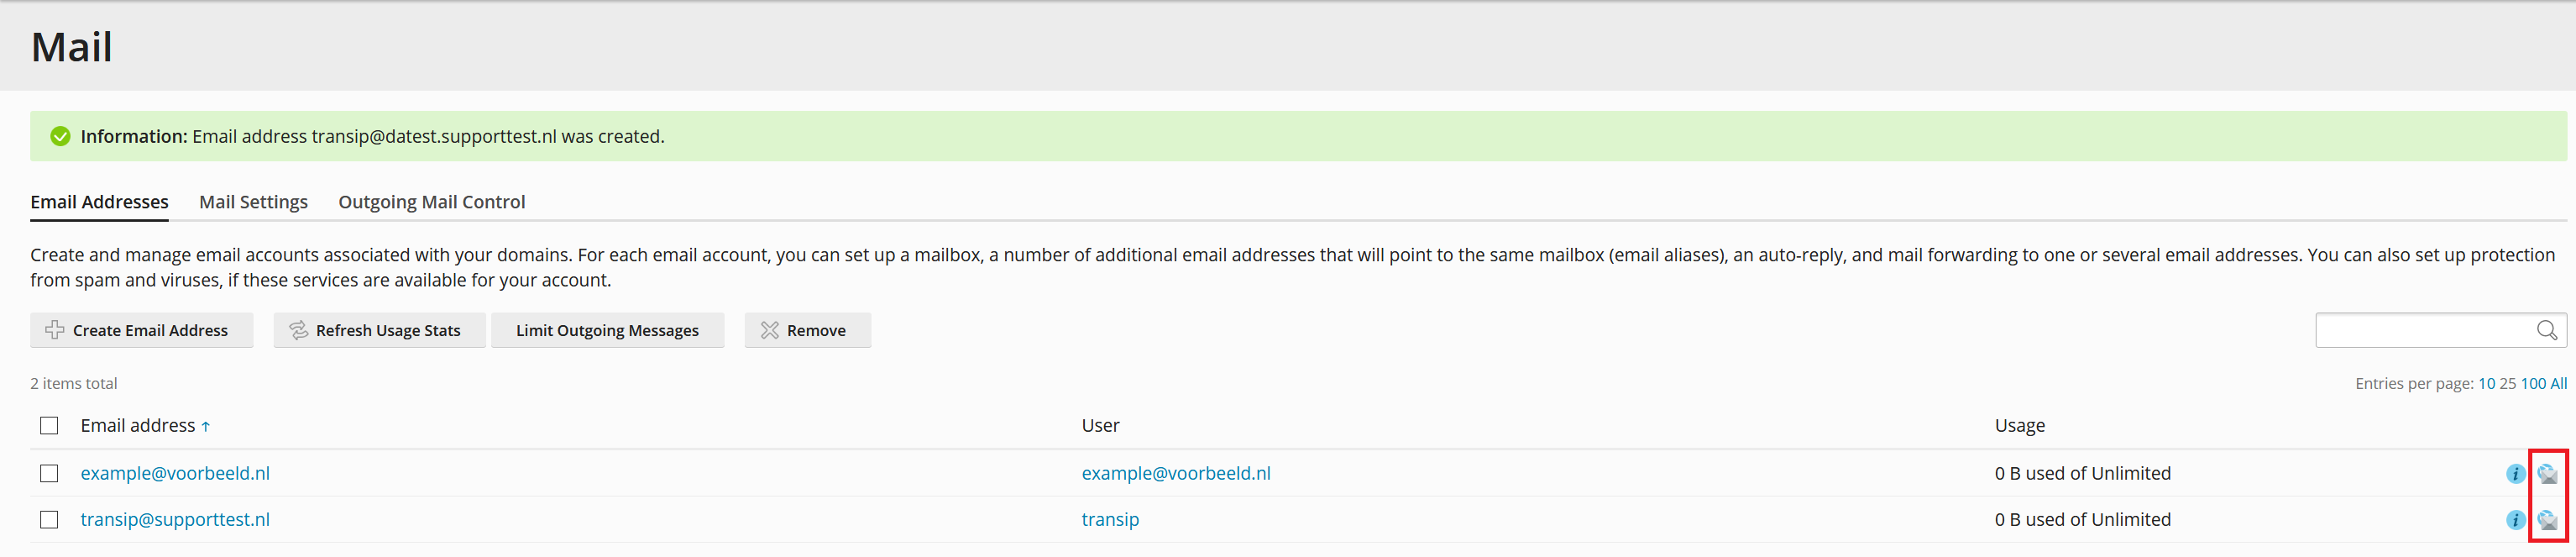
Optionally you can directly log in to the webmail from Plesk by clicking 'Mail' in the left menu and clicking on the webmail icon at the end of the address.
Optional: Enabling port 587
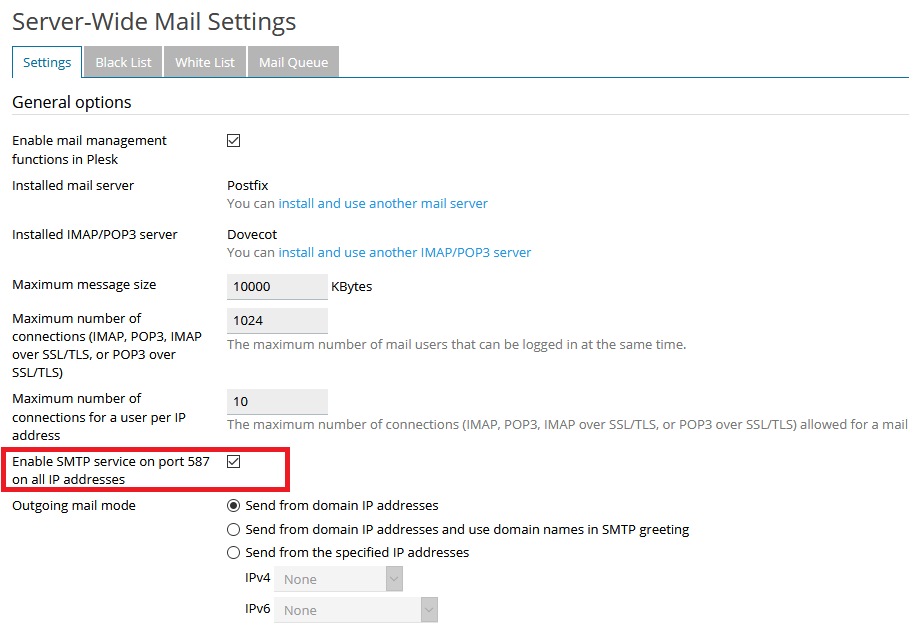
Port 587 is not available by default for e-mail, but instead port 465 is used. If you'd like to use port 587 follow the steps below.
Step 1
Log in to Plesk and go to 'Tools & Settings' > 'Mail Server Settings'.
Step 2
Tick the option 'Enable SMTP service on port 587 on all IP addresses' and click 'OK' at the very botom of the page
General settings for use in email software
You might want to use your email address in an app, email software, or to send emails from your website. The settings are the same in all cases:
Incoming email (IMAP)
-
Server: mail.yourdomain.com
-
Port: 993
-
SSL: enabled
-
Username: your email address
-
Password: the password you set for this email address
Incoming email (POP3)
-
Server: mail.yourdomain.com
-
Port: 993
-
SSL: enabled
-
Username: your email address
-
Password: the password you set for this email address
Outgoing email (SMTP)
-
Server: mail.yourdomain.com
-
Port: 465
-
SSL: enabled
-
Username: your email address
-
Password: the password you set for this email address
- Replace yourdomain.com by the actual domain name.
- There are many email apps available for your phone. If the mail in the app does not work, try another, such as the Outlook mobile app (used in our own test).
- Do you use Windows mail? Then choose ‘Other account’ when configuring the Windows mail.
Spam protection: SpamAssassin, SPF and DKIM
Spam is very annoying, but fortunately Plesk automatically offers you a range of tools to stop spam. SpamAssassin is probably the most important tool in this range.
SpamAssassin is enabled by default and checks the content, title and headers of messages for possible spam and gives each message a score. Upon reaching a certain score, the message is classified as spam and the title of the message will be adjusted. You can check the settings as follows:
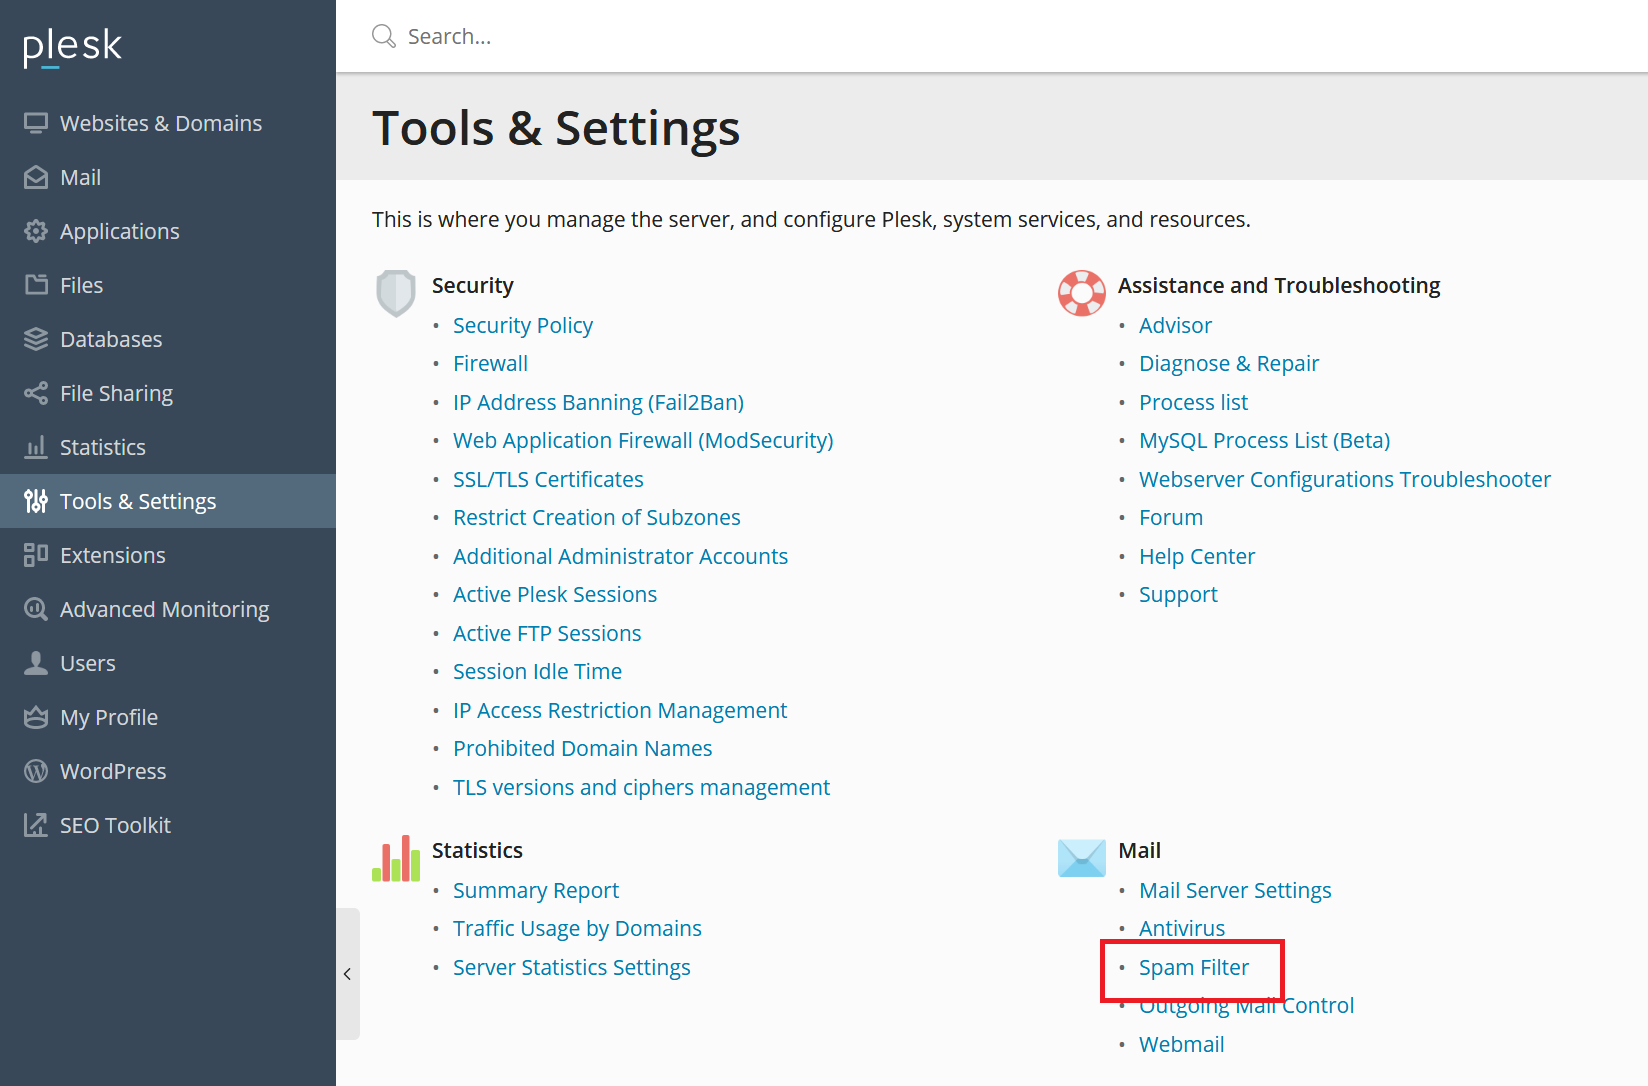
Step 1
Log in to Plesk and go to 'Tools & Settings' > 'Spam Filter'.
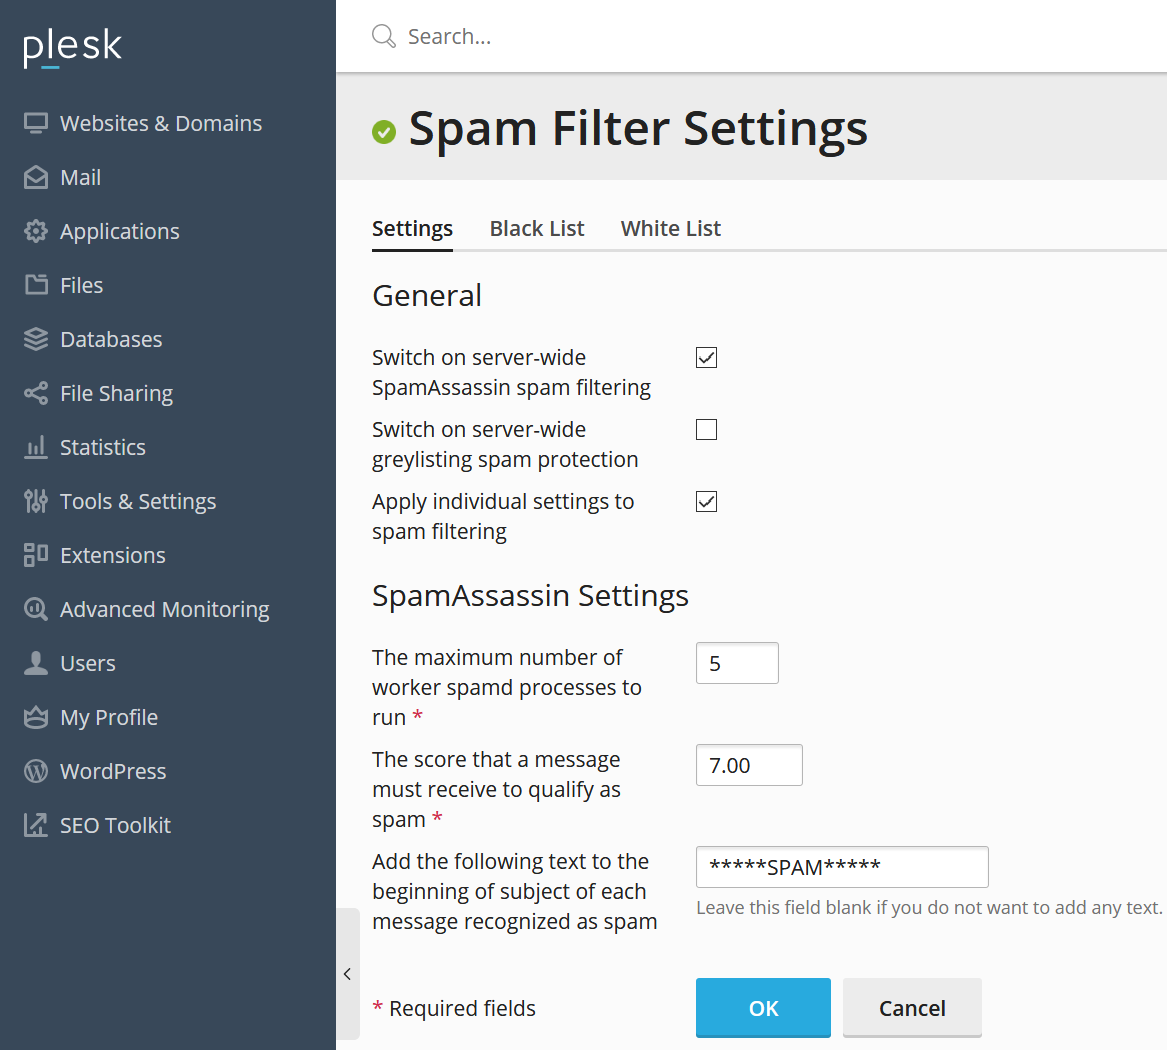
Step 2
Adjust the settings as desired and click ‘OK’. A short explanation follows below the screenshot.
-
Switch on server-wide SpamAssassin spam filtering: Without this option SpamAssassin does not work, so check it.
-
Switch on server-wide greylisting spam protection: Determines whether or not you want to apply greylisting to your entire server.
-
Apply individual settings to spam filtering: This leaves the choice to turn on spam filtering to the address of the recipient. Check this option if you want to apply the SpamAssassin options to all mail addresses automatically.
-
The maximum number of worker spamd processes to run: Determines the maximum number of SpamAssassin processes (1-5). We recommend leaving this option at 5.
-
The score that a message must receive to qualify as spam: SpamAssassin examines your mail for known spam characteristics, such as deviations in the headers, but also words in the content of the message (e.g. Viagra). A score of 7 is average, 5 is strict, and 9 is more lenient.
You are free to adjust the score as desired, but we recommend doing this in steps of +1 or -1
-
Add the following text to the beginning of subject etc: An email that is recognized as spam gets the addition in the subject that you place here.
We recommend adding _SCORE_ so the line ***** SPAM **** becomes _SCORE_ and you get insight into the score that is connected to spam. If your VPS is blocking mails too fanatically, you can easily adjust the score based on this score.
Optional: manual adjustment to have spam sent to the spam folder for all domains
Server-wide settings only mark spam by rewriting the title. You may want all your domains to have the spam removed or moved to the spam folder. This can be done from SSH or the VPS console using the following command:
mysql -uadmin -p`cat /etc/psa/.psa.shadow ` -Dpsa -Ne"SELECT CONCAT(mail_name,'@',name) FROM mail,domains WHERE dom_id=domains.id AND postbox='true';"|while read i;do /usr/local/psa/bin/spamassassin -u $i -status true -action move -hits 7;done
Please note: This is a long code that does not entirely fit on the page. When you copy the code, be sure to check that you are copying the entire code.
- The '-action move' code determines that spam is moved to the spam folder. Replace this with '-action del' if you want to have spam removed automatically.
- The pipe character | is sometimes changed when pasted in in the VPS console into a >. If you're getting an error message when pasting the above code, please check if this is the case.
- The '7' at the end is the score at which SpamAssassin marks a message as spam. You are free to adjust this as desired.
Optional: individual SpamAssassin settings
If you use the 'Apply individual settings to spam filtering' option, you adjust the SpamAssassin anti-spam settings per individual email address. This is useful, for example, if you have multiple customers (Plesk Customers) and want to give them the opportunity to adjust settings per user for their own domains. Individual SpamAssassin settings can be adjusted as follows:
Step 1
Log in to Plesk and click on the tab 'Mail'> 'name email address' (i.e. the email address for which you want to adjust the anti-spam settings).
Step 2
Click on the 'Spam Filter' tab on the top right. You will then see an overview as below.
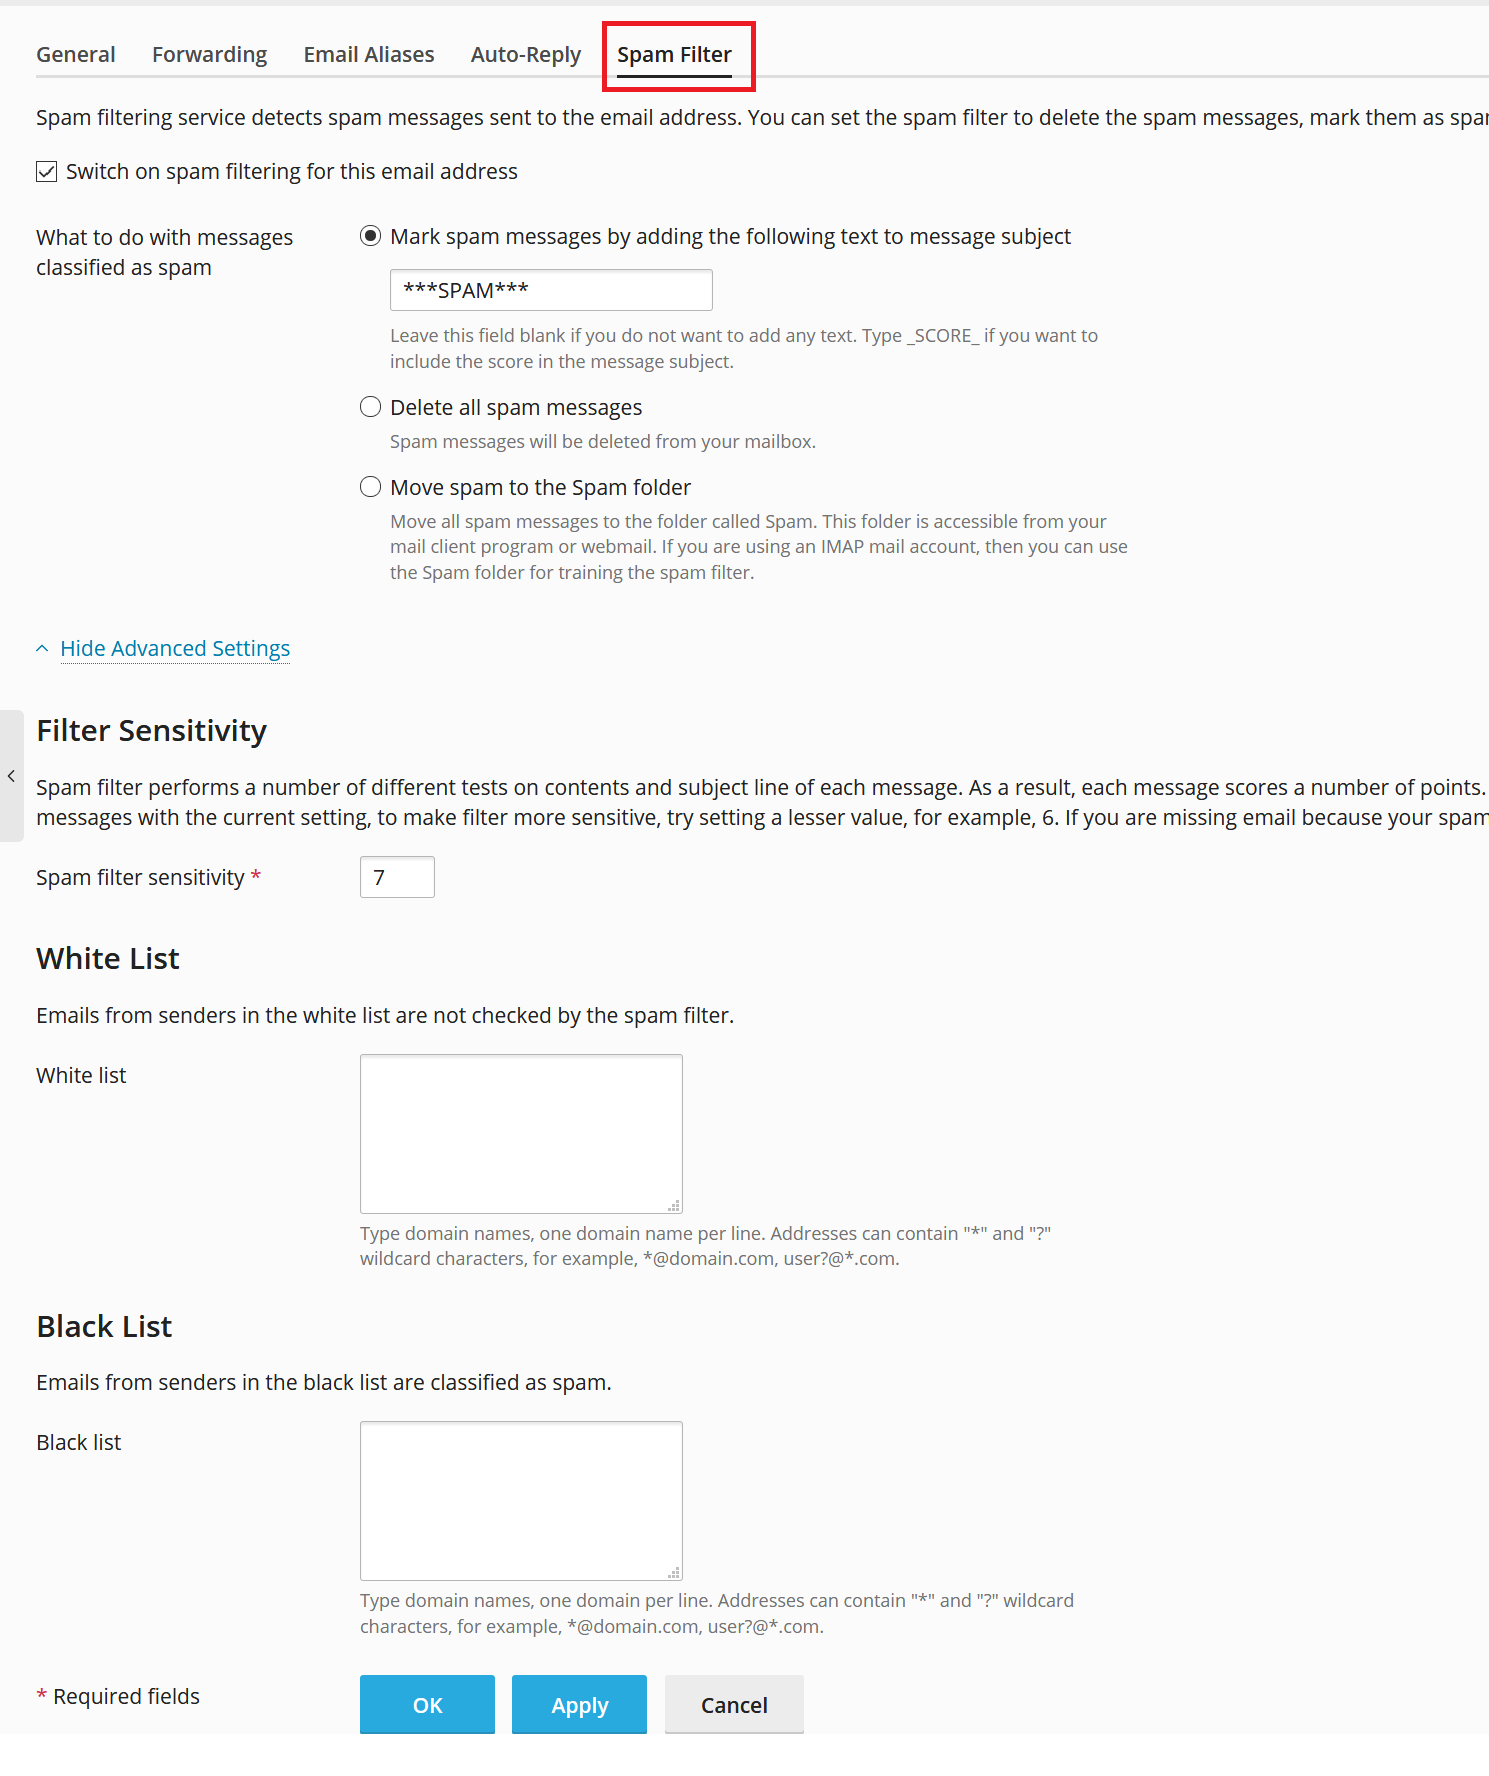
Adjust the settings as desired and click on 'Apply' > 'OK'.
Your email address(es) is now available for friends, family and customers (and the rest of the world)! Proceed to the next section Part 7: Additional articles and other questions for some final tips.


