


In our DirectAdmin tutorial series, we explain how to upload a website to your VPS. To go through the steps below, we assume that you have completed the tutorial series, or are familiar with the subject matter and have created a database.
In this article, we explain how to install WordPress on a VPS with DirectAdmin. Paid options such as Installatron or Softaculous can simplify the installation and allow you to execute from DirectAdmin with one click. We assume that you do not want to incur additional costs, or want to install extra software, and only explain how to install WordPress in DirectAdmin using the built-in options in DirectAdmin itself.
Installing WordPress
Step 1
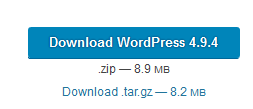
Download Wordpress from the WordPress homepage and save the .zip file to your computer.
Step 2
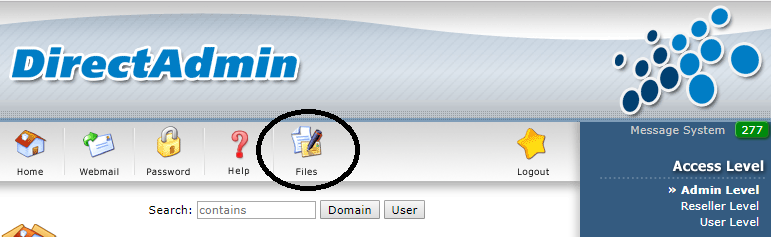
Log in to DirectAdmin as the user for which you want to install WordPress and click 'Files'.
Step 3
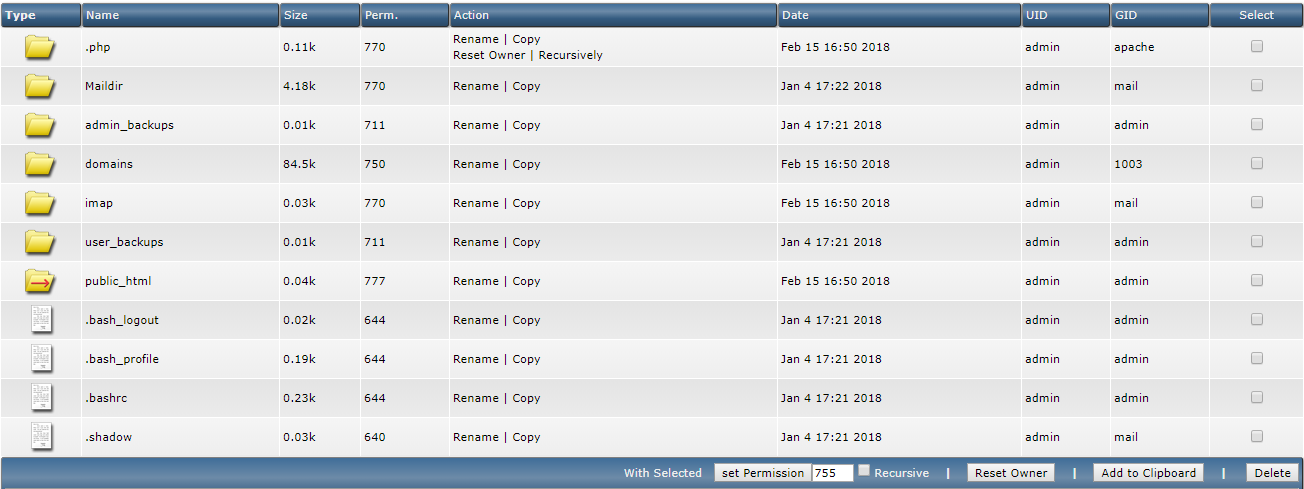
You now see an overview of the folders and files. Click 'Domains'.
Step 4
Click the name of your domain. In this manual we use supporttest.nl.

Step 5
Click 'public_html'. This is the folder in which your site is placed.

Step 6
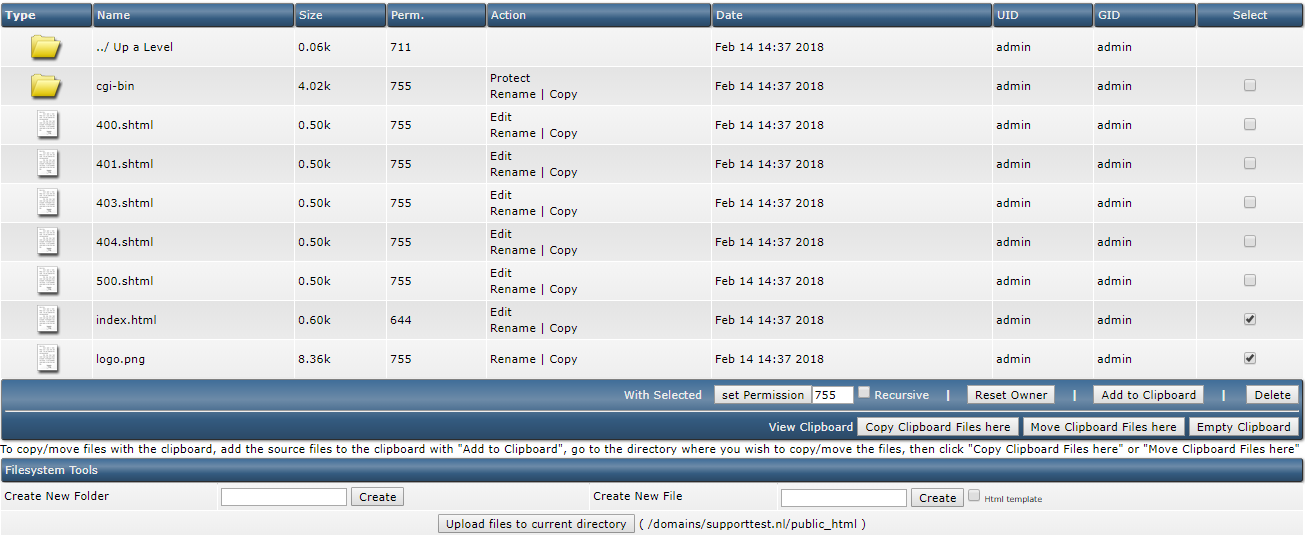
Do you want to use a subdomain? Then click the folder with the name of your subdomain. Click 'Upload files to current directory' (at the bottom of the screenshot).
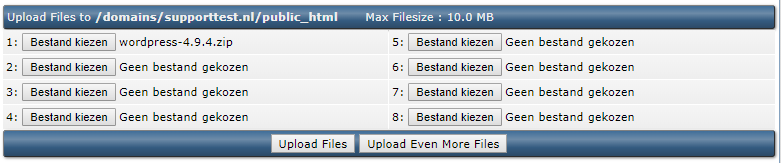
Step 7
Click 'Choose file' and select the file you downloaded in Step 1. Then click 'Upload Files' to upload the file.
Unfortunately, even on an English Windows installation with an English browser and trying to edit the page source, it would not display the options in the screenshot in English (even though it's set as the language for DirectAdmin).
Step 8
Click 'Click here to go back' at the bottom of the confirmation that appears.
Step 9
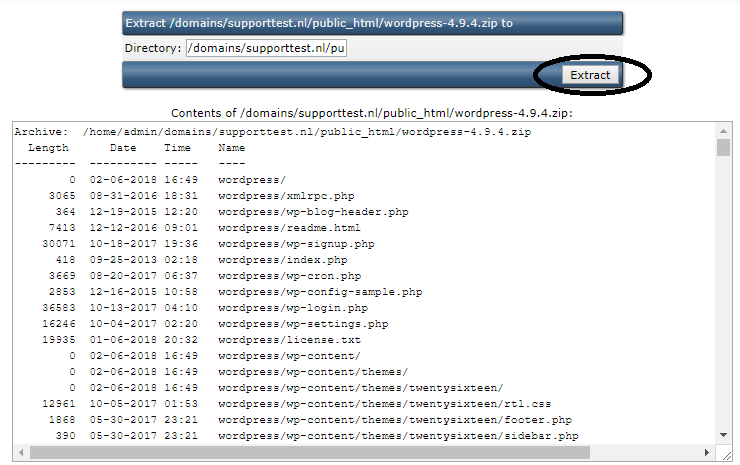
You will now return to the public_html folder and see 'wordpress-4.9.4.zip' (or just the version that is current at the time of reading). Click 'Extract'.

Step 10
You will see an overview of the content which is going to be unpacked and you can change your directory under 'Directory' (do not do that). Click 'Extract' again to start the unpacking process.
Step 11
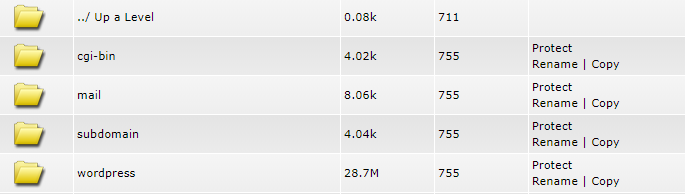
WordPress stops its files in the 'wordpress' folder in the .zip file you downloaded. As a result, there is a new folder in your public_html folder called 'wordpress'. Click 'wordpress' to open the folder.
Step 12
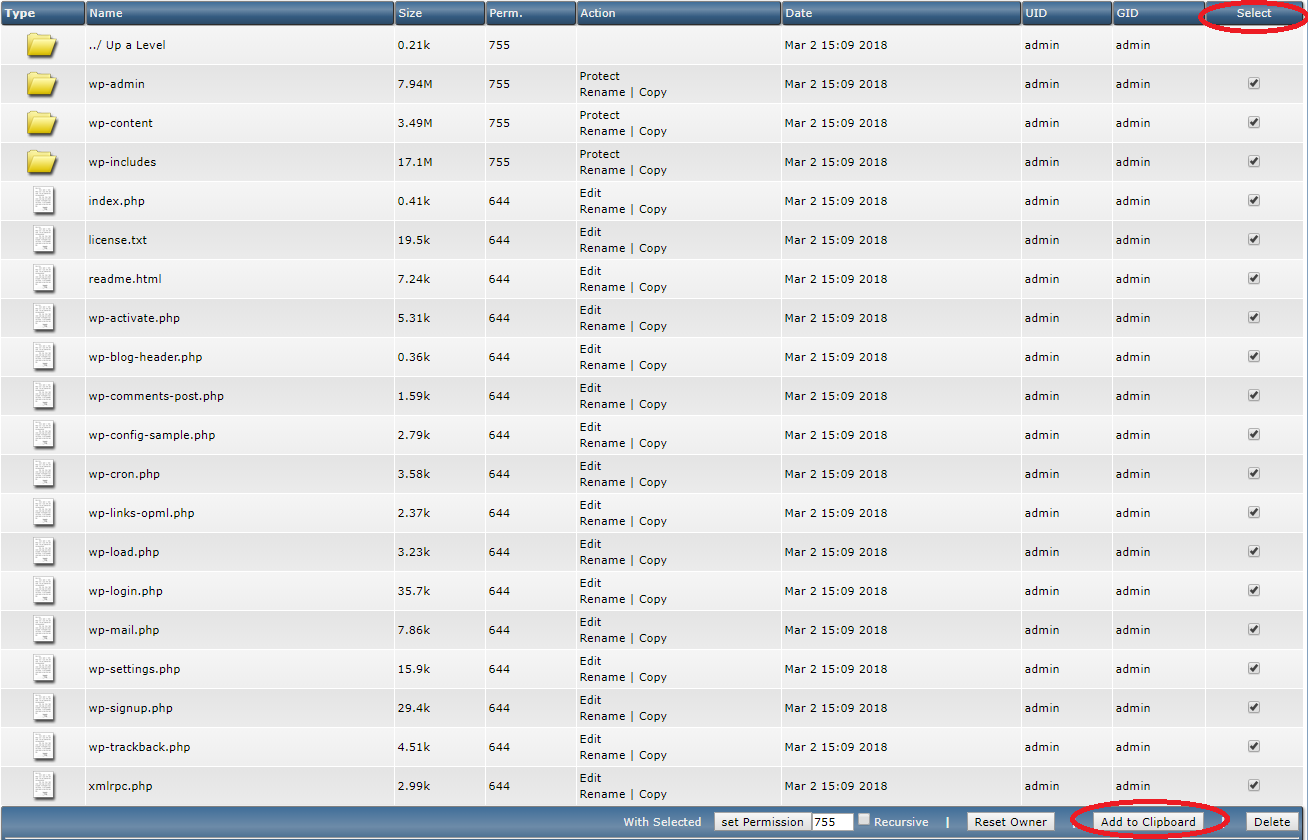
Click 'Select'> 'Add to clipboard'> '../ Up a Level'. You have now selected all files and folders in the WordPress folder and prepared them to move.
Step 13
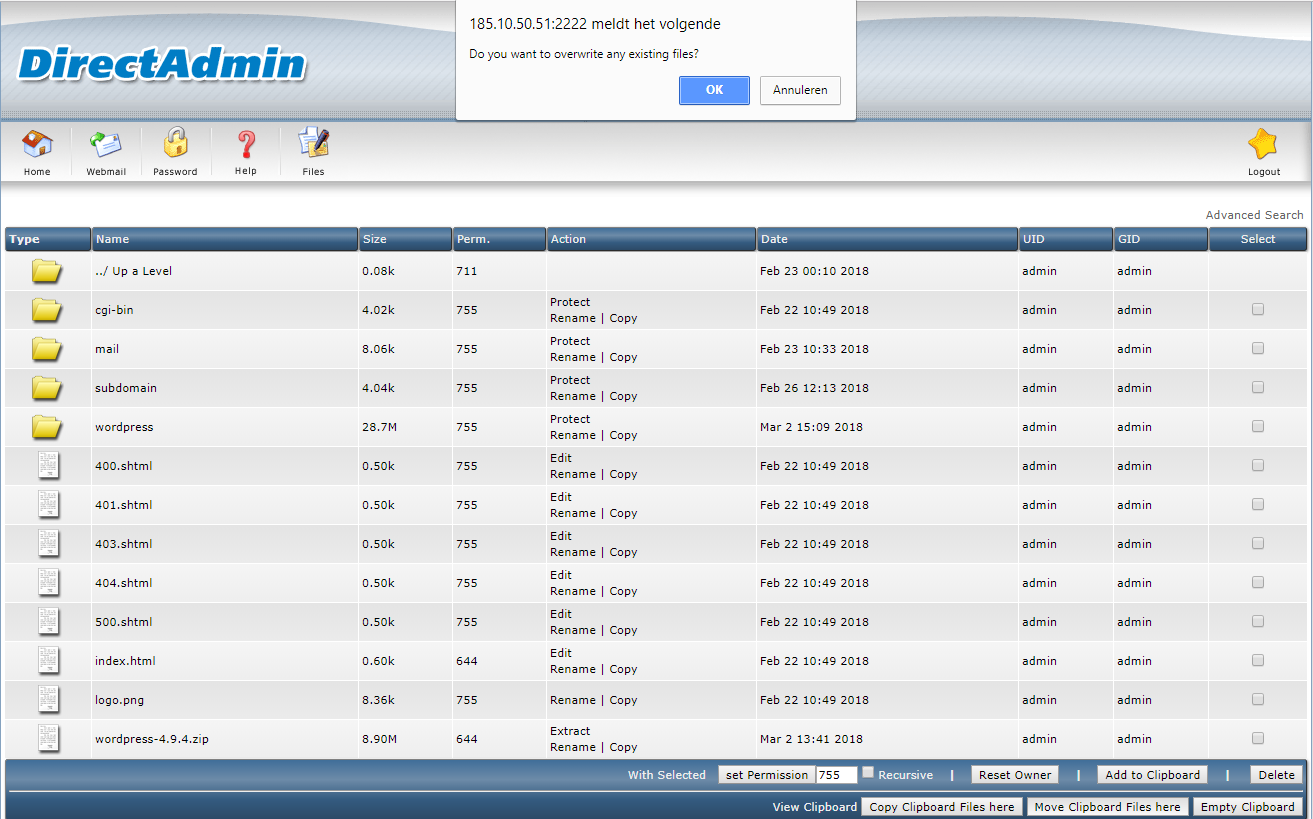
Click 'Move Clipboard Files here' at the bottom right. You will be asked whether existing files may be overwritten. Click 'OK'; without all files, your WordPress site would not work. Remove the Wordpress folder and the .zip file by checking them and clicking 'Delete'.
Step 14
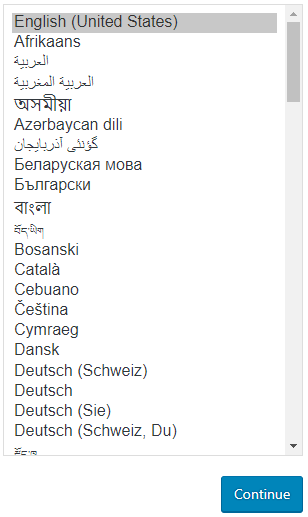
Open yourdomain.com/index.php in a browser (replace yourdomain.com by your actual domain name). You will then see the WordPress setup menu. Select your preferred language and click 'Continue'.
Step 15
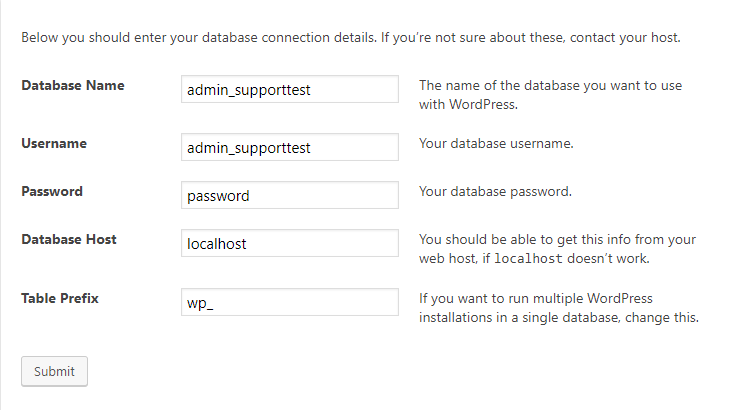
You'll see a warning that you need your database data for the installation. In our DirectAdmin tutorial series, we explain how to create a database.
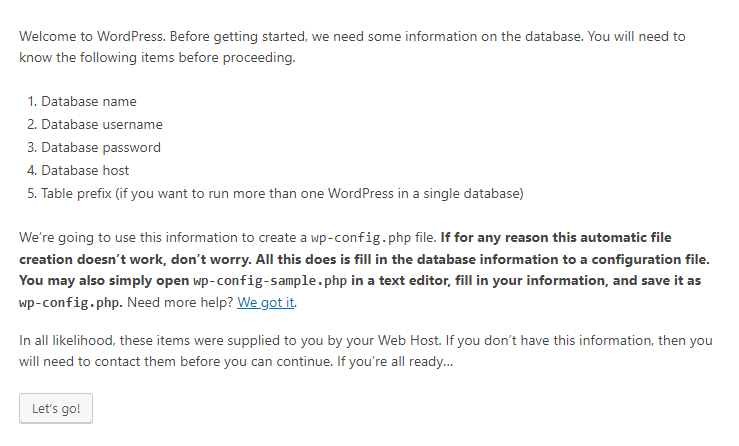
Enter your database data as in the example below and click 'Submit'.
Step 16
You will be greeted enthusiastically by the following message from WordPress. Click 'Run the installation' to start the WordPress five-minute installation process.

Step 17
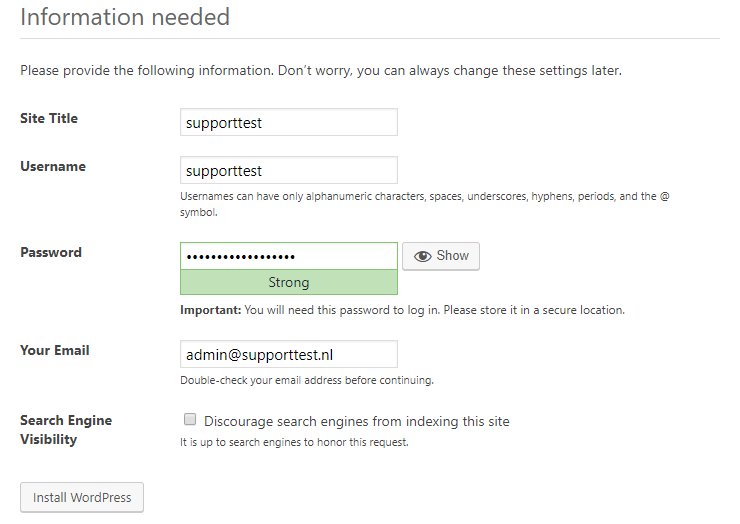
WordPress then asks you for the information below. Complete the fields, write down your username and password should you lose them, and click 'Install WordPress'.
Step 18
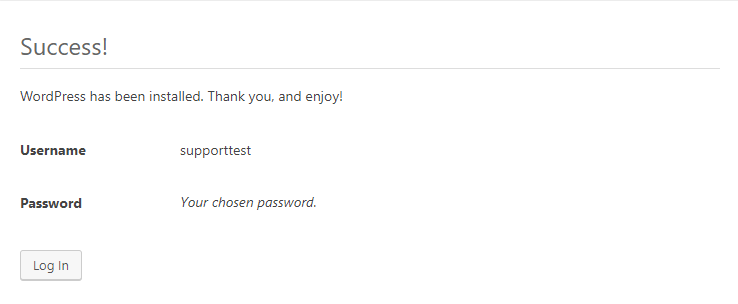
Five minutes is a very large estimate; on the VPS that we used for this manual, the installation was completed immediately. You will see the following screen as confirmation and can start with WordPress immediately! We cannot provide support for the design and management of a WordPress website, but you can, for example, go to WordPress support.
Should you have any questions left regarding this article, do not hesitate to contact our support department. You can reach them via the ‘Contact Us’ button at the bottom of this page.