


Block Storage can be easily attached to your Windows VPS and requires a few minutes of configuration in Windows Server before you can use the Block Storage.
Attaching Block Storage to a Windows VPS
Step 1
Once your Block Storage has been delivered, navigate to the control panel, select the VPS you'd like to attach the Block Storage to and click ‘Storage’ > ‘Block Storage’ in the top menu of the overview page.

Step 2
Click the attach icon behind the storage you'd like to attach to your VPS.

Your Block Storage is now attached to your VPS and you may proceed with the next chapter.
Configuring Block Storage in your Windows Server
Step 1
Once you have attached the Block Storage to your VPS, connect to your VPS as Administrator using either Remote Desktop, or the Console in your control panel.
Step 2
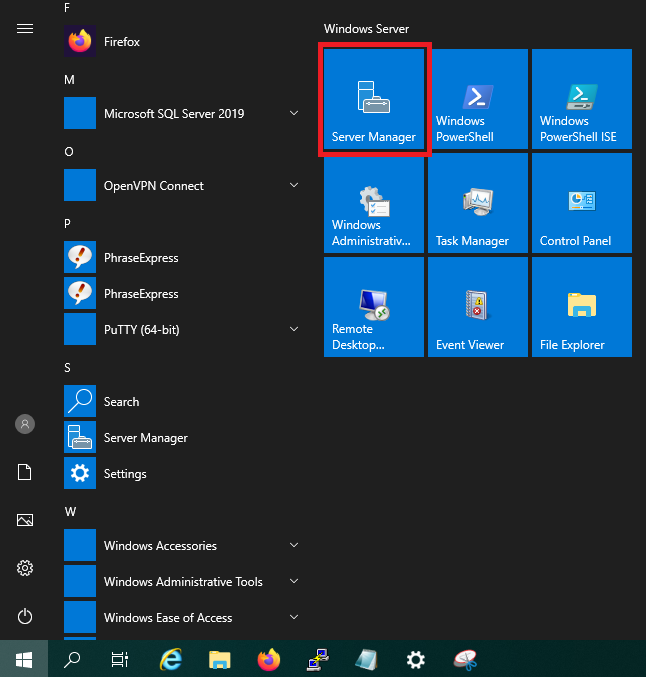
Click the Windows Start button > Server Manager.
Step 3
In the Dashboard of the Server Manager, click ‘Tools’ > ‘Computer Management’ at the top right.

Step 4
In the Computer Management window, click on ‘Storage’ and then ‘Disk Management’. Here you will see an extra 'Disk' in the disk/drive overview, usually Disk 1. By default, a new disk is listed as ‘Offline’. Right click the name ‘Disk 1’ and click ‘Online’.

Step 6
The disk is now online, but it will be listed as ‘Not Initialized’. Right-click the disk again and select ‘Initialize Disk’.

A confirmation window will pop up. There's no need to make any changes: simply click ‘OK’ to proceed.

Step 5
The disk is now online on your VPS, but its space is currently ‘Unallocated’. Right click anywhere in the ‘Unallocated’ block and select ‘New Simple Volume…’

Step 6
The system will open a Wizard that you can go through and give the disk a drive letter (for example E:). There's no need to change any settings in the wizard and you can simply keep clicking ‘Next’ unless you don't want to assign all available space, or change the formatting for example. Once you have gone through the Wizard, you can use the extra disk space!

If you now go to This PC in your File Explorer, you will see that your Block Storage has been added to your VPS.
