







By cloning a VPS it is possible to make an exact duplicate of your VPS on a new VPS (i.e. of the hardware and software).
You're also offered the option to geographically seperate your services during the cloning process. While cloning your VPS, you can choose in which availability zone you'd like to place your VPS clone. VPS cloning is done by following the steps below.
- A VPS with an active 'lock' can not be cloned.
- A VPS which uses a web control panel licence to operate (for example pre-installed images with DirectAdmin, Plesk or cPanel) can also be cloned and a new license will be added to the cloned VPS. You may have to sync the license data before the clone can use the new license.
Please note: Does your original VPS use a license type that is no longer offered on our website? In that case, your cloned VPS will be provisioned with the standard license type from the currently available options. For DirectAdmin, for example, this is the ‘standard’ license. - VPS-Firewall configurations in the control panel are also transfered.
- If the original VPS has a Big Storage attached, remove the Big Storage in /etc/fstab before making the clone, or the clone won't start as it can't find the Big Storage.
- It is not possible to clone an existing VPS to a smaller VPS (except for an X16 to an X8).
- If you configured the IP addresses on your VPS statically, you will not be able to use the network-connectivity of the new VPS yet as it will also copy the network-configuration. Because you can not use the original IP addresses, you need to first manually alter the network-settings and configure the IP address(es), to allocate the new IP addresses and remove the existing ones from the new VPS. In this article you'll find an instruction for configuring static IP's in Linux and in this article for Windows.
- Cloning has no impact on services on the old VPS, such as Big Storage. It'll remain attached and usable.
- It is strongly recommended to disable the VPS before you create a Snapshot. This prevents that data which was still stored in the RAM and data that is still written during the snapshot is not included in the snapshot (with possible corruption as a result).
Step 1
Log into the TransIP control panel.
Click 'VPS' in the left hand menu and select the name of the VPS you'd like to clone.

Step 2
In the overview of your VPS, click the ellipsis button (…) and select ‘clone VPS’.

Step 3
Select the type and size of VPS you'd like to use. Please note that you cannot clone to a VPS with a disk size smaller than the original VPS.

Step 4
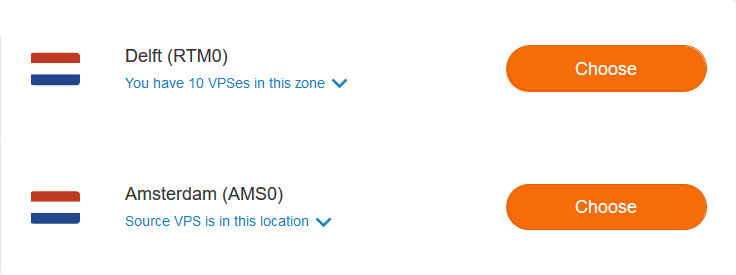
You're now shown the availability zones you can clone the VPS to, as well as availability-zone that hosts the original VPS. Click 'Choose' behind the availability zone you'd like to clone your VPS to.
Step 5
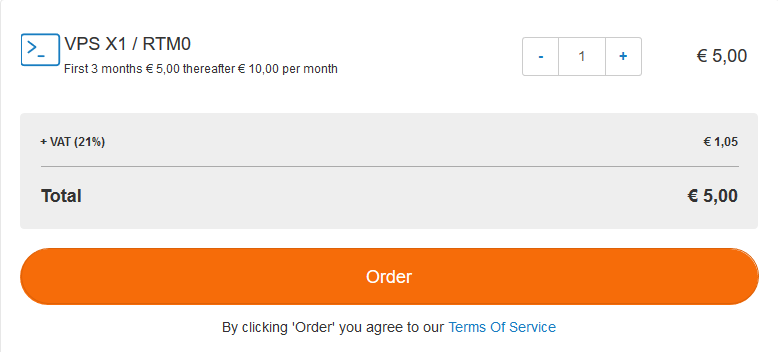
Click on 'Order' to finalize and order the clone of your VPS.
Depending on the size of the original VPS, it can take some time before the new, cloned VPS can be used. However, it should however be listed in the VPS overview after a few seconds.