ClamAV is a free, open source antivirus program for the detection of trojans, viruses and malware on your VPS. In this tutorial we show you how to install ClamAV in CentOS 7, 8 or AlmaLinux 8 and how to ensure that ClamAV starts automatically and your VPS scans daily.
Execute the commands in this article as a root user, or user with sudo rights
Installing ClamAV
Step 1
Connect to your VPS via SSH or the VPS console and update your VPS first:
yum -y update
Step 2
ClamAV is not included in the official CentOS/AlmaLinux package repository. It is included in the Extra Packages for Enterprise Linux (EPEL). Therefore, first install the latest release of EPEL.
yum -y install epel-release
Step 3
Next install ClamAV with the command (please note: there is a scroll bar because it is a long command):
yum -y install clamav-server clamav-data clamav-update clamav-filesystem clamav clamav-scanner-systemd clamav-devel clamav-lib clamav-server-systemd
Configuring ClamAV
Step 1
CentOS/AlmaLinux is supplied with SELinux. Check whether SELinux is enabled with the command below.
sestatusIf the SELinux status is 'disabled', proceed to 'Step 2'. If the SELinux status is 'enabled', give ClamAV access to all your files with the following command:
setsebool -P antivirus_can_scan_system 1
setsebool -P clamd_use_jit 1
ClamAV is supplied with a standard configuration file. A small adjustment is needed in this file before you can use it. The word example needs to be commented out or removed from scan/conf and the LocalSocket uncommented:
sed -i -e "s/^Example/#Example/" /etc/clamd.d/scan.conf
sed -i -e "s/#LocalSocket /LocalSocket /" /etc/clamd.d/scan.conf
Step 3
Before you can use the scan service, Freshclam needs to be enabled and configured. Freshclam updates the database that ClamAV uses with virus definitions (the database is empty in a new installation). Again remove / uncomment 'Example' from the configuration file.
sed -i -e "s/^Example/#Example/" /etc/freshclam.conf
Step 4
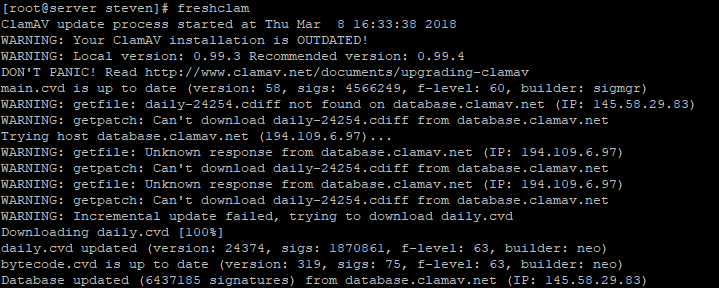
Run Freshclam with the command below. Freshclam will then immediately download the latest virus definitions.
freshclamFor example, the output looks like below.
Step 5
Next you create a systemd service so ClamAV is automatically started and executed:
nano /usr/lib/systemd/system/freshclam.service
Step 6
Add the following content and save the changes with ctrl + x> y> enter.
[Unit]
Description = freshclam scanner
After = network.target

[Service]
Type = forking
ExecStart = /usr/bin/freshclam -d -c 1
Restart = on-failure
PrivateTmp =true

[Install]
WantedBy=multi-user.target
Change the number 1 behind ExecStart to 2 if necessary, or another number to have the scan carried out more than once a day.
Step 7
The virus definitions are now up-to-date. Enable autostart for the ClamAV scan service and freshclam, and start both services as follows:
systemctl enable clamd@scan
systemctl enable freshclam
systemctl start clamd@scan
systemctl start freshclam
The installation of ClamAV is now complete! We also recommend installing Fail2Ban if you have not done so yet. This way you are not only protected against viruses, malware, etc. but also against bruteforce attacks.
Should you have any questions left regarding this article, do not hesitate to contact our support department. You can reach them via the ‘Contact Us’ button at the bottom of this page.
If you want to discuss this article with other users, please leave a message under 'Comments'.
@borgan,
Apologies for the late reply. Unfortunately I can't spot an error in the screenshot. Could you send a message to our support department including the output of
journalctl -xe -u clamd@scan.service?