In this guide we'll show you how to install Microsoft Exchange Server 2016 or 2019 on your Windows VPS. For writing this guide, we've made use of Server 2016 with Exchange Server 2016 - Standard and Server 2019 with Exchange Server 2019 - Standard. In your control panel you'll find your license key and the download link of the ISO for Exchange Server 2016.
On this page you can order an Exchange Server 2016 or 2019 license if you don't have one yet.
Before you begin:
- For this guide we assume the basic configuration of your VPS has been performed. For security reasons and to prevent errors we recommend installing Exchange on a different VPS then the one on which your Active Directory has been installed.
- In order to be able to install Exchange there are a couple of prerequisits your VPS and Active Directory must meet. You can find these prerequisits here.
- Please note! This is relatively complex material and we recommend Dit is relatief complexe materie en het is dan ook altijd aan te raden om eerst een snapshot te maken van je VPS voordat je deze handelingen uitvoert. Zodoende kun je in het geval van een verkeerde configuratie hier altijd op terugvallen.
Installation of Exchange Server 2016 or 2019
Step 1
When you start the installation of Exchange Server you'll be offered the option to check for updates. For security reasons we recommend always doing so.

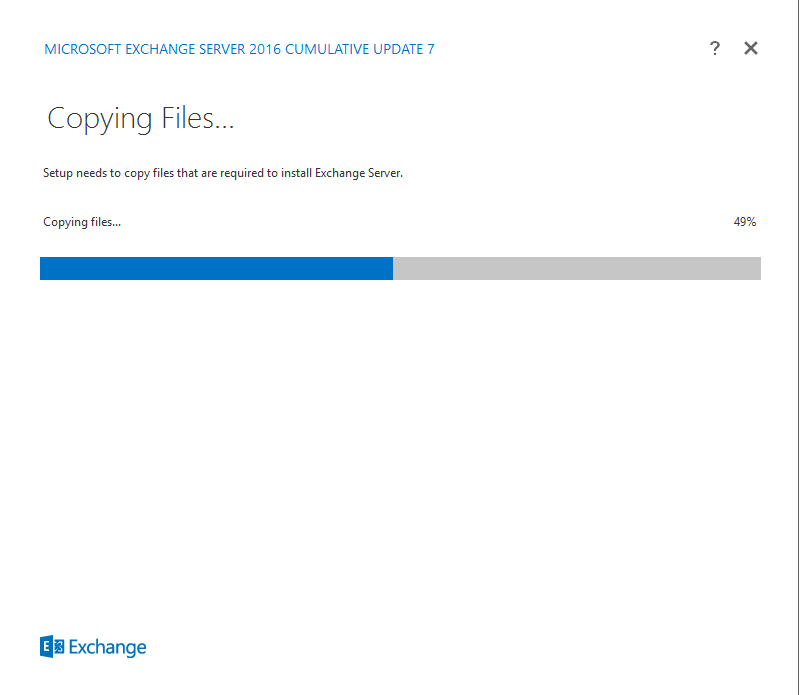
Step 2
Setup then copies the required files to your hard disk (%winDir%\Temp\ExchangeSetup). You'll automatically pass this part and land on the introduction page.
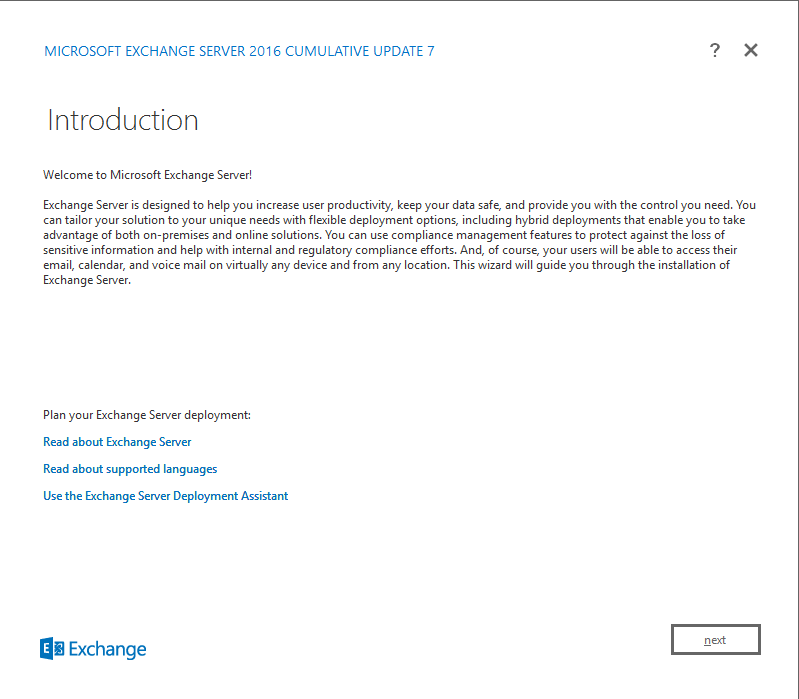
Step 3
The introduction page shows general information about Exchange. If you haven't consulted the Exchange installation prerequisits we recommend clicking the Deployment Assistant link before proceeding.
Step 4
The license agreement is shown. Read the license agreement, accept them and click 'Next'.

Step 5
You can then choose whether to use the recommended settings or not. These settings are mainly used to send error reports, information about your hardware and the usage of Exchange to Microsoft.
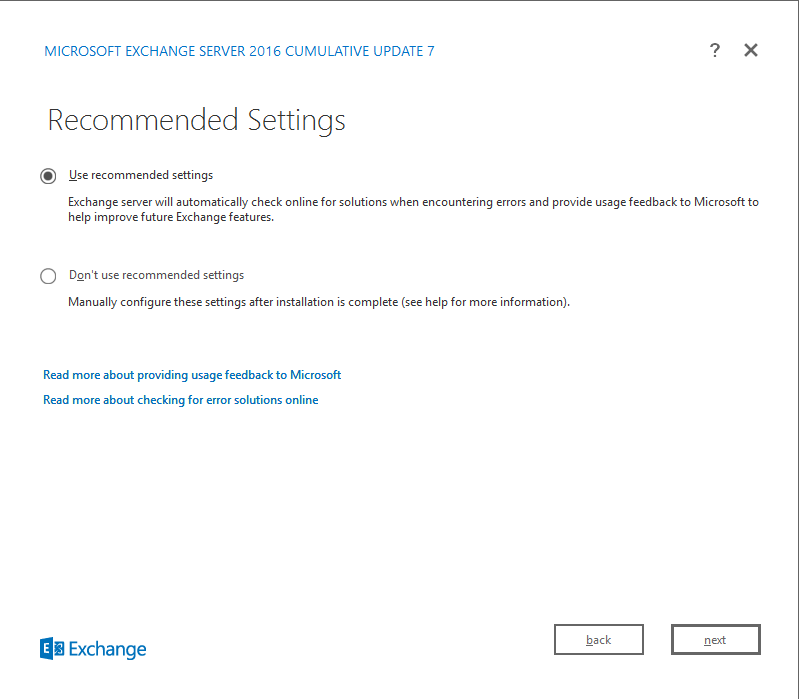
- If you select 'Don't use recommended settings' this will not happen. You can always change these settings after the installation. gebeuren.
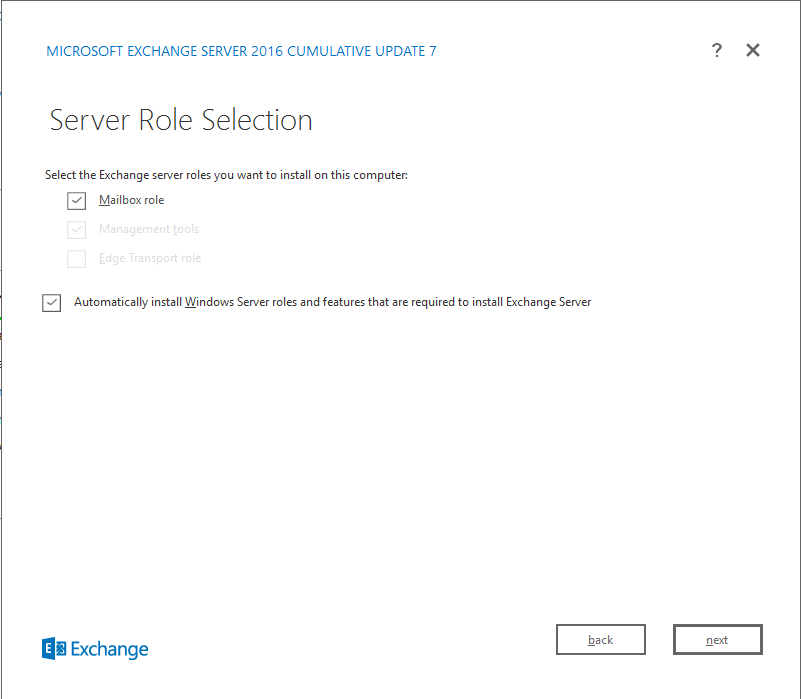
Step 6
On the 'Server Role Selection' page you can indicate which server roles are installed by Exchange on your VPS. For a standard installation select the 'Mailbox role'. The 'Management tools' will automatically be installed along with the 'Mailbox role'.
Select 'Automatically install Windows Server roles and features that are required to install Exchange'. The installation wizard will automatically install missing required Windows features.
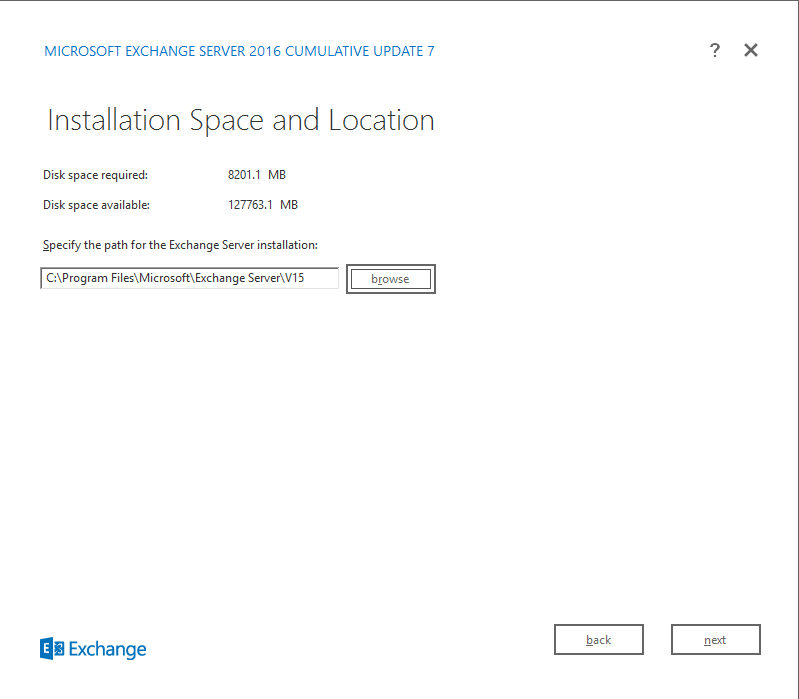
Step 7
You can now change the installation directory. For our installation we'll use the default directory. Click 'Next' to proceed.
Step 8
The first Exchange server installation in your company (i.e. on a VPS listed in your AD) the 'Exchange Organization' page will appear. Provide your company name and click 'Next'. Split permissions are usually not required unless the management of your AD and Exchange Server are split over various persons (usually the case with larger organizations).
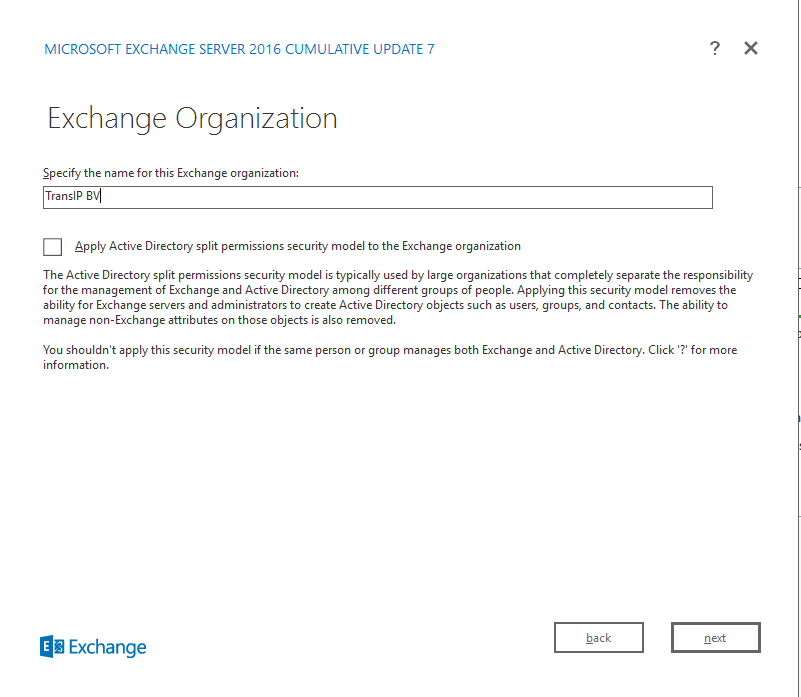
- Please note that this option cannot be changed afterwards and that only A - Z, a-z, 0-9 and - are accepted.
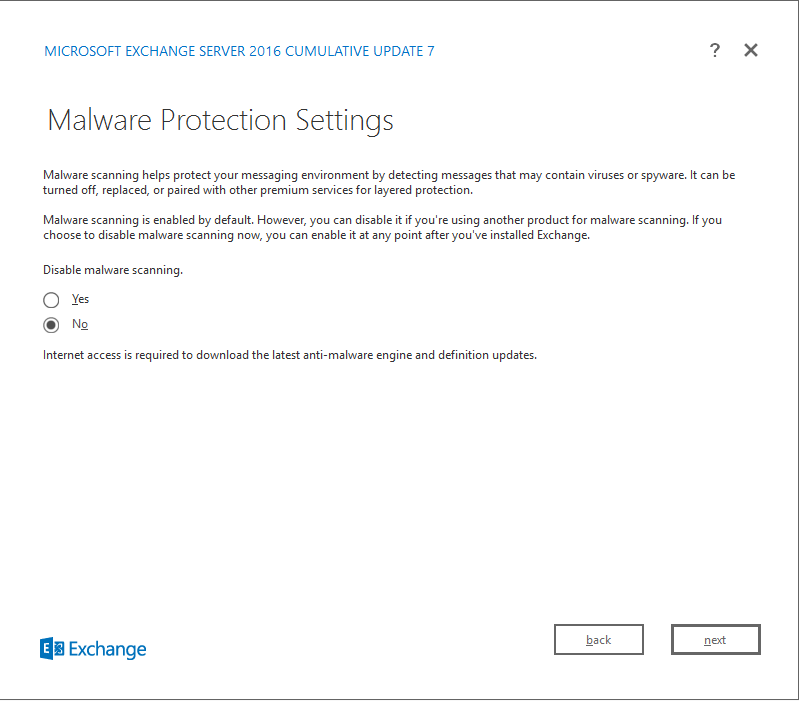
Step 9
The 'Malware Protection Settings' page allows you to enable or disable malware protection. The malware protection automatically scans messages for virusses and spyware. We recommend leaving malware protection turned on (the 'No' option), but you can always enable or disable it after the installation.
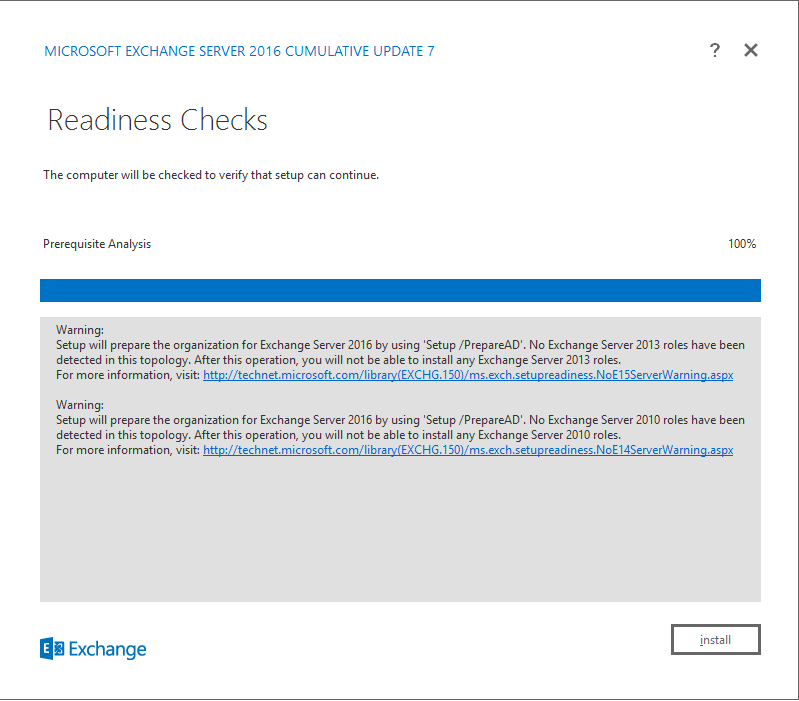
Step 10
The 'Readiness Checks' step checks if your VPS is ready to install Exchange. We encountered two warnings ourselves as in the screenshot below.
- If there's an 'error' in the overview the installation will not proceed until the problem is solved. A link will be provided with additional information about the problem and the 'install' button will be replaced by a 'retry' button so that you can perform a new readiness check.
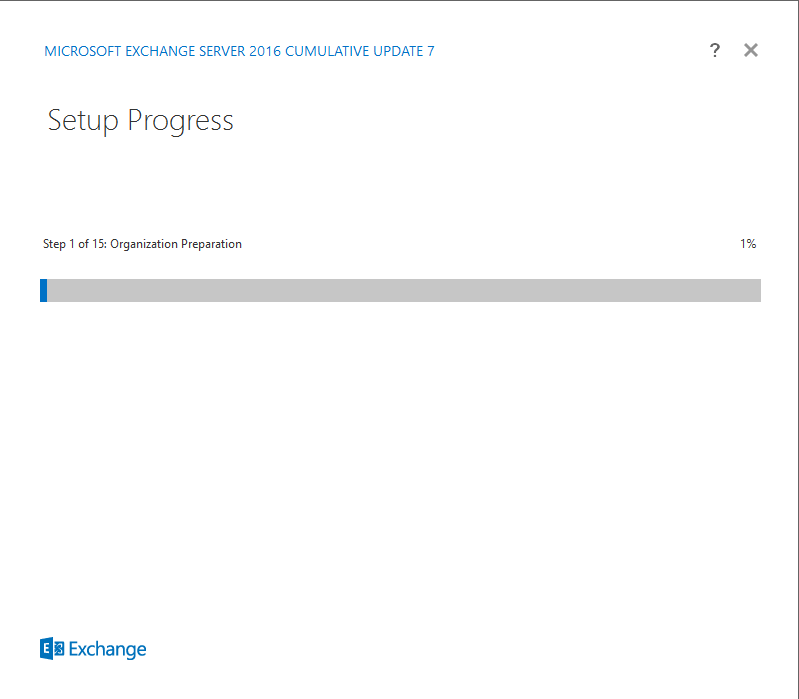
Step 11
The installation process shall now begin. This can take some time before it finishes.
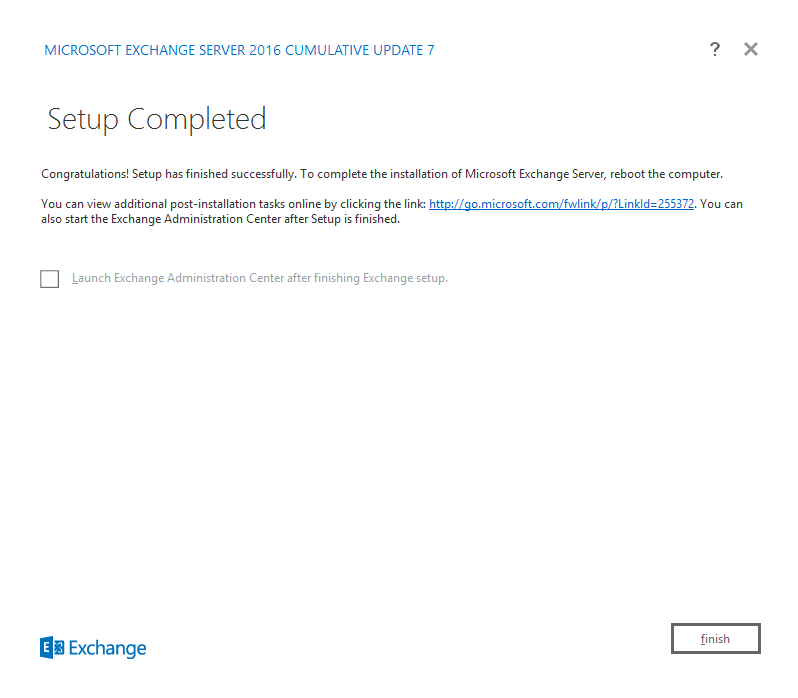
Step 12
Click 'Finish' after completing the installation of Exchange and restart your VPS. You're now ready to work with Exchange!
Firewall settings
After installing Exchange it's important to configure your firewall, or Exchange won't be able to receive or send mail. The following ports are used by Exchange:
- Publiekelijk:
- 25: SMTP
- 53 (TCP&UDP): DNS Name Resolution
- 80: HTTP
- 110: POP3
- 143: IMAP
- 443: HTTPS
- 465: SMTP
- 993: Secure IMAP
- 995: Secure POP3
- Private network/AD-environment:
- 25: SMTP
- 53 (TCP&UDP): DNS Name Resolution
- 50636: EdgeSync synchronization
For a more indepth explanation, see Microsoft's article about Exchange's port usage and configuration.
Should you have any questions left regarding this article, do not hesitate to contact our support department. You can reach us via the ‘Contact Us’ button at the bottom of this page.
If you want to discuss this article with other users, please leave a message under 'Comments'.