When you have created a website at Wix.com and want to connect it to your domain name at TransIP, you're at the right address. You can connect your domain name to your Wix website by using either the Wix nameservers or the Wix DNS records.
The nameservers basically state which DNS records should be used. Based on your choice you will have to configure either the Wix nameservers or the Wix DNS records inside your control panel at TransIP. There is no immediate difference between the methods, although Wix has fewer available DNS records to configure.
Take note: In order to connect your domain name to your Wix website, you require a 'Premium Plan'. This is a paid service at Wix.com.
Furthermore, we do not offer direct support on using the Wix Dashboard or configuring Wix websites. This article is only created to show you how to connect your domain name to your Wix website. If you have any questions regarding the Wix Dashboard or your Wix website, please contact Wix.com.
Using the Wix nameservers
In order to use the Wix nameservers, first you need to log on to your Wix Dashboard. On the left hand side, click on 'Settings', followed by 'Domains'.
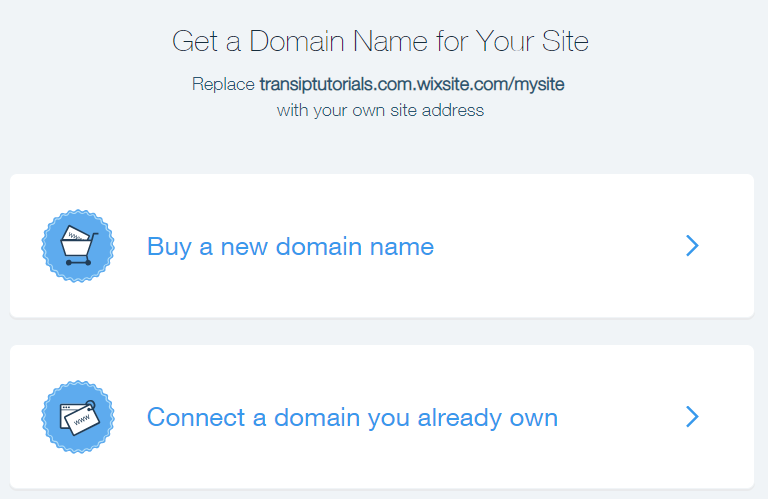
Now click on 'Connect a domain you already own'.
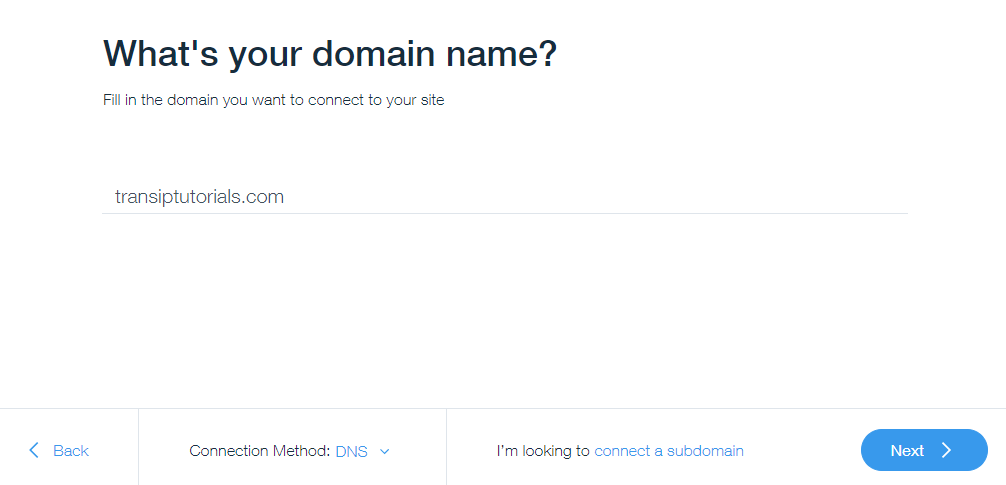
Next, enter your domain name and make sure the 'Connection Method' is set to 'DNS'. Click on 'Next' when you're ready.
In case you're using email with one of our web hosting packages, you will first need to make a small detour before continuing. This way you can keep using the email services at TransIP, while pointing your domain name to your Wix website.
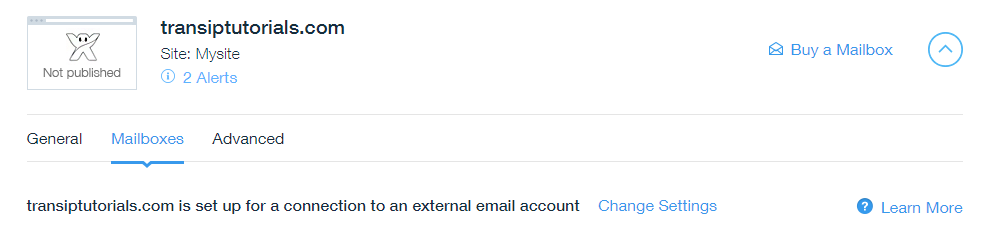
To do so, you will have to add 2 DNS records inside the Wix Dashboard. Go to the Wix Dashboard and click on 'Main Menu'. From here, click on 'Domains' to view your domain settings at Wix. Next, click on the tab 'Mailboxes', followed by 'Change Settings' below.
Now click on '+ Add Another' and enter the MX record of your web hosting package as shown in the image below.
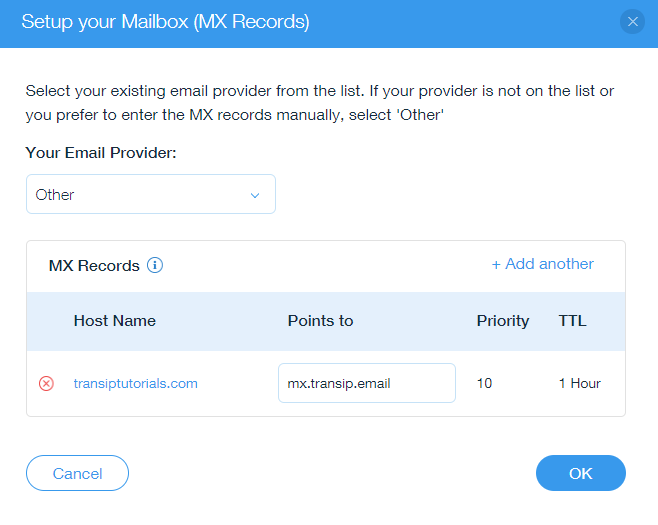
Click on 'OK'.
Next, click on the tab 'Advanced', followed by 'Edit DNS'.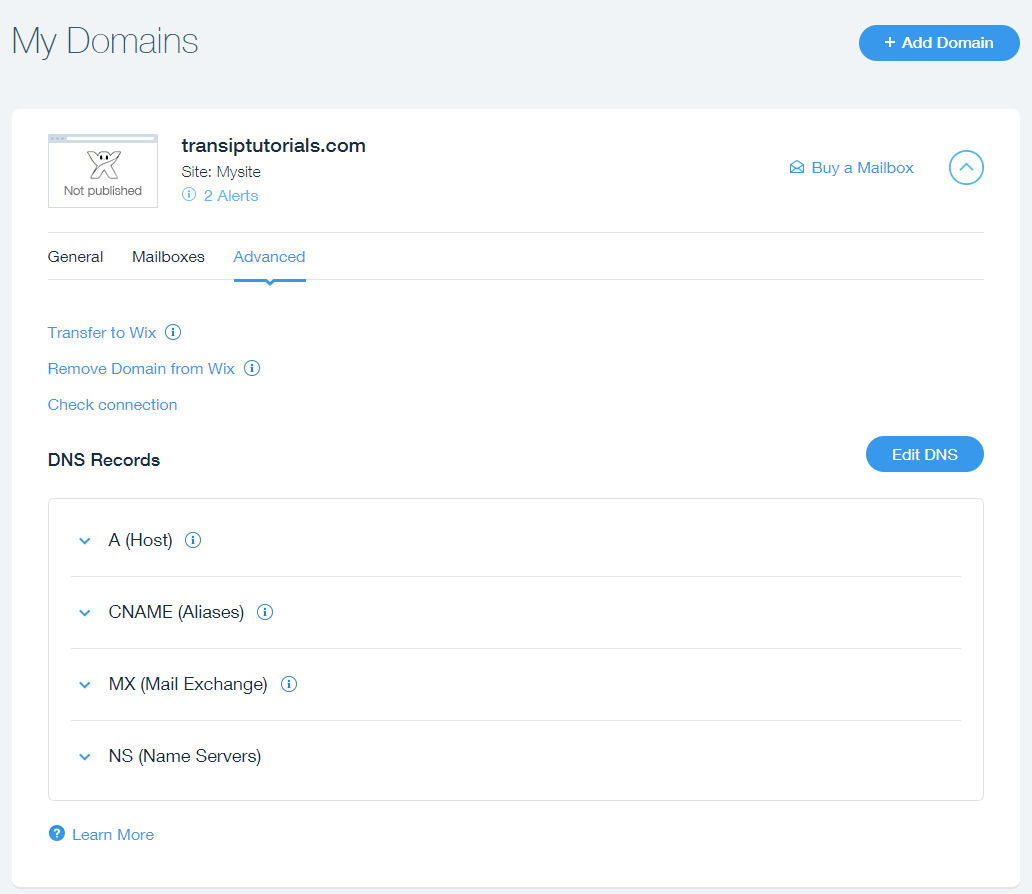
Next to 'SPF', click on '+ Add Another' and enter the SPF record of your web hosting package:
v=spf1 include:_spf.transip.email ~all
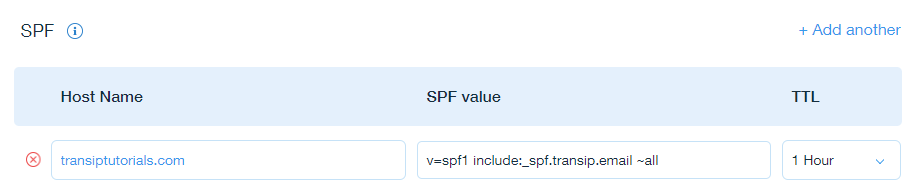
Now click on 'Save DNS'.
You have now configured the correct DNS records at Wix, which allows you to use email with TransIP alongside your Wix website.
To continue with the tutorial, click on 'Check Connection' on this page, followed by 'Restart Connection Wizard'.
After Wix finished locating your domain name, you will be shown a step-by-step plan to start connecting your domain name to your Wix website.
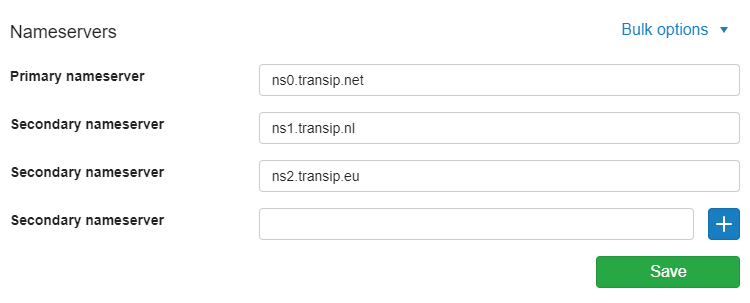
To complete the first to steps, you will have to log in to your TransIP control panel. From here, click on the tab 'Domains & Hosting' at the top of the page. Next, select your domain name on the left hand side (don't check the box) and scrol to 'Nameservers'.
Below 'Nameservers', you will find the nameservers your domain name is currently using.
Take a look at Step 3 of Wix's step-by-step plan. You will find the nameservers your domain name is currently using and the Wix nameservers next to them.
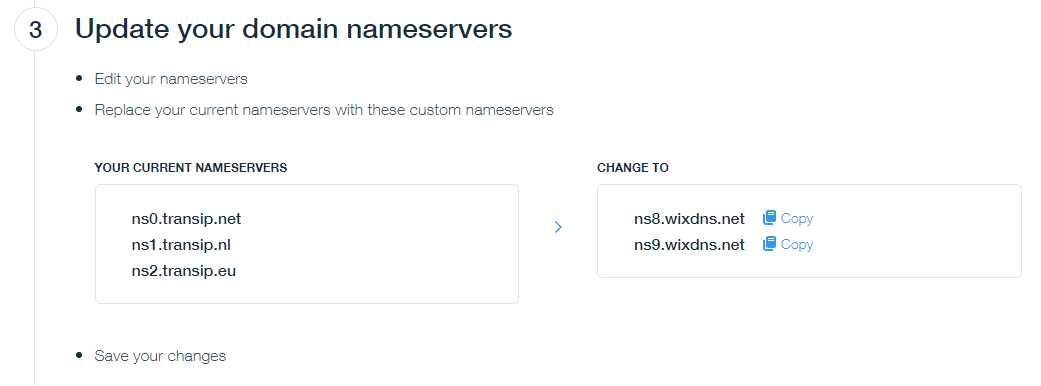
Copy the Wix nameservers and head back to the TransIP control panel. Replace your current nameservers with the Wix nameservers and hit 'Save'.
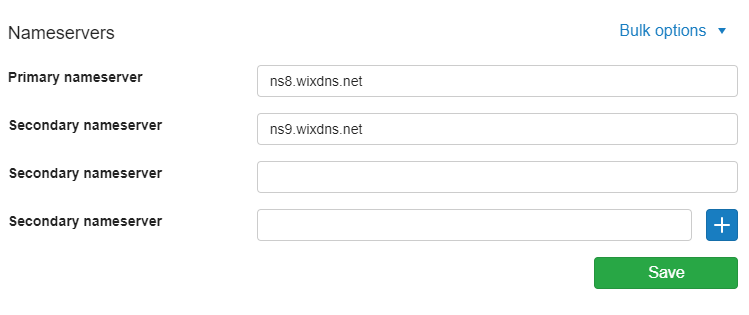
Take note: Only use the nameservers Wix shows you, as the nameservers used in our example may be different.
After saving the Wix nameservers in your control panel, you will see a message indicating the nameserver change is being processed. Refresh the page until this message disappears, after which the Wix nameservers will be active for your domain name.
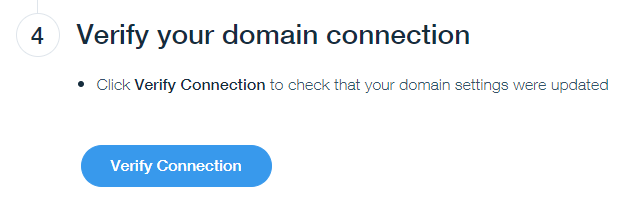
Once the Wix nameservers are active, head back to step 4 of Wix's step-to-step plan. Click on 'Verify Connection'.
After a few moments, Wix will confirm your domain name is now connected. If you haven't published your website yet, you can do so now by going to the Wix 'Editor' page and clicking on 'Publish'. After approximately 48 hours your Wix website will be available on your domain name.
Using Wix DNS records
In order to use the Wix DNS records, first you need to log in to your Wix Dashboard. On the left hand side, click on 'Settings', followed by 'Domains'.
Next, click on 'Connect a domain you already own'.
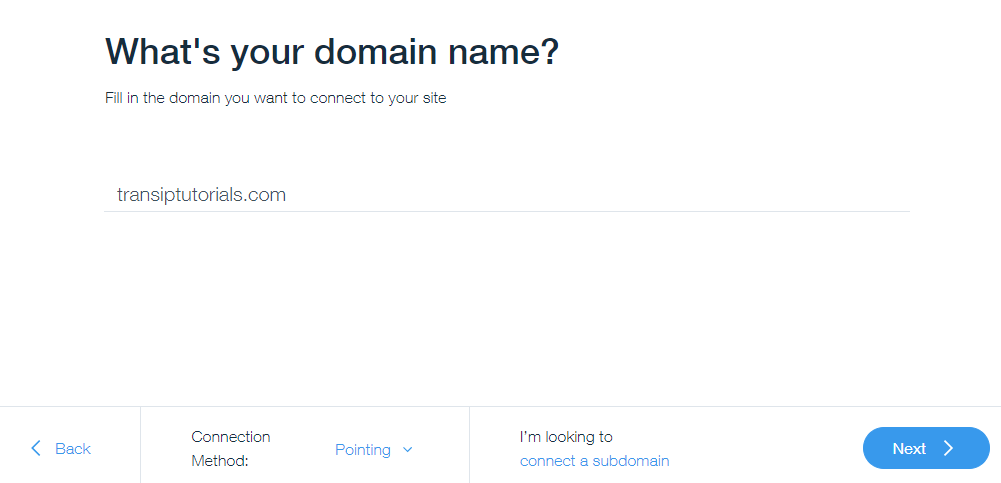
Enter your domain name, make sure the 'Connection Method' is set to 'Pointing' and click on 'Next'.
After Wix finished locating your domain name, you will be shown a step-by-step plan to start connecting your domain name to your Wix website.
To complete the first to steps, you will have to log in to your TransIP control panel. From here, click on the tab 'Domains & Hosting' at the top of the page. Next, select your domain name on the left hand side (don't check the box) and scrol to 'DNS'.
Below 'DNS', you will find the nameservers your domain name is currently using.
Take a look at Step 3 of Wix's step-by-step plan to find the Wix DNS records.
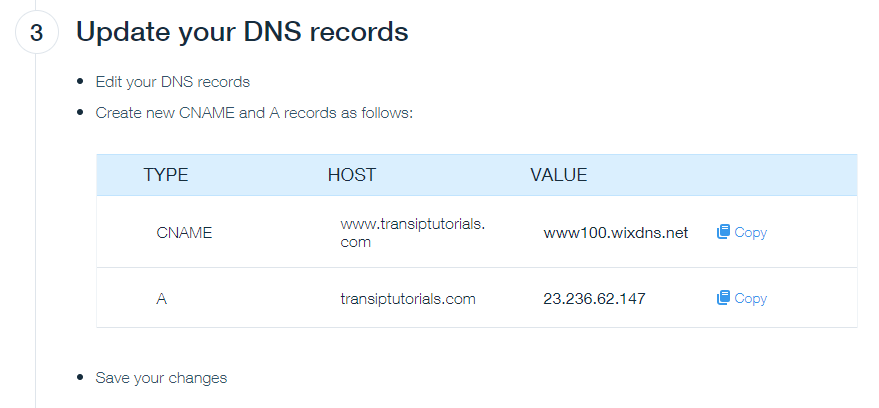
Copy the Wix DNS records and head back to 'DNS' inside the TransIP control panel. Remove the current A and AAAA records and the CNAME record with the name 'www'.
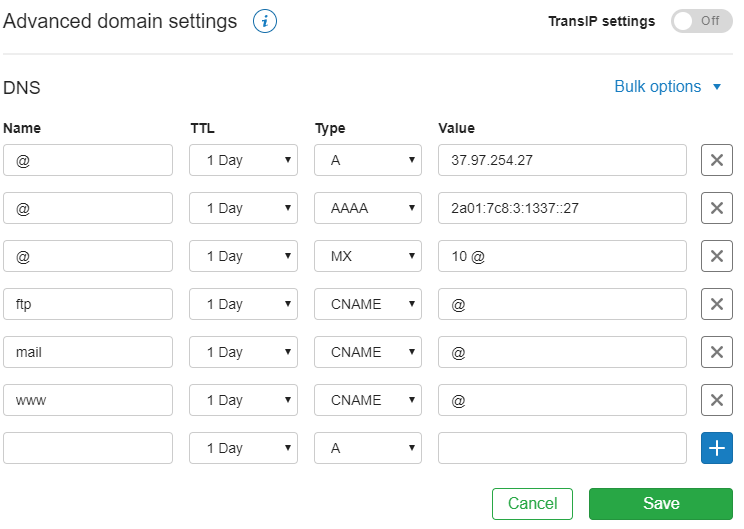
Next, enter the Wix DNS records in the empty DNS field. After adding the Wix DNS records, our DNS settings will look like this:
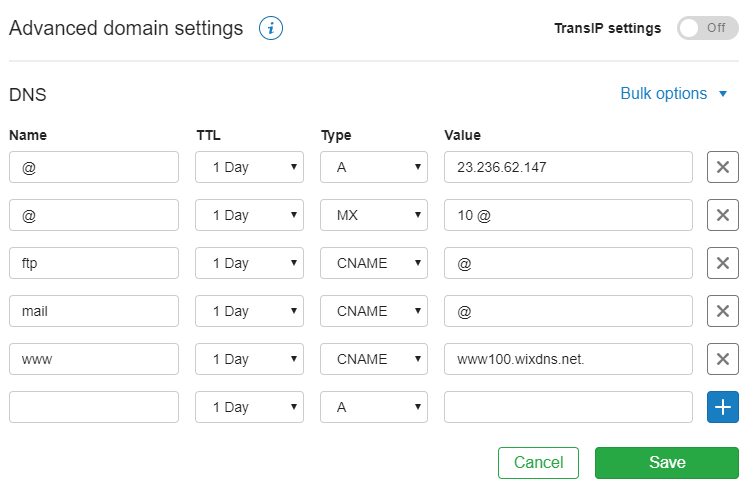
Don't forget to add the dot at the end of the value of the www record. This so called 'Trailing dot' ensures the value is correctly closed.
Take note: The DNS records Wix shows you may be different than the DNS records shown in our example. Because of this, you should only add the DNS records that Wix shows you.
When using email with TransIP, you may see more or different DNS records than in our example. In that case, you can still follow the steps above to connect your domain name to your Wix website. You will only need to remove the A and AAAA records and the CNAME record names 'www'.
Once you've entered the Wix DNS records in your TransIP control panel, click 'Save'.
Your control panel will then notify that the DNS records have been saved. Now, head back to step 4 of Wix's step-by-step plan and click on 'Verify Connection'.
After a few moments, Wix will confirm your domain name is now connected. If you haven't published your website yet, you can do so now by going to the Wix 'Editor' page and clicking on 'Publish'. After approximately 48 hours your Wix website will be available on your domain name.
In this article we explained how to connect your domain name to your Wix website.
If you have any questions regarding this article, please contact out support team. You can reach them using the 'Contact us' button at the bottom of this page.
If you wish to discuss this article with other users, feel free to leave a comment below.