phpMyAdmin is a web interface, intended to make managing MySQL / MariaDB databases over the internet easier. Common SQL actions, such as the management of databases, tables, columns, users, permissions, etc. can be performed from the phpMyAdmin web interface.
In this article, we show you how to install phpMyAdmin on a VPS with CentOS7.
Step 1
Connect to your VPS via SSH or use the VPS console and update your server first:
yum -y updateIt is recommended to reboot your VPS after an update and then to run these commands again. If you've just installed a kernel update as well with the commands above some software may not be available until you've restarted your server.
Step 2
The EPEL repository (Extra Packages for Enterprise Linux) is required for the installation of phpMyAdmin. Install this if you are not yet using it:
yum -y install epel-release
Step 3
Next, start the installation of phpMyAdmin and php-mbstring (a requirement for phpMyAdmin) with the commands:
apt -y install phpmyadmin php73-php-mbstringHere, php73 indicates for which PHP version mbstring is being installed (PHP 7.3). If necessary, adjust php73 to the version of PHP you are using, for example, php72-php-mbstring for PHP 7.2.
Step 4
The phpMyAdmin configuration only lets you open phpMyAdmin locally from your VPS by default. This is because in the file /etc/httpd/conf.d/phpmyadmin.conf phpMyAdmin is set to only 'bind' to your localhost (127.0.0.1 and ::1). You also make phpMyAdmin remotely available by changing these localhost values to the public IP address of your VPS. You can do this in two ways:
- Manually adjust /etc/httpd/conf.d/phpmyadmin.conf 127.0.0.1 to the IPv4 address of your VPS, and if desired also adjust ::1 to the IPv6 address of your VPS.
- Alternatively, you can do this from command-line in one go using the following commands, replacing 123.123.123.123 with the IPv4 address of your VPS and 2a01:7c8:a0001:1::1 by the IPv6 address of your VPS:
(With the sed-command you can directly make adjustments to text files from command-line, among other things).
sed -i 's/127.0.0.1/123.123.123.123/g' /etc/httpd/conf.d/phpMyAdmin.conf
sed -i 's/::1/2a01:7c8:a001:1::1/g' /etc/httpd/conf.d/phpMyAdmin.conf
Step 5
Restart Apache and php-fpm:
systemctl restart httpd
systemctl restart php.fpm
Step 6
If you now try to log in to phpMyAdmin with your root SQL user, you will get the error message 'Cannot log in to the MySQL server'. This only occurs with phpMyAdmin using the root SQL user and you can still execute SQL queries via PHP or command-line (this problem does not apply to any SQL users that you have created yourself). The cause is the way in which the root SQL password is encrypted, and you can easily correct it by manually resetting the password. Start an SQL shell first:
mysql -u root -p
Step 7
Reset the password with the command:
ALTER USER 'root'@'LOCALHOST' IDENTIFIED BY 'password';
Replace password with the actual password of the root SQL user.
Step 8
Finally, close the SQL shell with the command:
exitphpMyAdmin is now ready for use! You can immediately try it out by going to your hostname / phpmyadmin in your browser, for example: server.example.com/phpmyadmin. If necessary, check your hostname with one of the following commands:
cat /etc/hosts
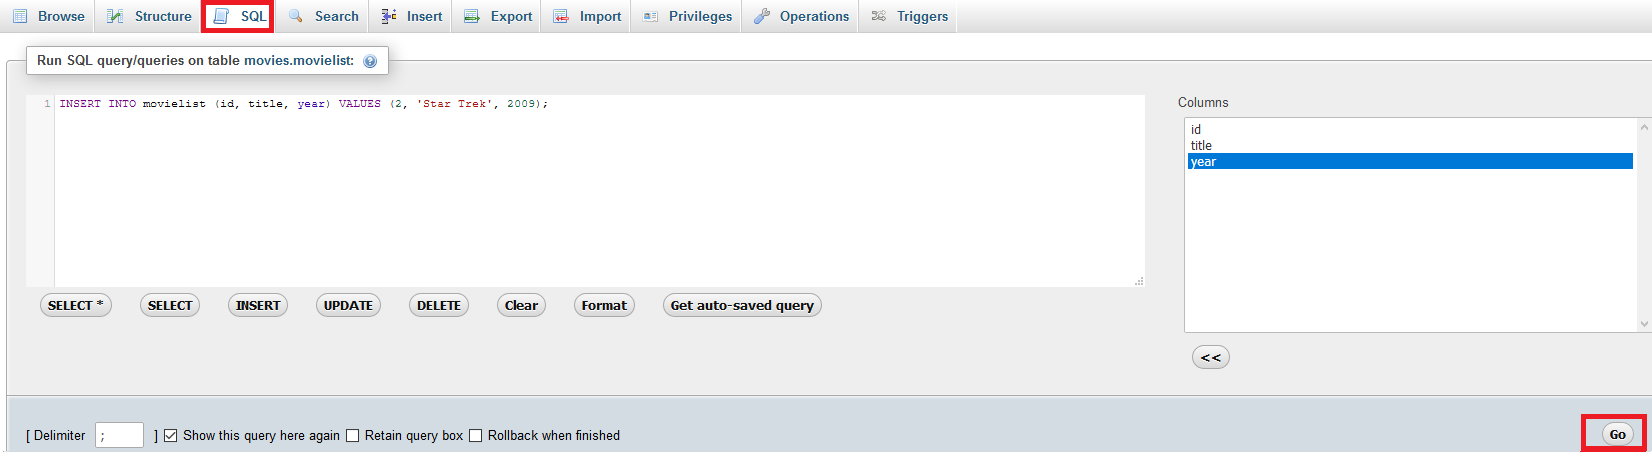
hostnamectlFor an overview of commonly used MariaDB / MySQL commands, see this article. For example, you can use the explanation therein about adding data to a table in the 'SQL' tab in phpMyAdmin, see:
Should you have any questions left regarding this article, do not hesitate to contact our support department. You can reach them via the ‘ContactUs’ button at the bottom of this page.
If you want to discuss this article with other users, please leave a message under 'Comments'.